Remove the air baffle

Follow instructions in this section to remove the air baffle.

About this task

S033
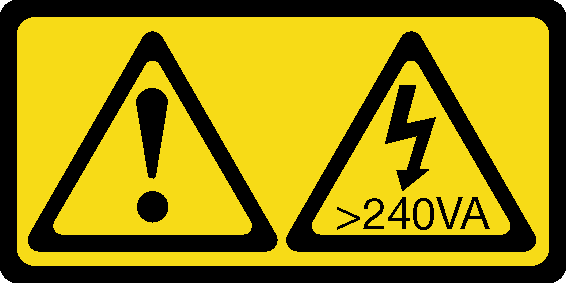
240VA shock hazard
CAUTION

Hazardous energy present. Voltages with hazardous energy might cause heating when shorted with metal, which might result in spattered metal, burns, or both.

S017
moving parts
CAUTION
Hazardous moving fan blades nearby. Keep fingers and other body parts away.
Attention

Procedure

Note
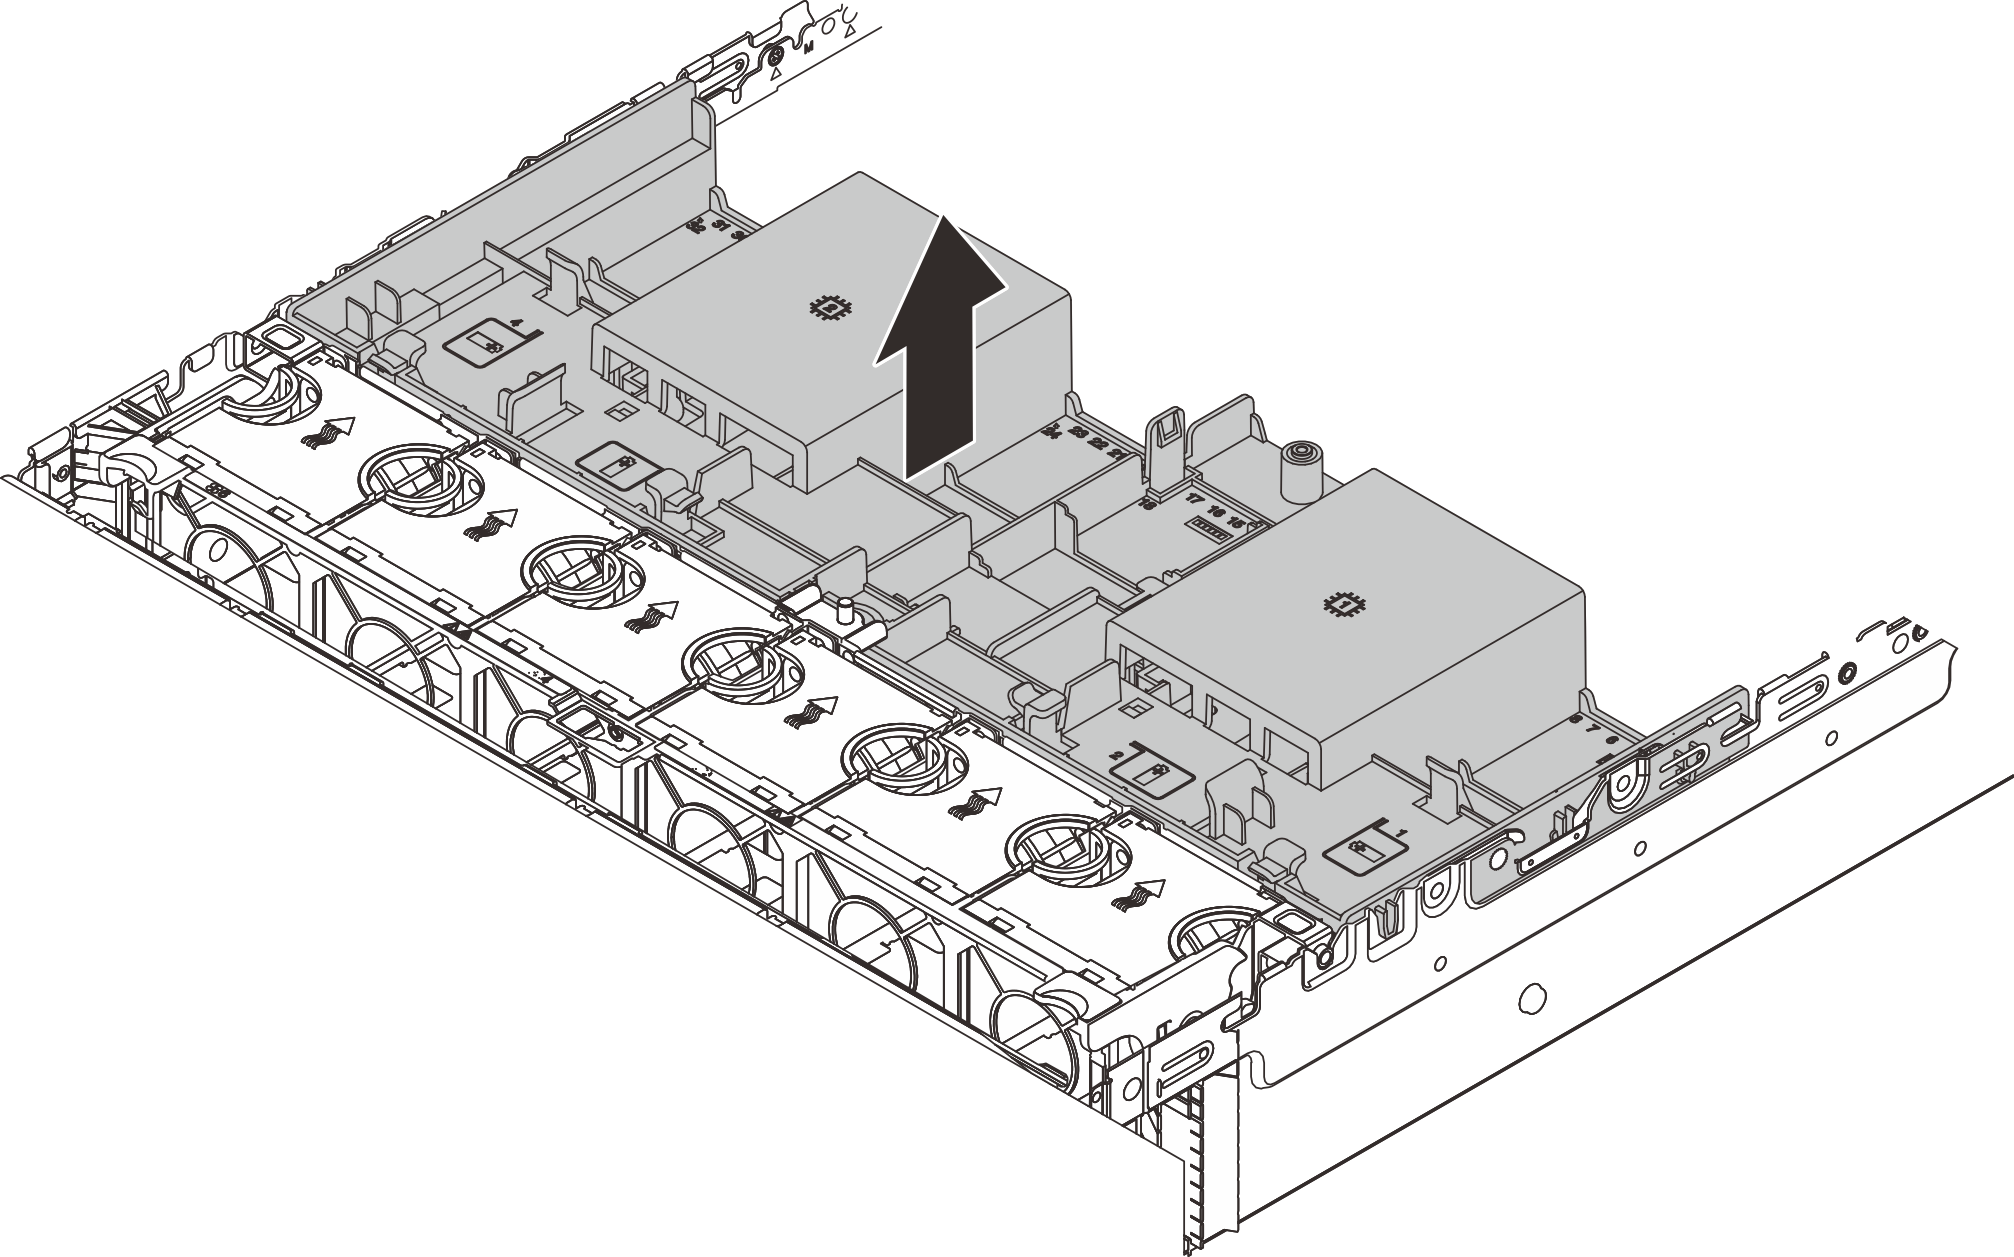
The illustrated air baffle is the standard air baffle. The removal procedure is the same for the GPU air baffle.

  1. Make preparation for the task.
    1. If the server is installed in a rack, slide the server out on its rack slide rails to gain access to the top cover, or remove the server from the rack. See Remove the server from rack.
    2. Remove the top cover. See Remove the top cover.
    3. If there is a RAID flash power module installed on the air baffle, disconnect the cable of the RAID flash power module first.
    4. If there is an M.2 drive installed on the air baffle, disconnect M.2 backplane cables from the system board assembly.
    5. If there is a GPU installed on the air baffle, remove the GPU first. See Remove a GPU adapter.
  2. Grasp the air baffle and carefully lift it out of the chassis.
    Figure 1. Removing the air baffle
    Attention
    For proper cooling and airflow, reinstall the air baffle before you turn on the server. Operating the server with the air baffle removed might damage server components.

    Removing the air baffle
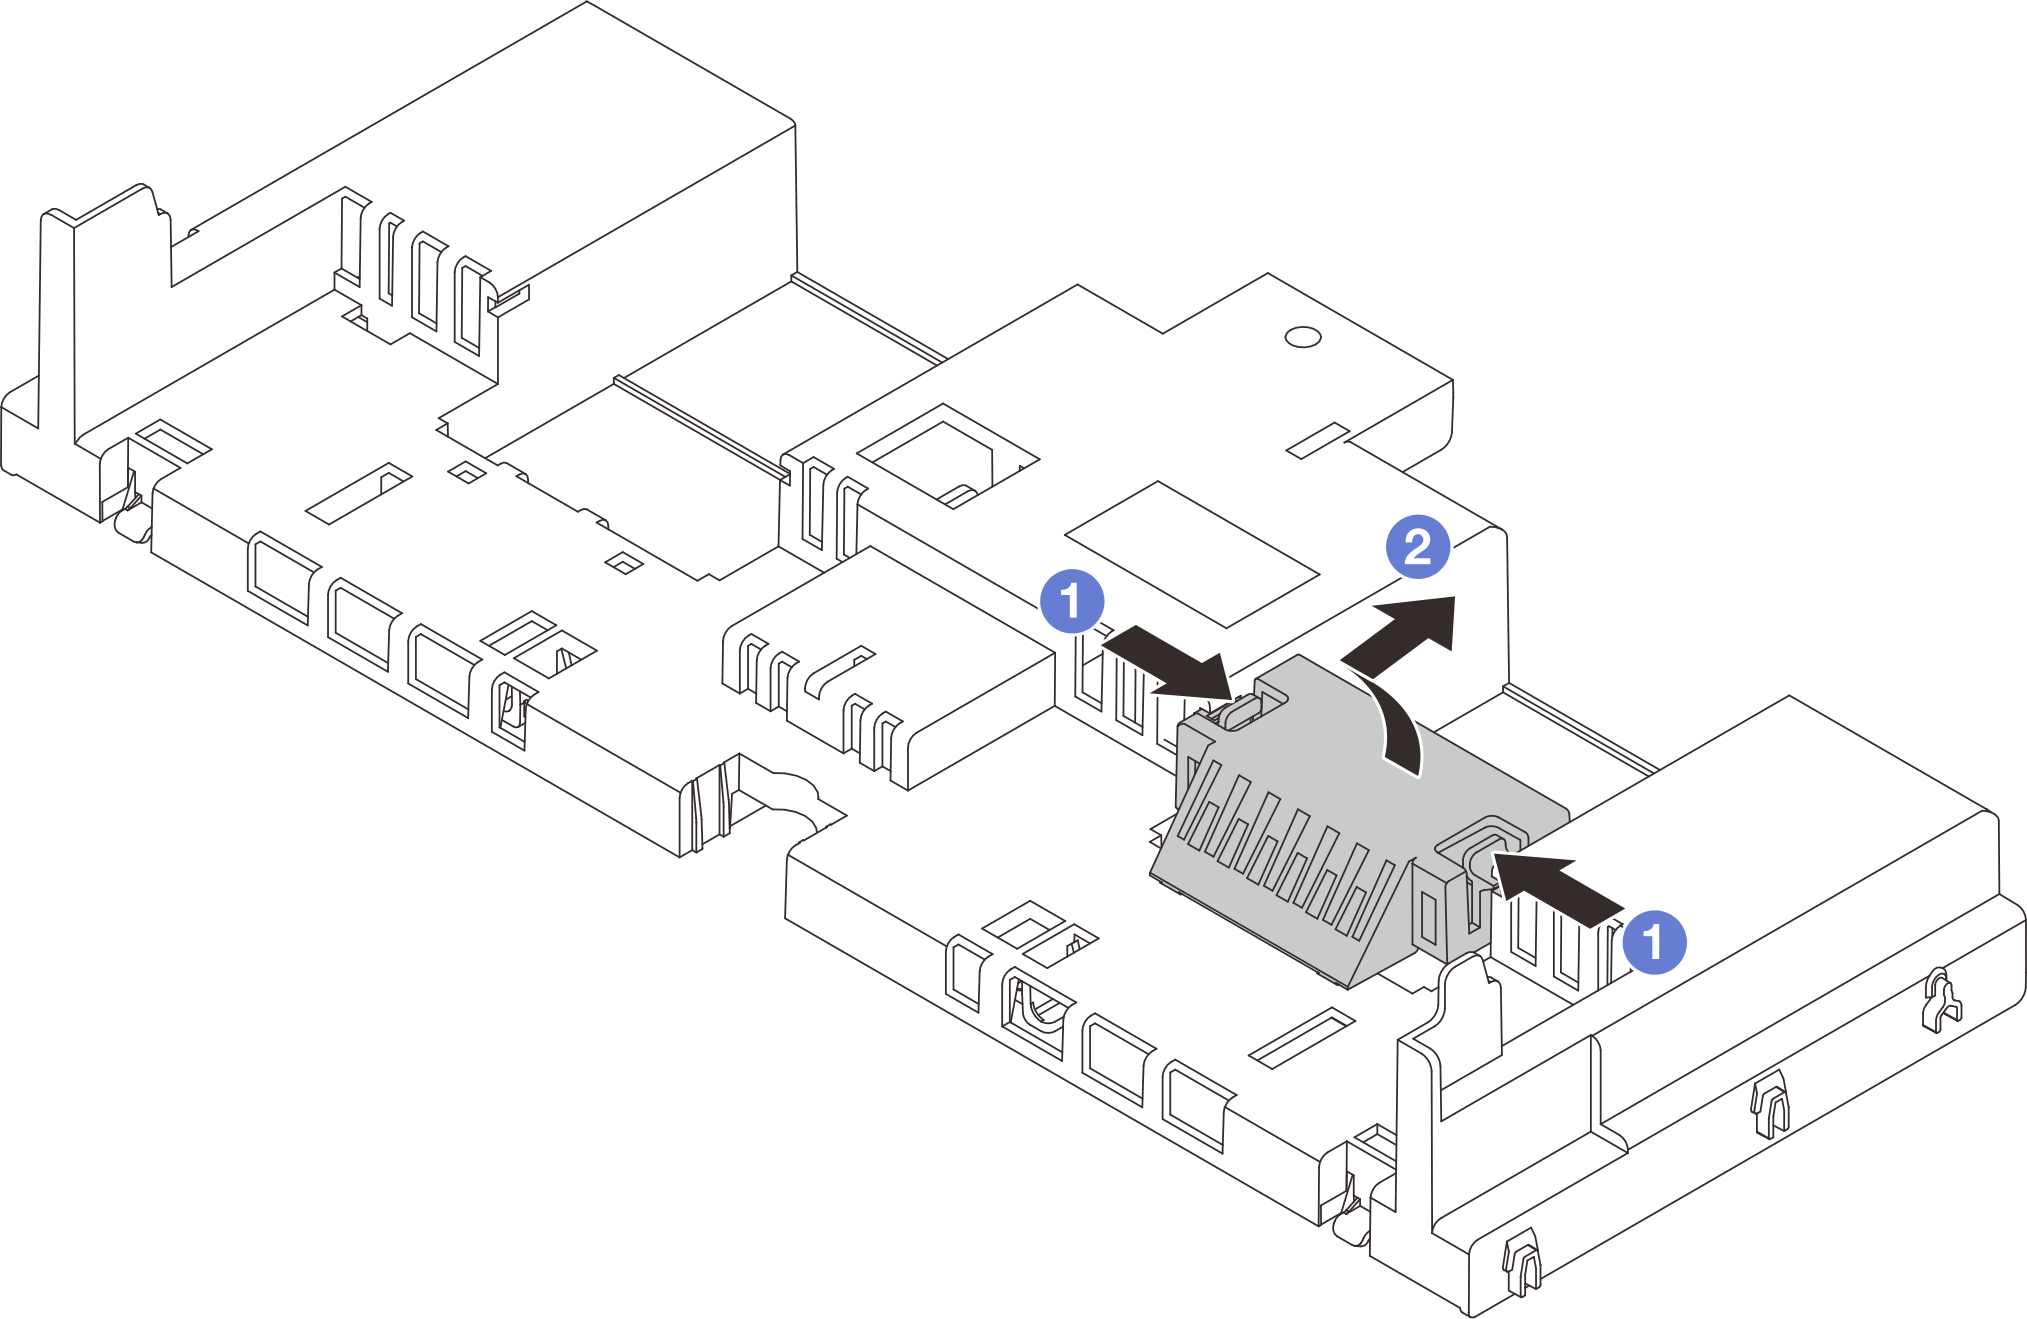
  3. (Optional) Remove the filler from the air baffle if you are using the T-shape performance heat sink or Direct Water Cooling Module (DWCM) and need to change to 2U standard or entry heat sink.
    Figure 2. Air baffle filler removal
    Removal of the standard air baffle filler

After you finish

If you are instructed to return the component or optional device, follow all packaging instructions, and use any packaging materials for shipping that are supplied to you.

Demo video

Watch the procedure on YouTube