
Interactive Restore

Complete these steps to restore the client computer to another computer that has the same hardware and disk configuration as that of the backed up computer:

  1. Use the 1-Touch Live CD to boot the client computer.
  2. n the Language Selection Dialog dialog box, select a language from the list. To use the same language for the keyboard, select the Use default keyboard for the selected language check box and click OK. The 1-Touch Recovery Wizard starts. On the Welcome page, a warning message appears that says that the response files are not found.
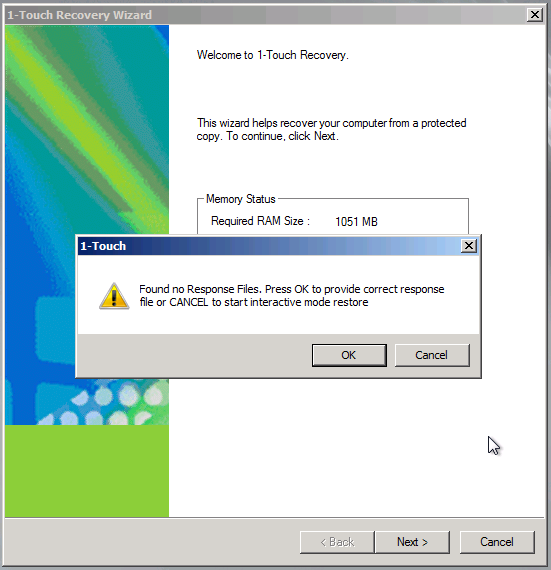
  3. Click Cancel to start the interactive restore.

    https://documentation.commvault.com/commvault/v11_sp6/images/1_Touch/interactive_restore2.png
  4. If you have a firewall configured between the client and the CommServe, select the checkbox, There is a firewall between this client and the CommServe.
  5. In the Client Group Name dialog box, type the name of the client computer group that you created with the firewall configuration and click Next.

    For more information on creating a client computer group with Firewall, see the Commvault article:

    Firewall Configuration

  6. (Skip this step if you do not have a firewall configured between the client and the CommServe.) In the Firewall Configuration page:
    1. In the CommServe client name box, enter the name of the CommServe client.
    2. In the CommServe Host Name box, enter the fully qualified domain name of the CommServe computer.
    3. Based on your firewall setting, choose one of the following:

      If you have...

      Then...

      established a port-forwarding at the gateway to forward incoming connections on specific ports to certain computers on the internal network or on specific ports

      1. Select the option, CommServe is reached through a port-forwarding gateway.
      2. In the Gateway hostname or IP address box, type the gateway hostname or the IP address.
      3. In the Gateway port number box, type the port number through which you can reach the CommServe.

      port restrictions set up where any one of the two communicating computers can establish a one-to-one connection towards the other on specific ports

      1. Select the option, CommServe opens a direct connection to the client.
      2. In the Incoming port number box, type the incoming port number on which the CommServe will receive tunnel connections from the client.

      a special proxy configuration where a dedicated iDataAgent is placed in a perimeter network, and the firewalls are configured to allow connections (from inside and outside networks) into the perimeter network

      1. Select the option, CommServe is reached through a proxy.
      2. In the Proxy client name box, type the name of the proxy client.
      3. In the Proxy hostname or IP address box, type the hostname or IP address of the proxy computer.
      4. In the Proxy port number box, type the port number through which the proxy computer can reach the CommServe.
    4. Click Next.
  7. On the Detected Disk Devices page, click Yes, all disk drives have been detected, and then click Next. If you do not see the required drivers, add the drivers to the downloaded ISO.
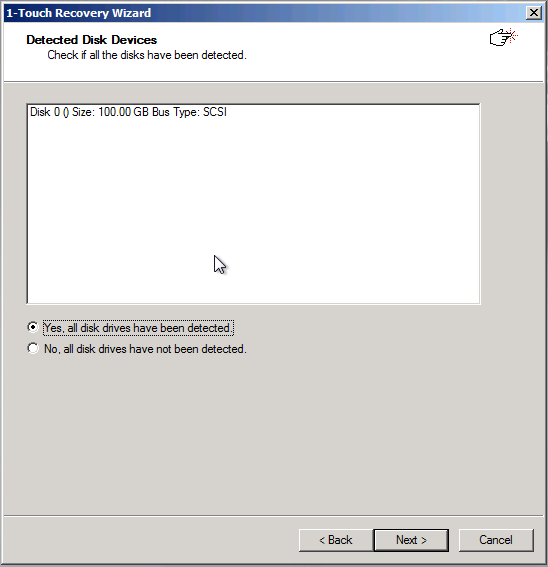
  8. On the Client & Network Information page, make the following selections:
    1. Enter the CommServe Host Name and IP Address.
    2. Enter the CommCell User Name and Password.
    3. Select the Network Connection from the Connection drop-down menu.
    4. Click Get Clients to get the list of all file system clients on which the system state backups have been performed.
    5. In the Client Name list , select a client for which you want to perform the Interactive Restore.
    6. Click Next.

      https://documentation.commvault.com/commvault/v11_sp6/images/1_Touch/interactive_restore5.png
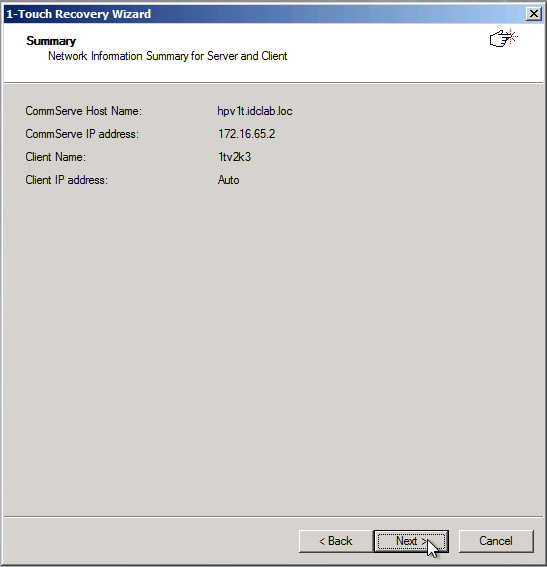
  9. On the Summary page, click Next.

    https://documentation.commvault.com/commvault/v11_sp6/images/1_Touch/interactive_restore6.png
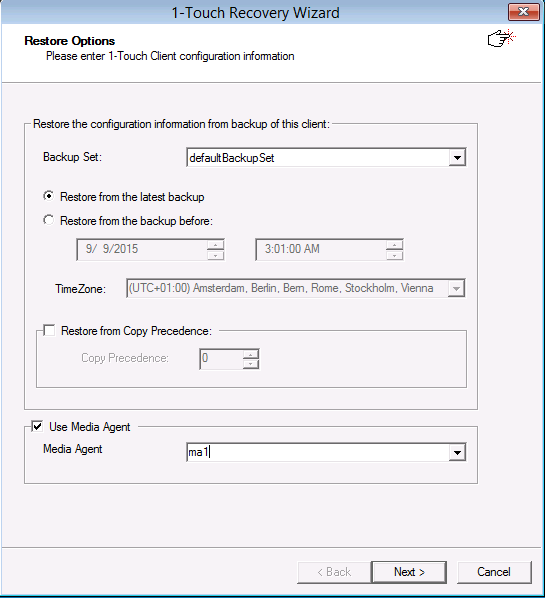
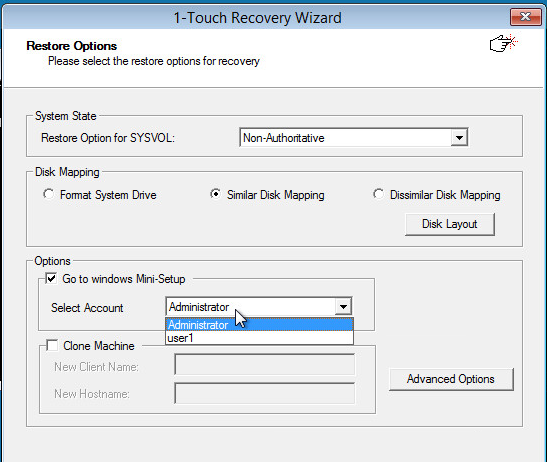
  10. On the Restore Options page, click Next.
    Note
    • By default, the client configuration backed up by the default backupset during most recent backup will be used to restore the client.
    • You can select a different MediaAgent computer than the one used to perform system state backups. Select the Use MediaAgent check box and select a MediaAgent from the MediaAgent list.

    Make sure that the Allow restore jobs to use alternative MediaAgent and Drive Pool to access required media parameter in theControl Panel is set to a value of 1. For more information on how to set the parameter, see Media Management Configuration: Resource Manager.


    https://documentation.commvault.com/commvault/v11_sp6/images/1_Touch/interactive_restore81.png
  11. On the Restore Options page, review the restore options, clear the checkbox, Go to Windows Mini-Setup, and then click Next.

    https://documentation.commvault.com/commvault/v11_sp6/images/1_Touch/interactive_restore9.png
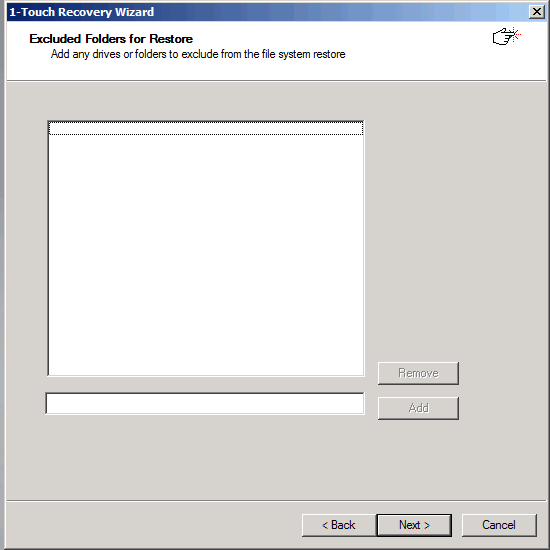
  12. On the Excluded Folders for Restore page, if you want to exclude any folder or driver from the full system restore, enter the path of the folder or driver and click Add. Then, click Next.

    https://documentation.commvault.com/commvault/v11_sp6/images/1_Touch/offline_restore9.gif
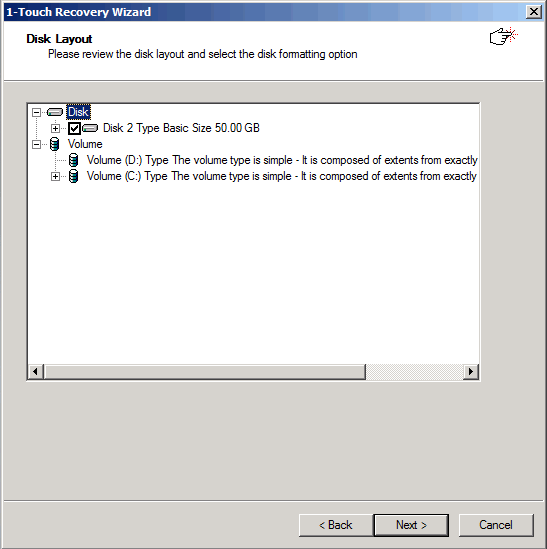
  13. On the Disk Layout page, click Next.

    https://documentation.commvault.com/commvault/v11_sp6/images/1_Touch/offline_restore10.gif
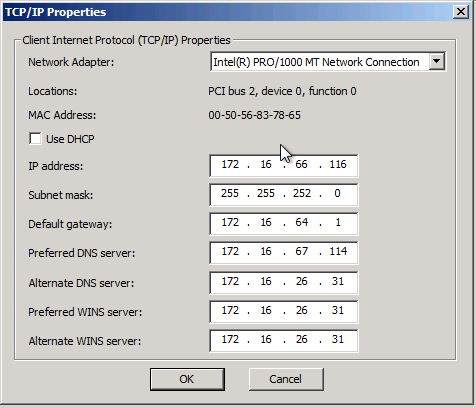
  14. In the TCP/IP Properties dialog box, review the Client Internet Protocol (TCP/IP) Properties, and click OK.

    The full system restore starts.


    https://documentation.commvault.com/commvault/v11_sp6/images/1_Touch/interactive_restore11.png
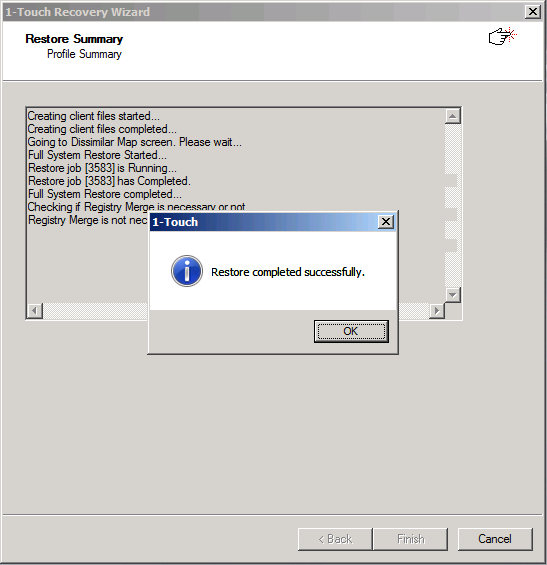
  15. On the Restore Summary page, click OK on the success dialog box that appears after the restore completes.


  16. Remove the Live CD and restart the computer.