Security settings
Ensure that system security settings are configured as intended.
If the Secure Boot feature is desired, we recommend using TPM 2.0 for optimal security. Note that the Physical Presence Policy Configuration must be modified temporarily in order to assert Remote Physical Presence (RPP), which is required to enable or disable Secure Boot, or to modify the TPM version used by the system.
To modify the Security settings, follow these steps:
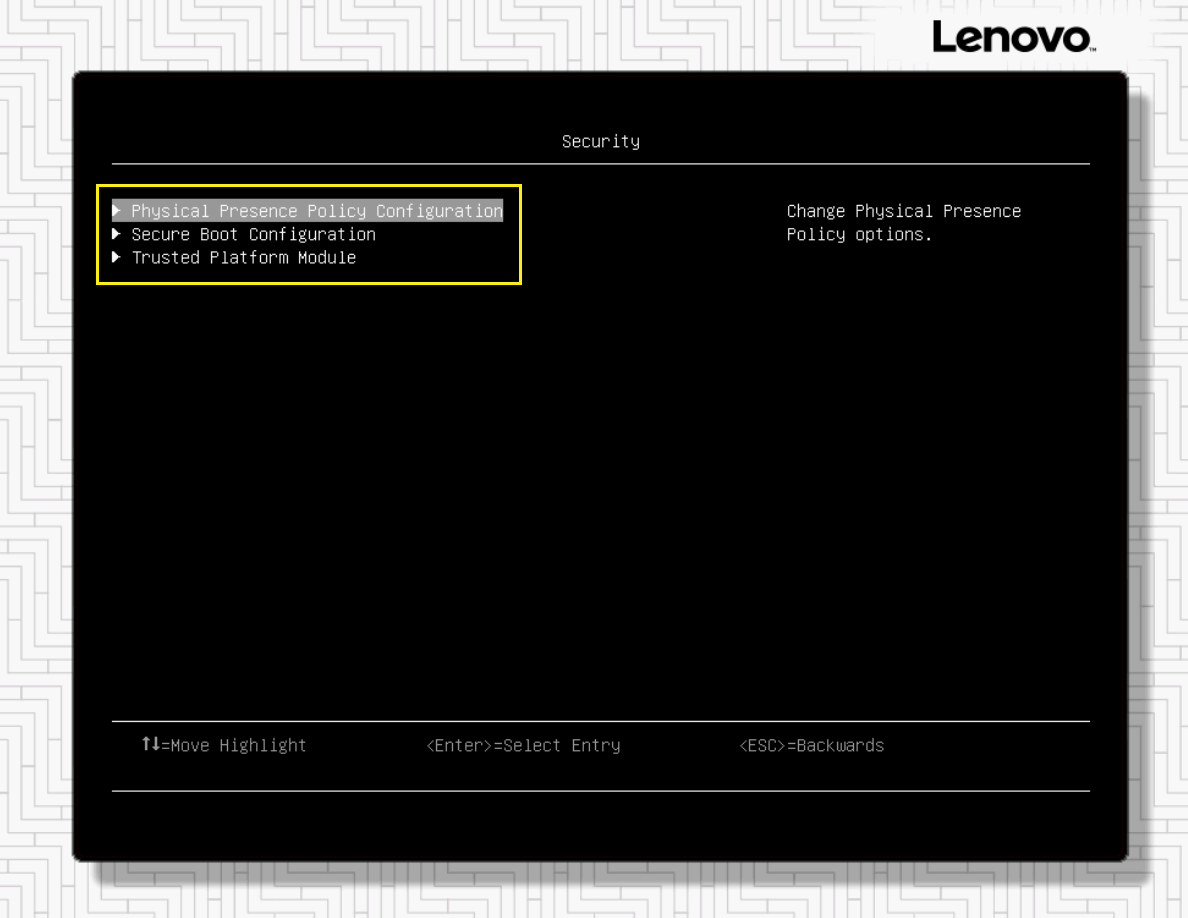
- Navigate to .Figure 1. System Settings screen showing the available Security setting categories
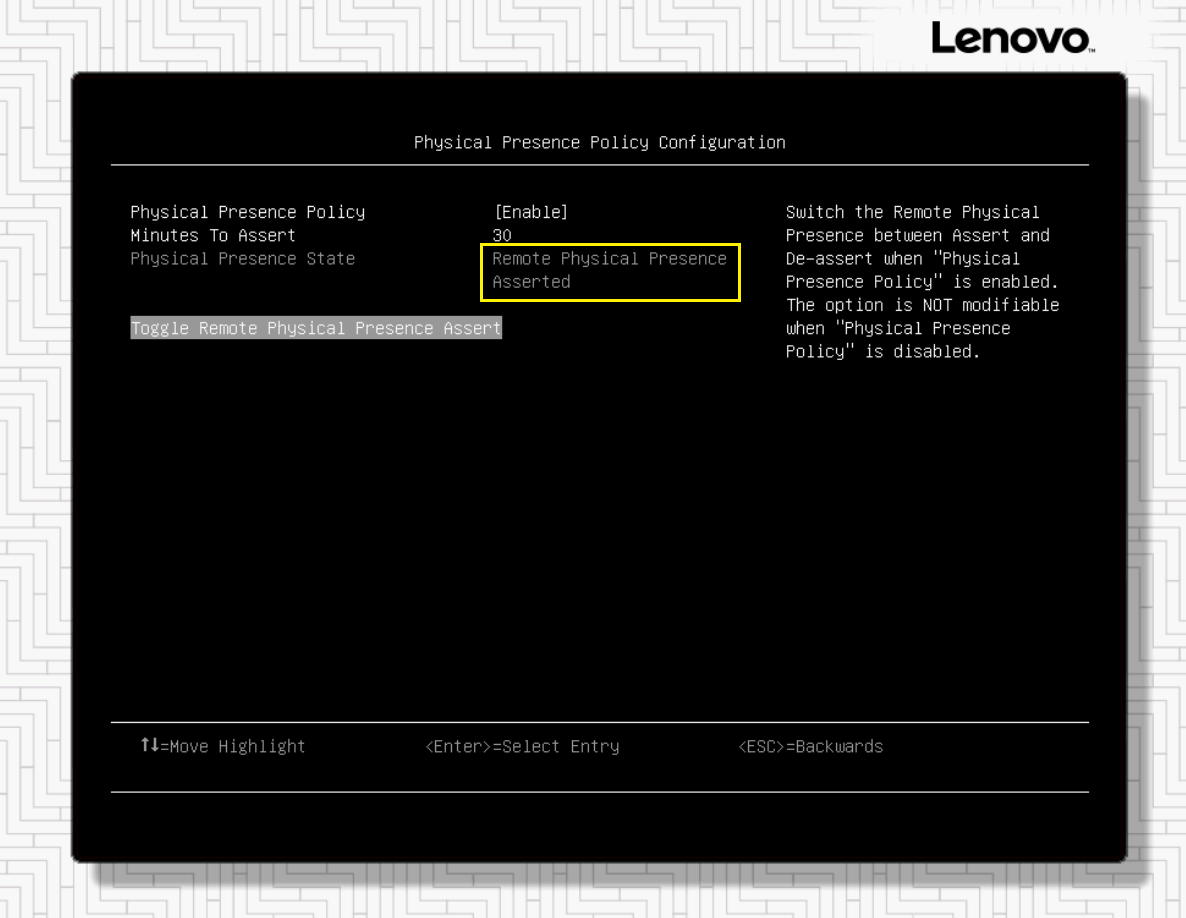
- Use the arrow keys to select Toggle Remote Physical Presence Assert and press Enter. By default, this will assert RPP for 30 minutes. The interface will show Remote Physical Presence Asserted as shown in the following figure.Figure 2. System Settings screen showing that RPP is currently asserted
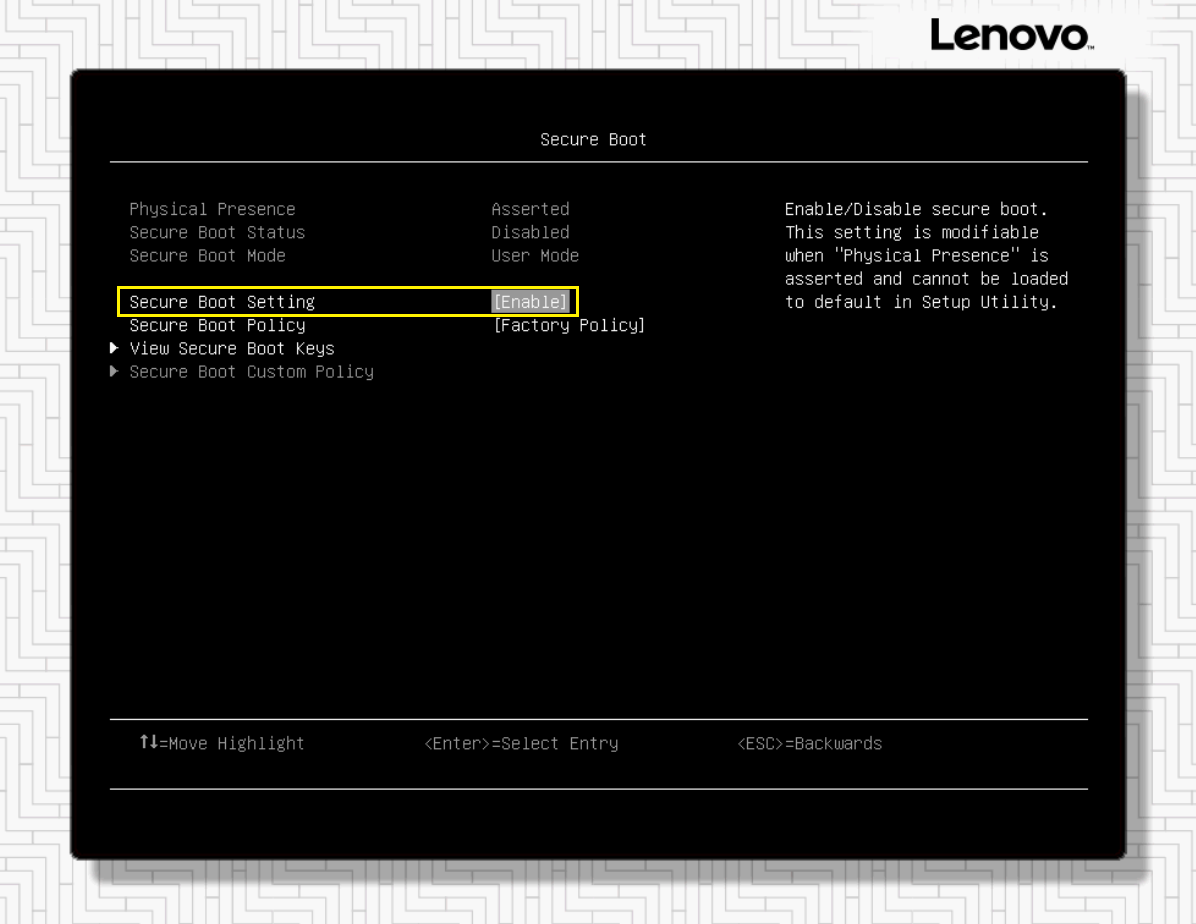
- If the secure boot setting needs to be changed, use the arrow keys to select the Secure Boot Setting field and then press Enter. A warning message will be displayed, stating the Legacy BIOS will be disabled when secure boot is enabled. Press Enter to dismiss this warning message. A status message will be displayed, stating that Secure Boot Setting is changed successfully. Press Enter to dismiss the success message. The resulting system setting screen should show that Secure Boot has been enabled, as shown in the following figure.Figure 3. System Settings screen showing Secure Boot will be enabled after reboot
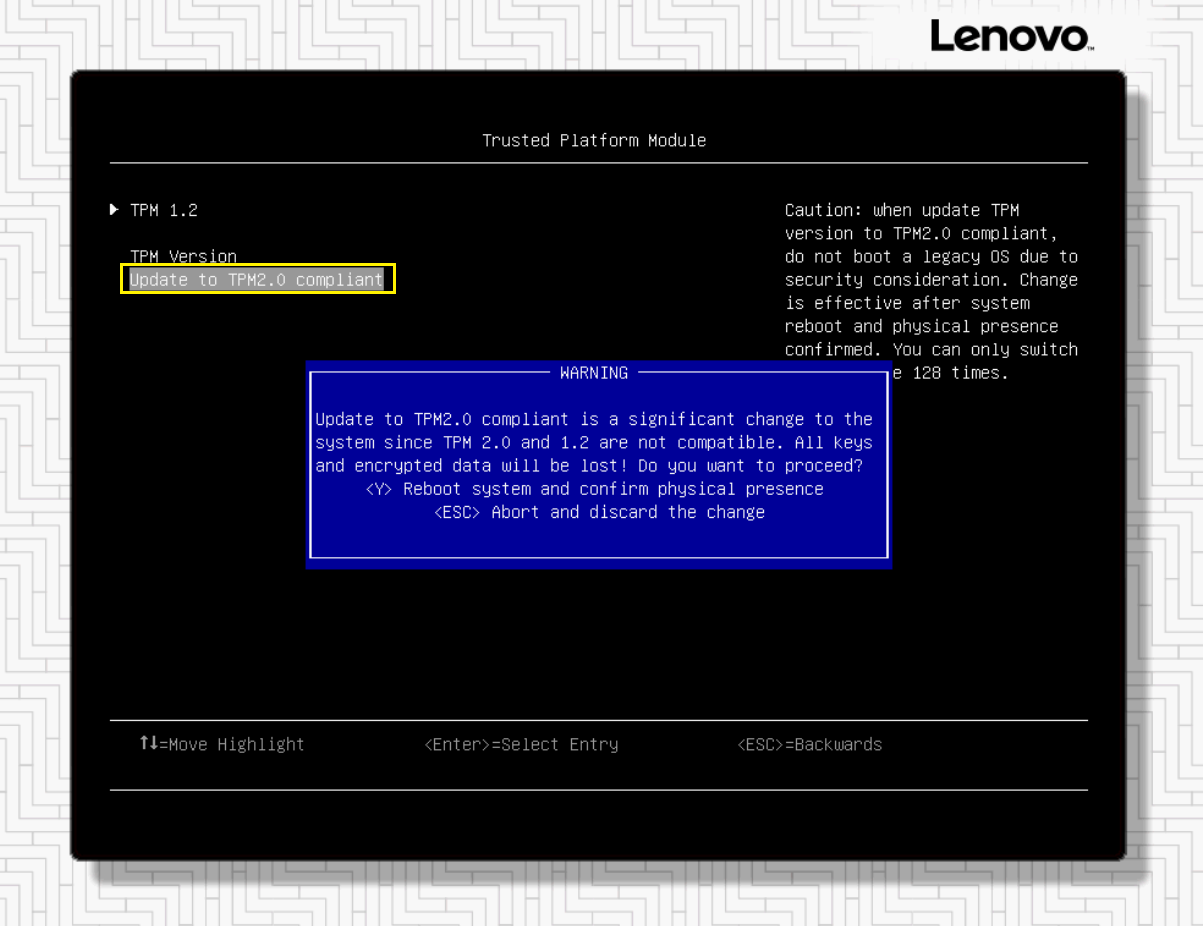
- The version of TPM currently being used is shown at the top of the screen. If necessary, use the arrow keys to select Update to TPM2.0 compliant and then press Enter. A warning message is displayed. Press the Y key to confirm your choice. Another message is displayed, confirming that TPM has been cleared and the version used will be changed on system reboot. Press Enter to acknowledge this message.Figure 4. System Settings screen showing warning message related to changing TPM version
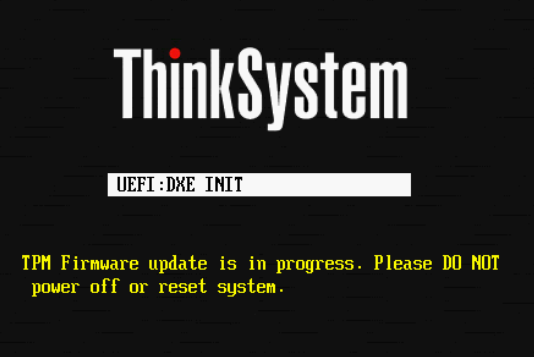
- Click Exit UEFI Setup. A warning message is displayed asking for confirmation to exit UEFI Setup and reboot the server. Click Yes to confirm and reboot the system. The system might reboot multiple times to complete the configuration changes. If the TPM version was changed, you should see a message indicating this when the system reboots, as shown in the following figure.Figure 5. System startup screen indicating a TPM change has been made
This completes the process to configure UEFI settings on a ThinkAgile MX solution that uses Lenovo V1 or V2 servers. Make sure to follow these steps for all nodes that will participate in the Azure Local instance.
Give documentation feedback