Updating multiple remote servers from the Web site
The UpdateXpress application supports to update the remote servers in batch from Web site.
The multi-update function for the remote servers is only supported in the ThinkServer servers and the WenTian server. For details of supported servers, see ThinkServer and WenTian series in Supported server models.
To update multiple remote servers from the Web site, do the following:
- In the Multi-server Management window, do one or more of the following:
- To add new servers into server pool, select + Add new servers. In the Add new servers window, do one of the following:
Select IP range, input the IP address range and click Discover.
Select Discover by SSDP, select the target adapter and click Discover.
To remove the server from the Server Pool list, select one or more target servers, and click .
To verify whether the user name and password are correct for the server, select one or more target servers, and click .
To export the Server Pool list, select one or more target servers, click .
NoteBy default, the Server Pool list will be saved in the JSON file. Users can also select the CSV and XLS format.To import the Server Pool list to other server, select one or more target servers from the list, click and select the target JSON file.
- To change the password of the server, select one or more target servers, click . On the Change IP and Password page, do one of the following:
To change the password for single server, input the new user name and password, and click Execute. The new user name and password will be automatically added to the drop-down list.
To change the password for multiple servers, click Export, modify the password in the exported CSV file, and save the file. Go back to the Change IP and Password page, click Import to add the CSV file, and click Execute.
To view the details of each server, click
 of the target server.
NoteThe user role ofUSERID is Administrator, which cannot be changed. To use common BMC credentials for management, select Input the common BMC credentials -, input user name and password.
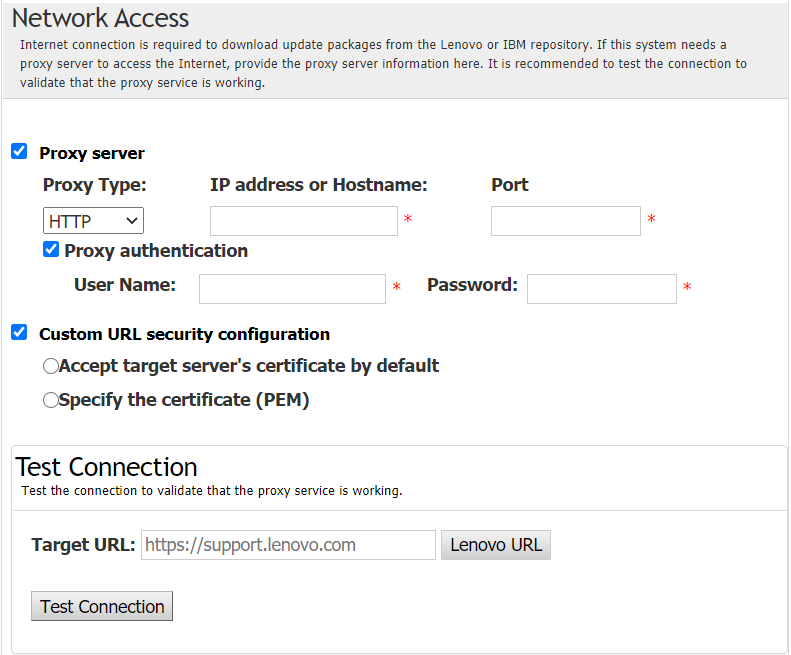
- On the Internet Access page, if users have no special requirement for security access, click Test Connection to check the network connection of the Target URL, and click Next. If users have more security concerns, before clicking Test Connection, configure Proxy server and/or Custom URL security configuration depending on the security requirements as follows:
Proxy server
Select Proxy Server if users require an HTTP/HTTPS proxy to connect to the Web, and complete the following fields:
Proxy Type The proxy type of the proxy server. IP address or Hostname The host name, IP address, or domain name of the proxy server. Port The port number of the proxy server. Select Proxy authentication if credentials must be specified to authenticate to the proxy server, and complete the following fields:
User Name The user name for authenticating to the proxy server. Password The password for the specified user name.
Custom URL security configuration
Select Custom URL security configuration if users require a reverse proxy, and select one of the following options:Accept target server’s certificate by default
Specify the certificate (PEM)