Importing configuration data into DCM
The following procedure describes how to import configuration data into Desired Configuration Management (DCM).
Procedure
- Open the Configuration Manager Console and expand Desired Configuration Management. Figure 1. Import Configuration Data selection
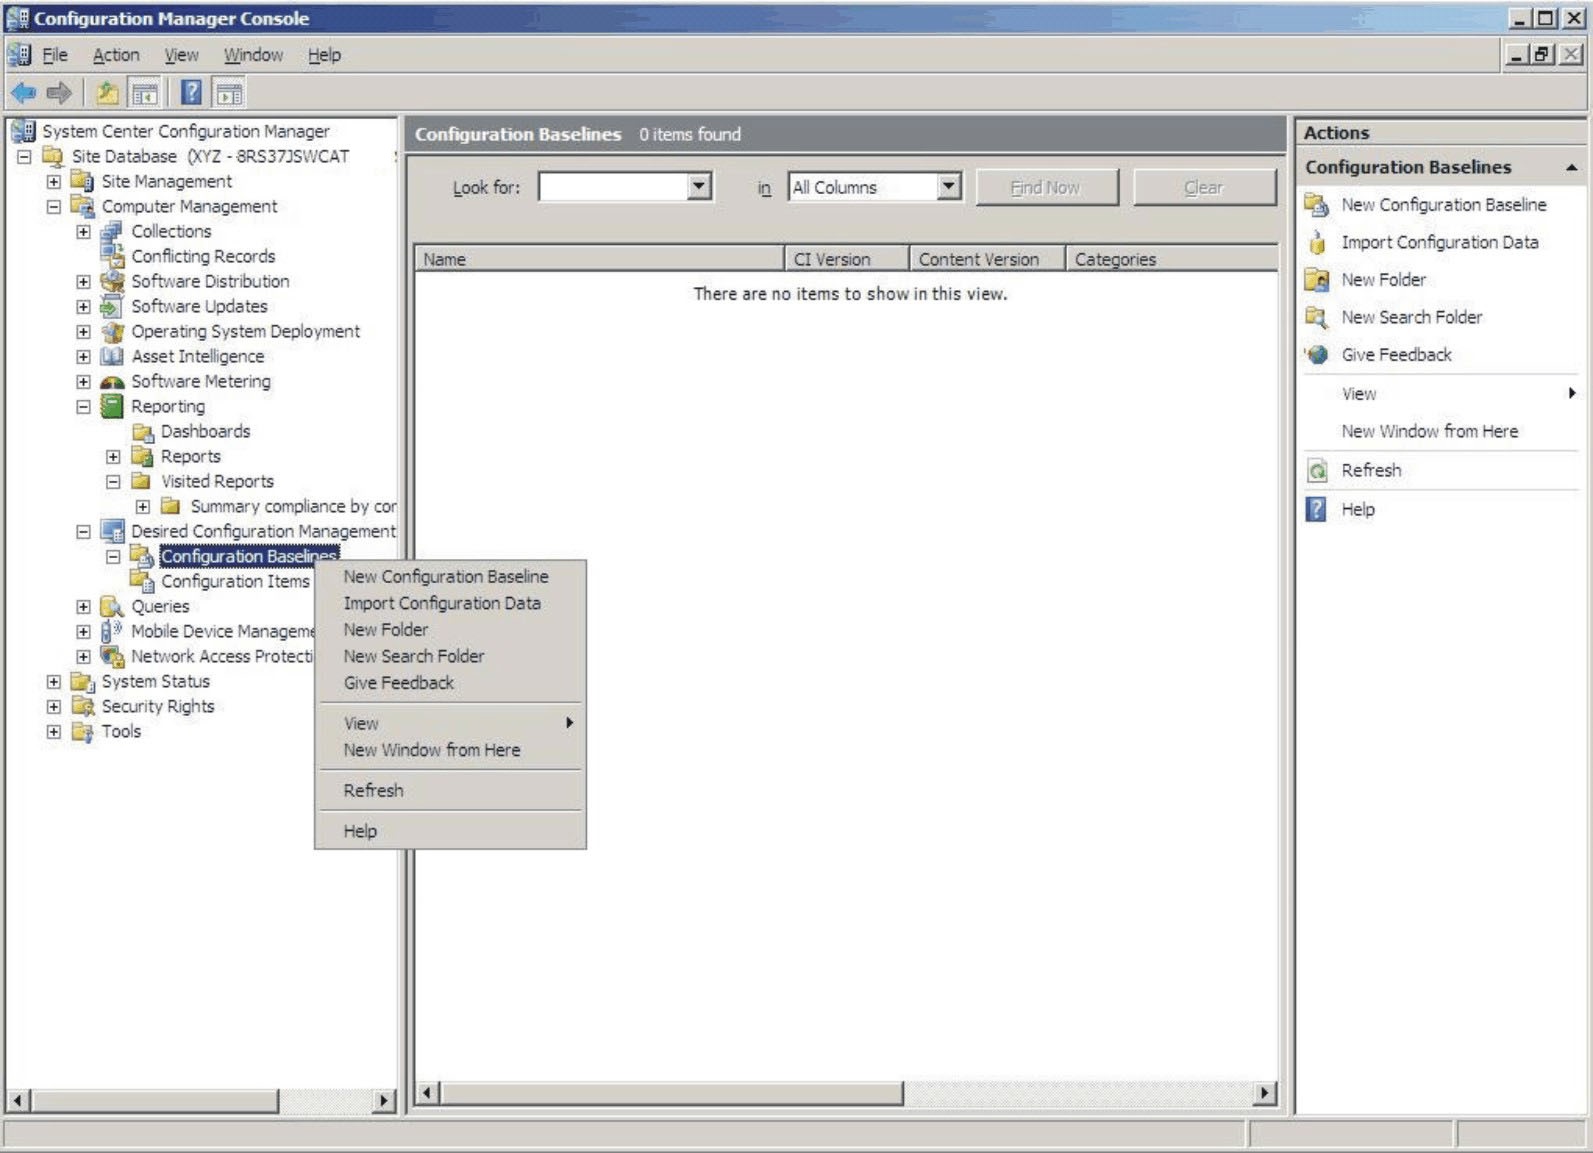
- Right-click Configuration Baselines or Configuration Items and click Import Configuration Data.The Import Configuration Data Wizard opens.Figure 2. Import Configuration Data Wizard
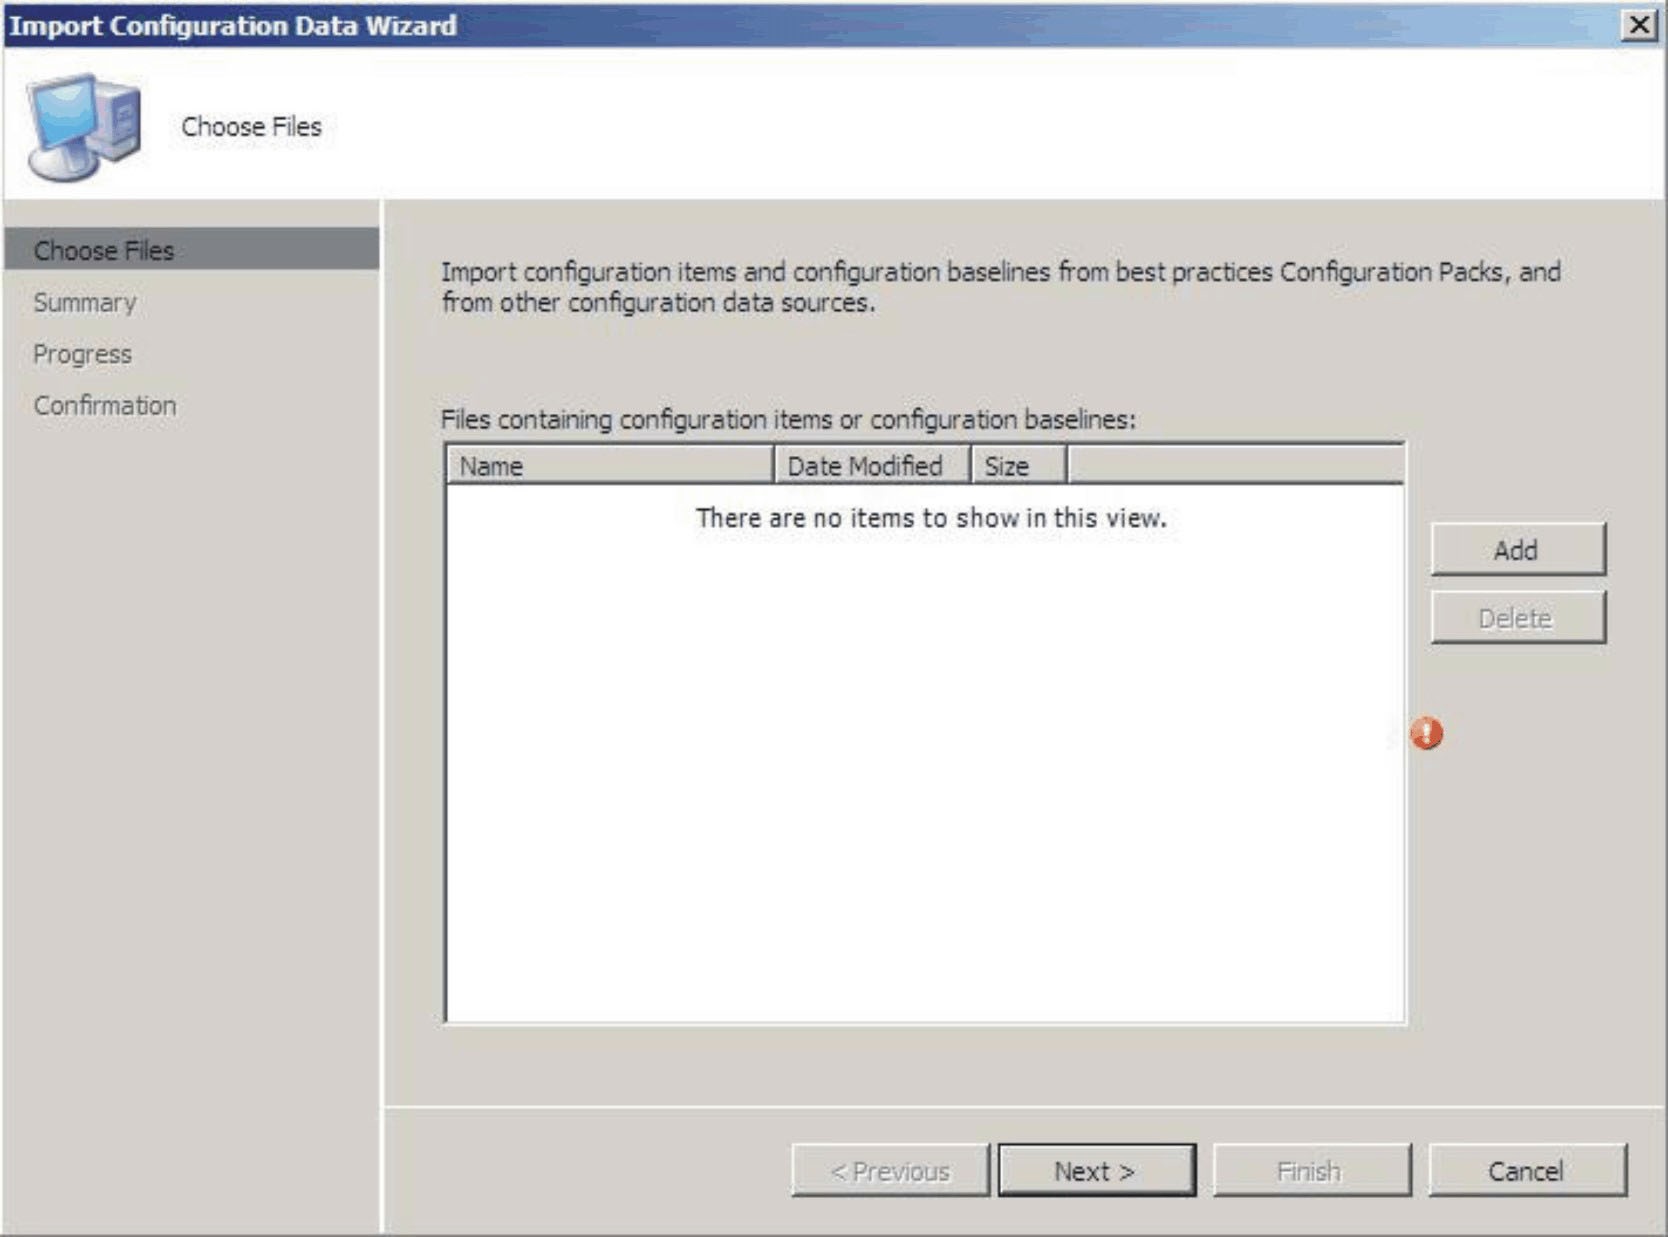
- Click Add to select the exported Lenovo Configuration Pack.cab file.The Open .cab file window is displayed.Figure 3. Selecting the .cab file
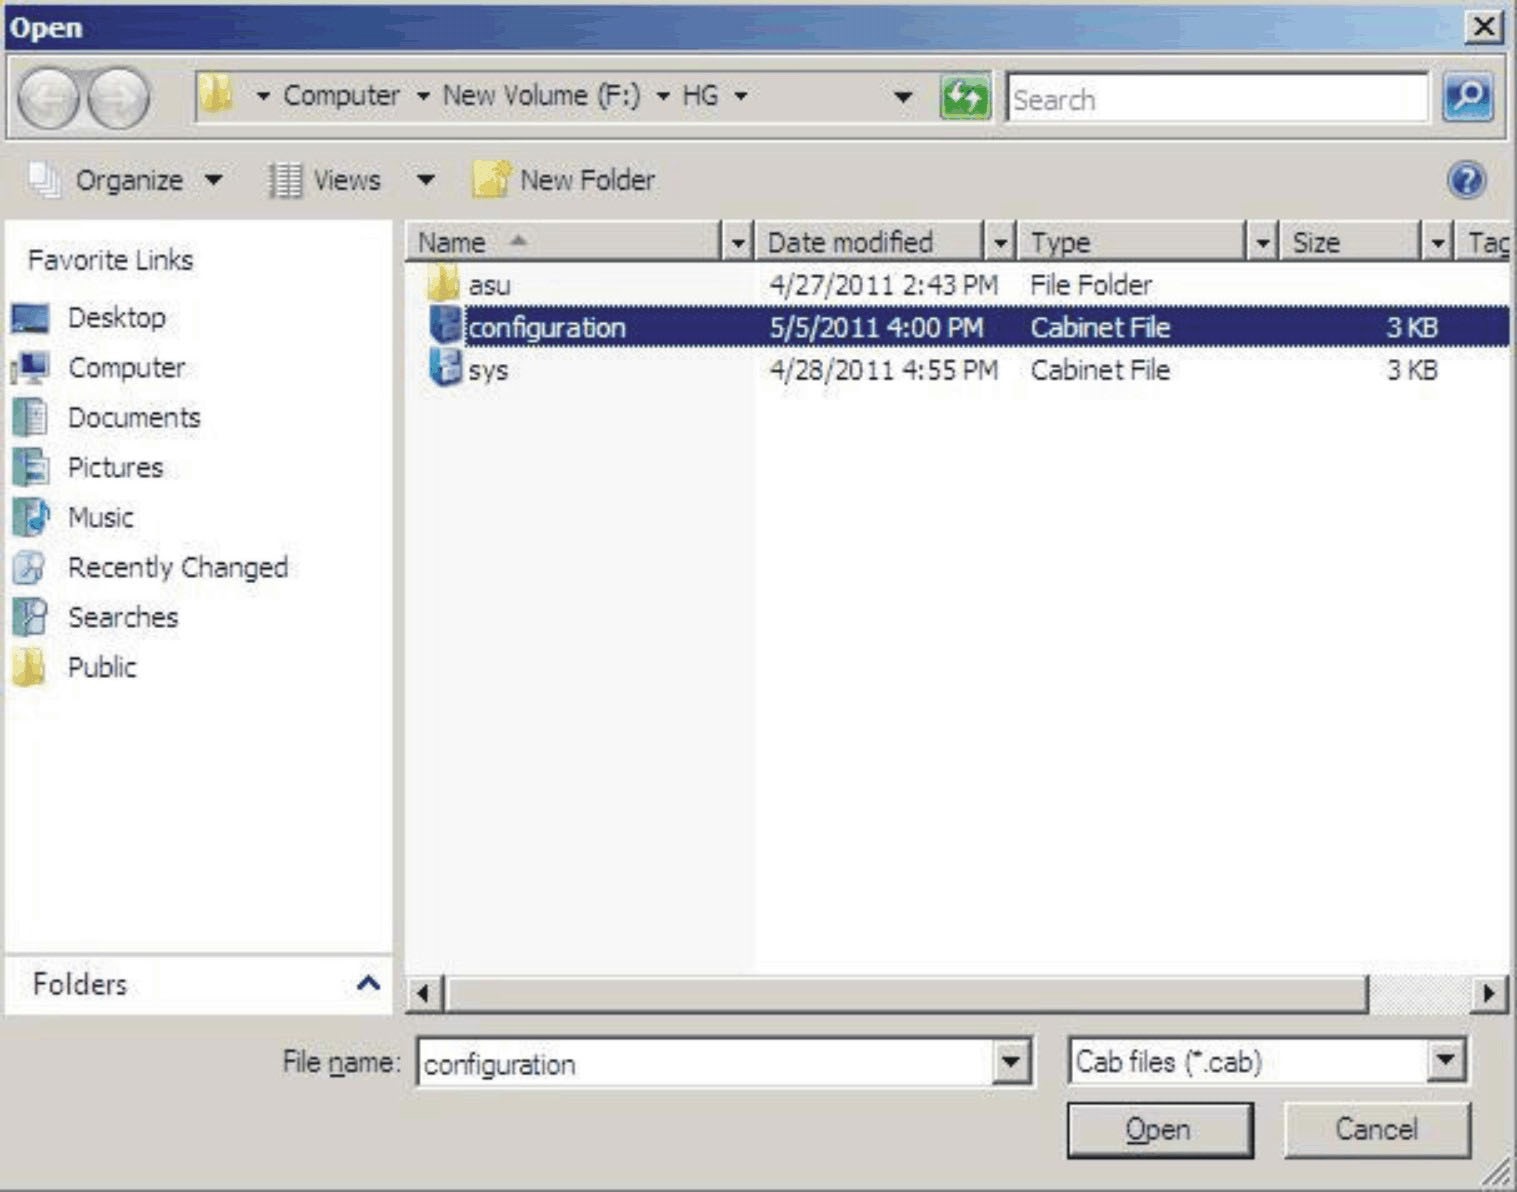
- Click configuration.Cabinet File and click Open to import the file.A Skip Authenticode signature check? window opens.Figure 4. Skip Authenticode signature check window
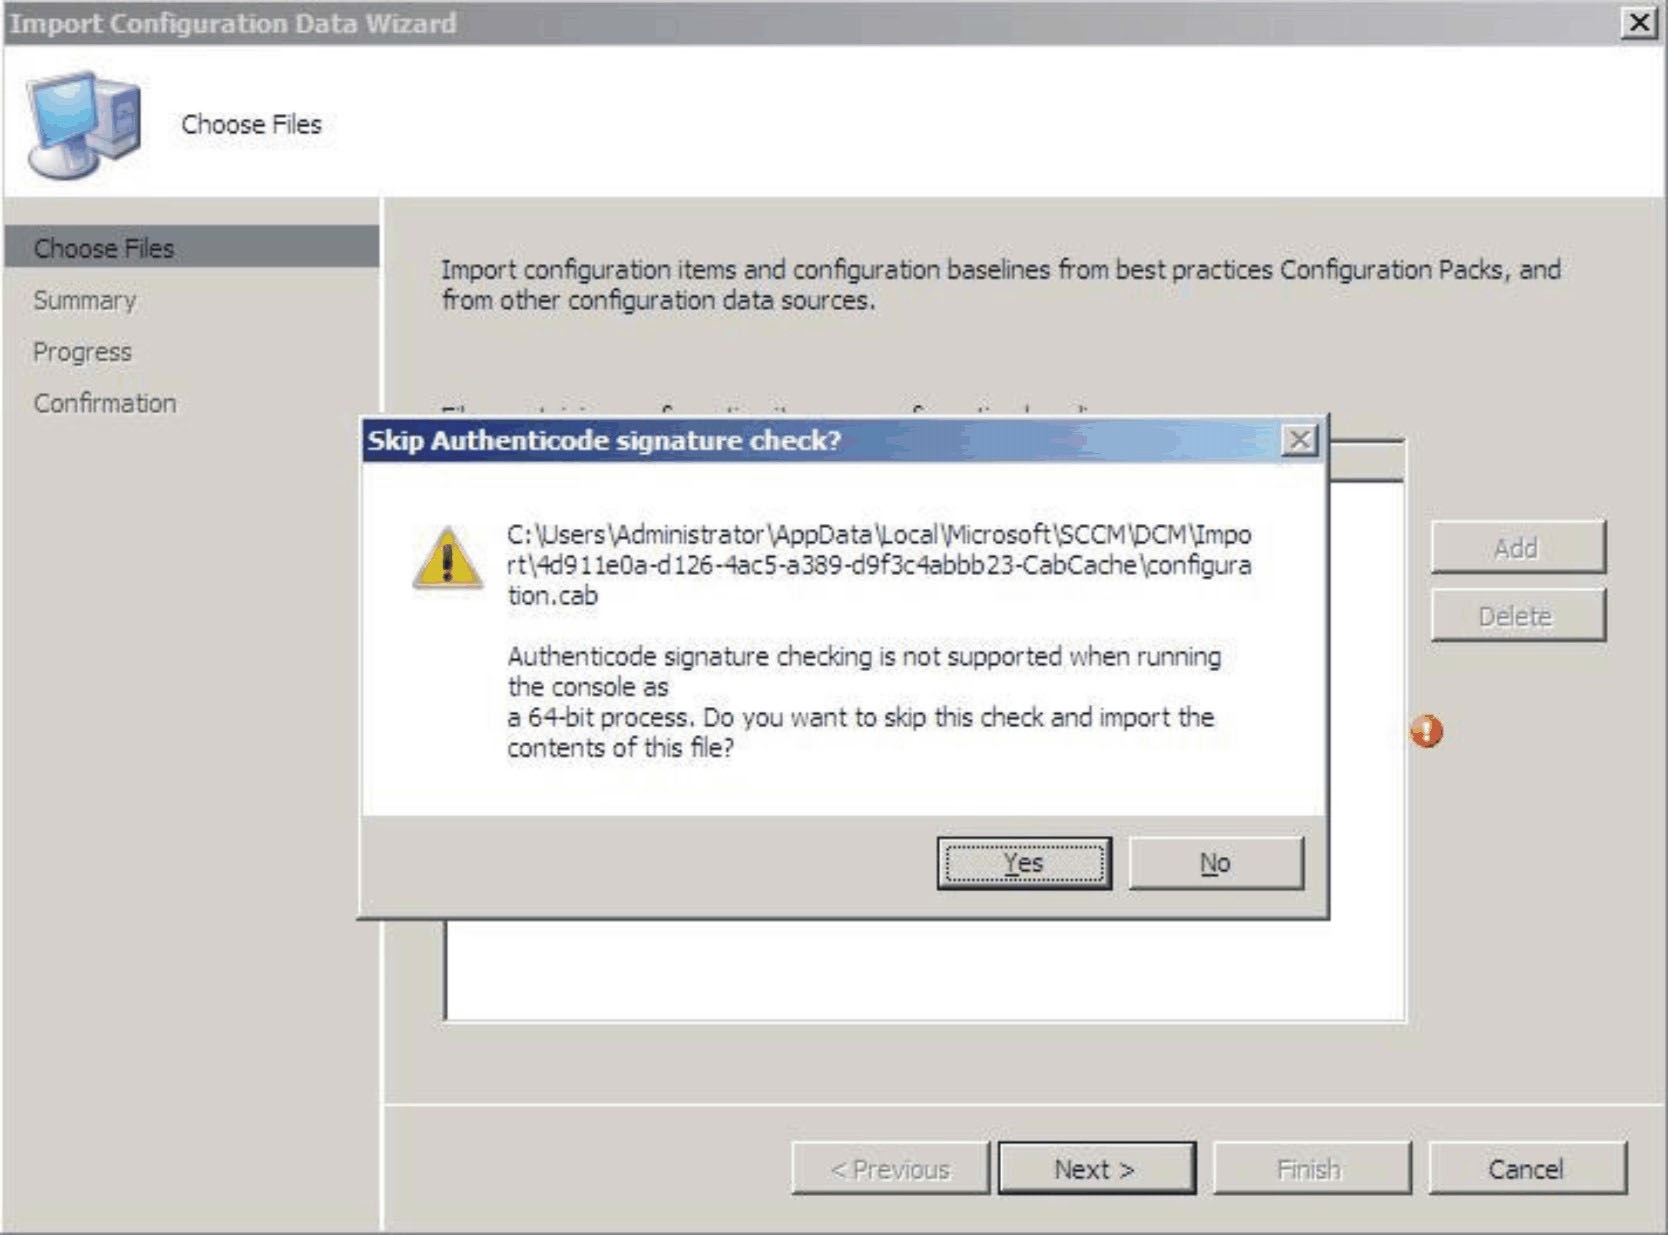
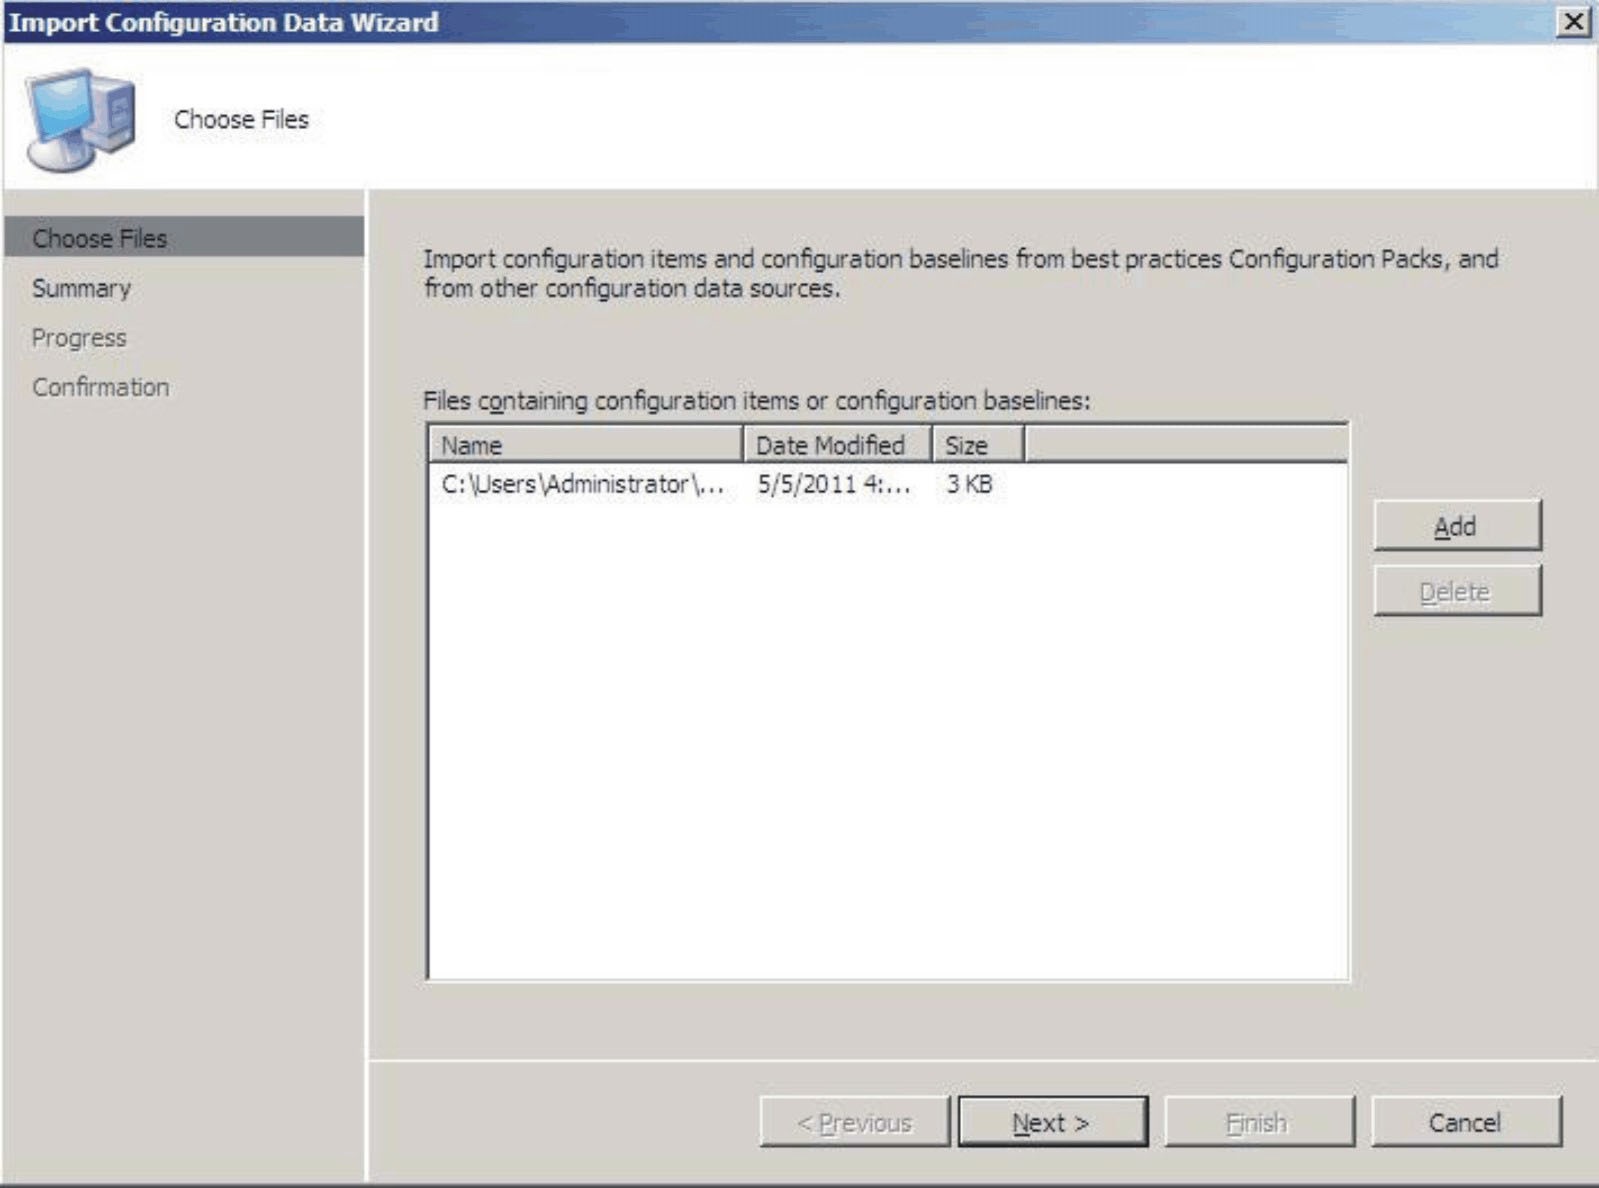
- Click Yes to skip the signature check and return to the Choose Files page. The Configuration.cab file is displayed in the list.Figure 5. Importing the selected .cab file
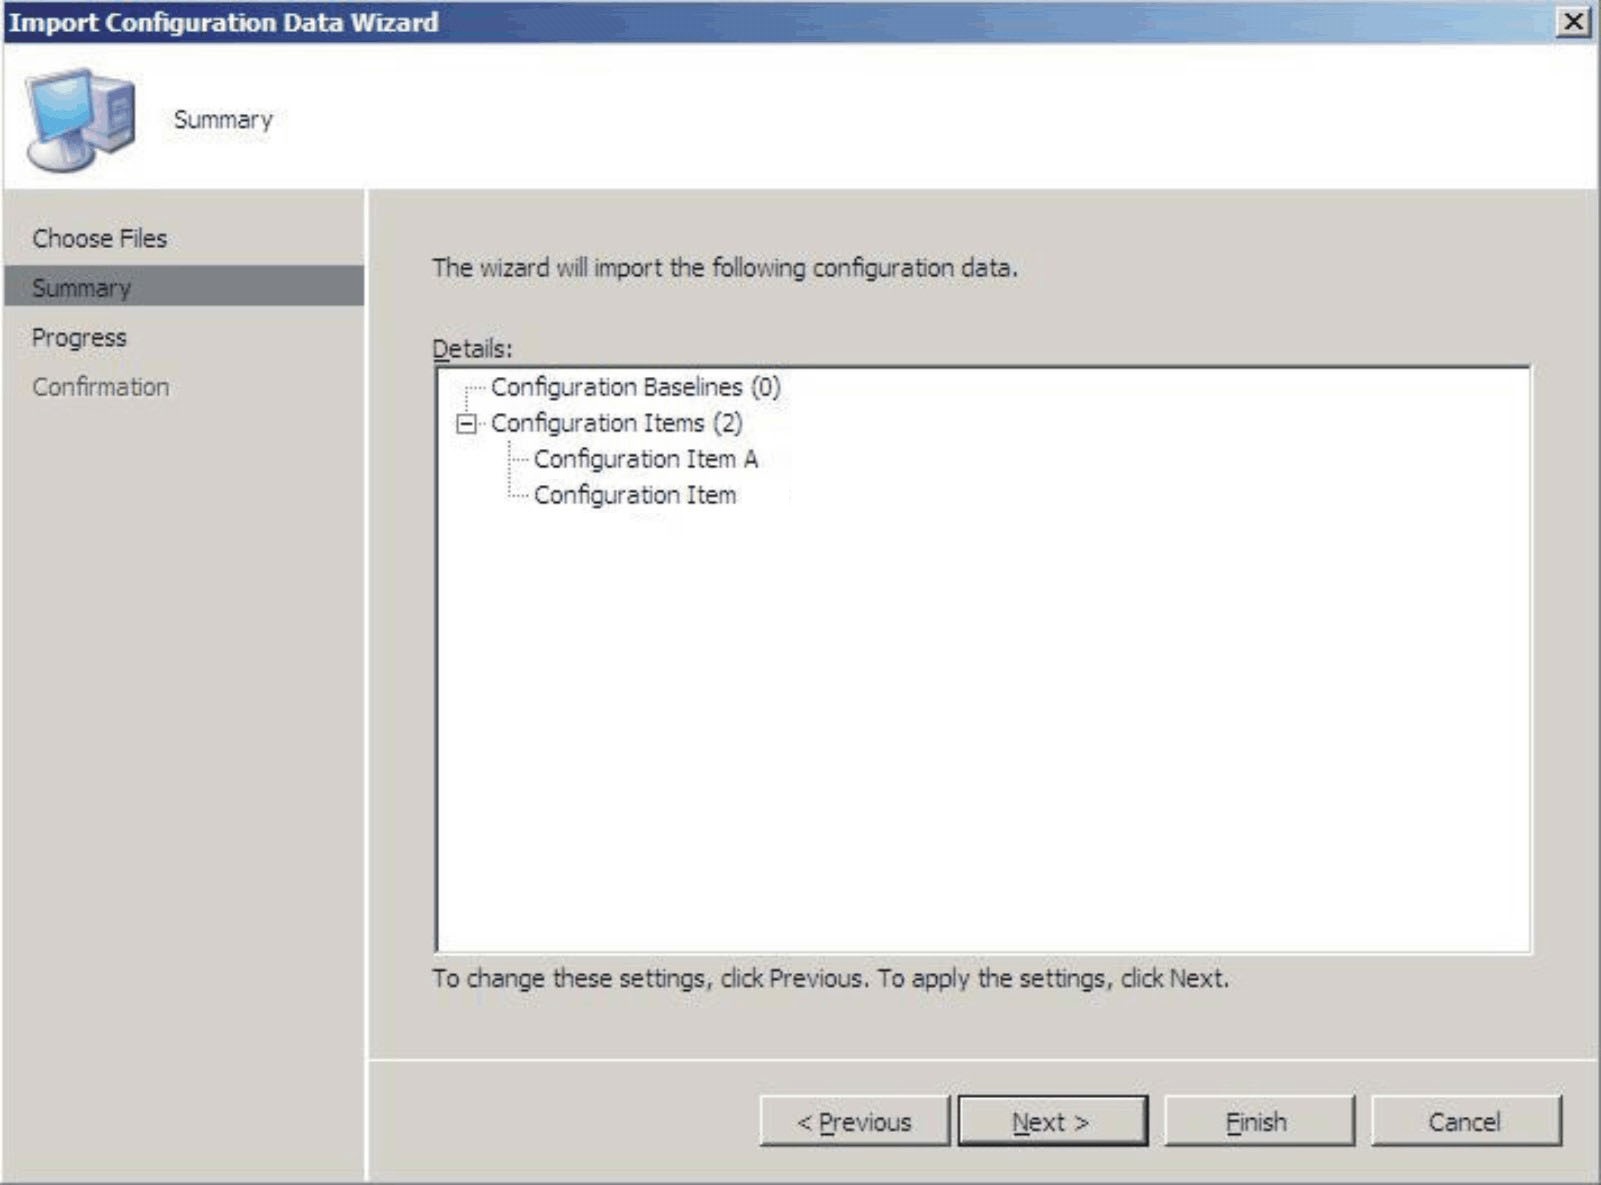
- Click Next to import the .cab file.The configuration items are displayed in the Details window.Figure 6. Imported configuration items
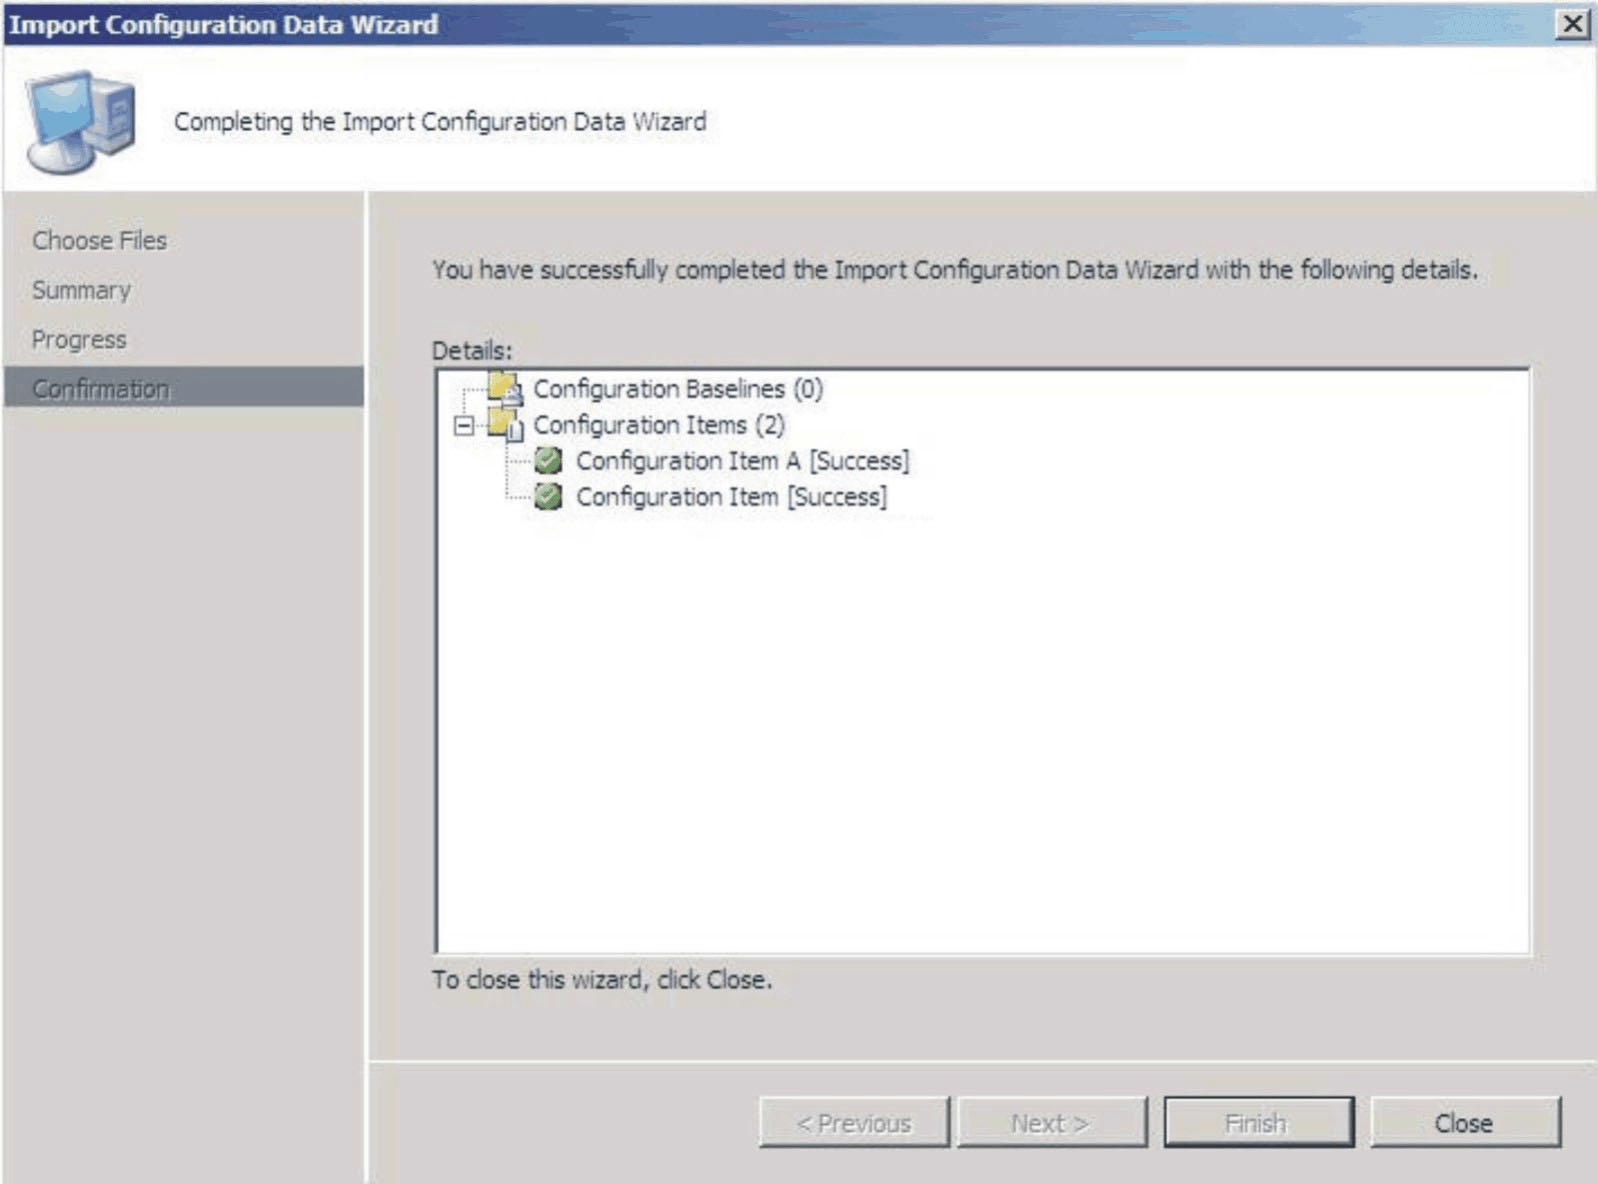
- Click Next to apply the settings.A message is displayed indicating that you have successfully imported the configuration data.Figure 7. Successful completion page
- In the navigation pane, right-click Configuration Items and click Refresh. The imported configuration items are displayed in the center pane.Figure 8. Imported configuration items in the Configuration Manager Console
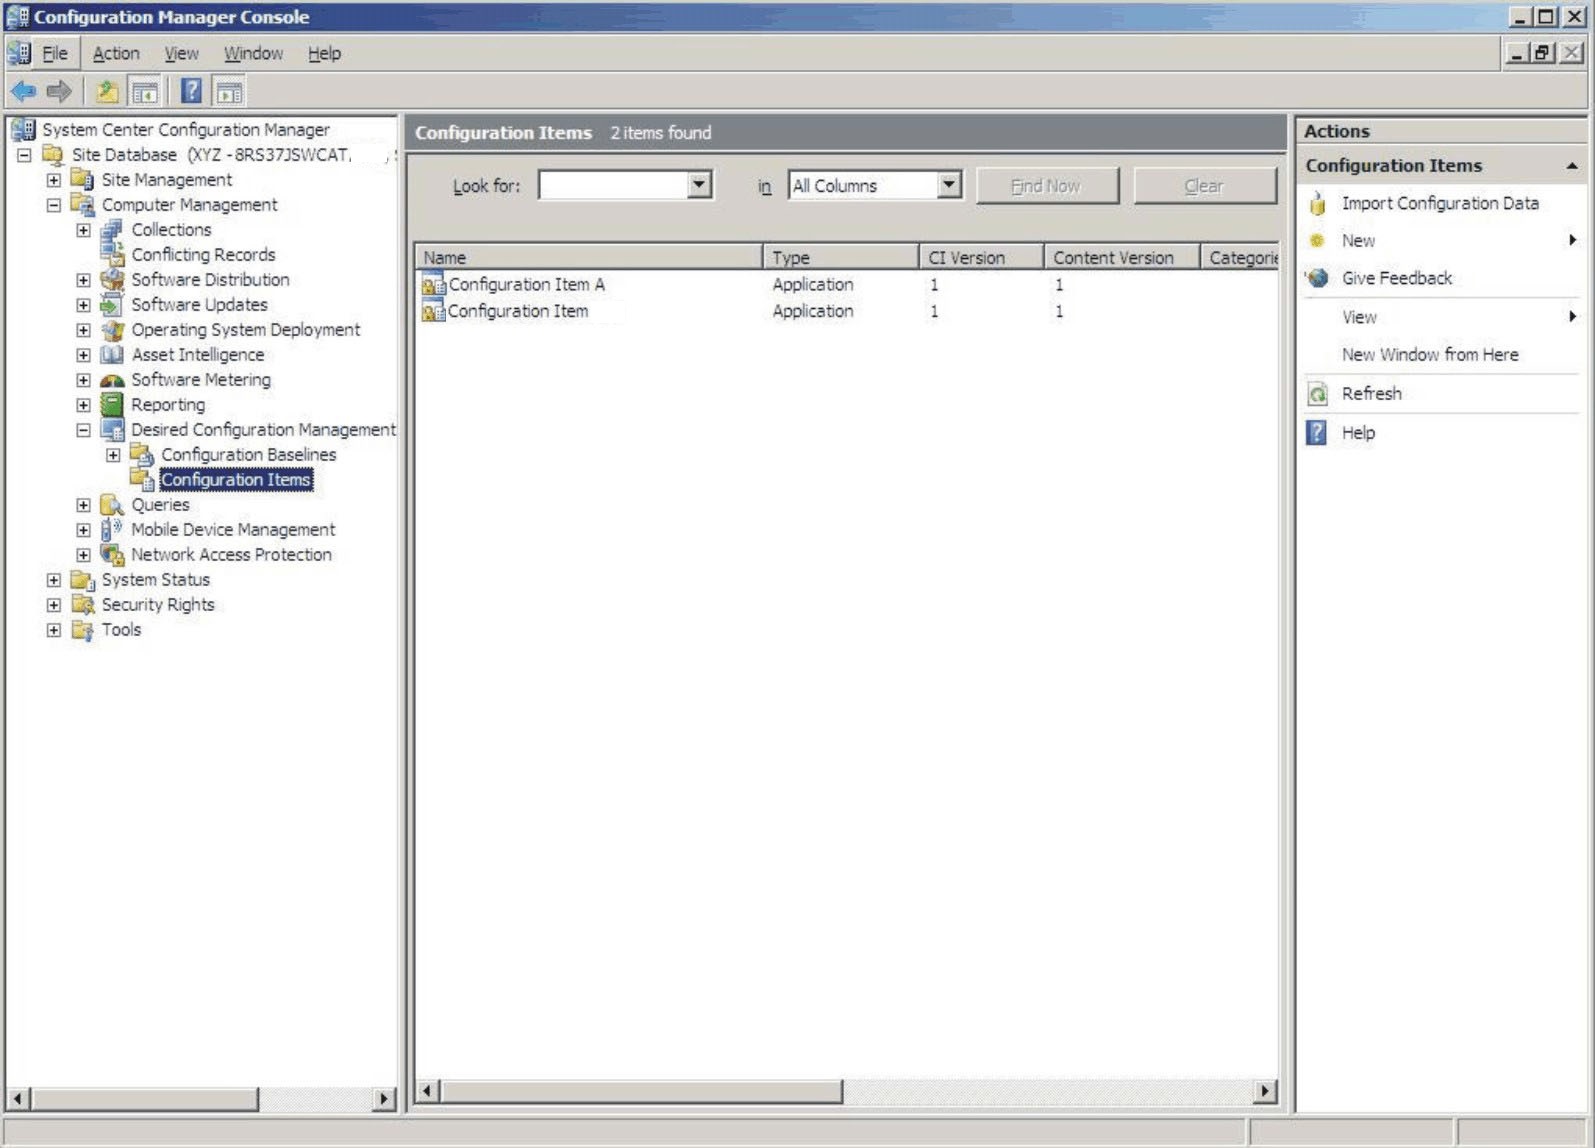 NoteThe imported configuration items might have a
Lock status. The Lock status is due to one of the following reasons: - The configuration data is read-only.
- The configuration data were not authored by the SCCM console administrator.
Give documentation feedback