Replace SATA and NVMe spacers
Use this information to replace a SATA or NVMe spacer based on the configuration of your compute node.
About this task
ProcedureAttention
Read the Installation Guidelines to ensure that you work safely.
Note
Make sure the following components have been removed from the compute node before replacing a spacer:
Front air baffle (see Remove the front air baffle).
Node front cover (see Remove the node front cover).
Drive cage assembly (see Remove the drive cage assembly).
PCIe riser assembly (see Remove the PCIe riser assembly).
- Install the SATA or NVMe spacer based on the type of drive(s) you will install into the drive cage assembly.Figure 1. SATA and NVMe spacers installation
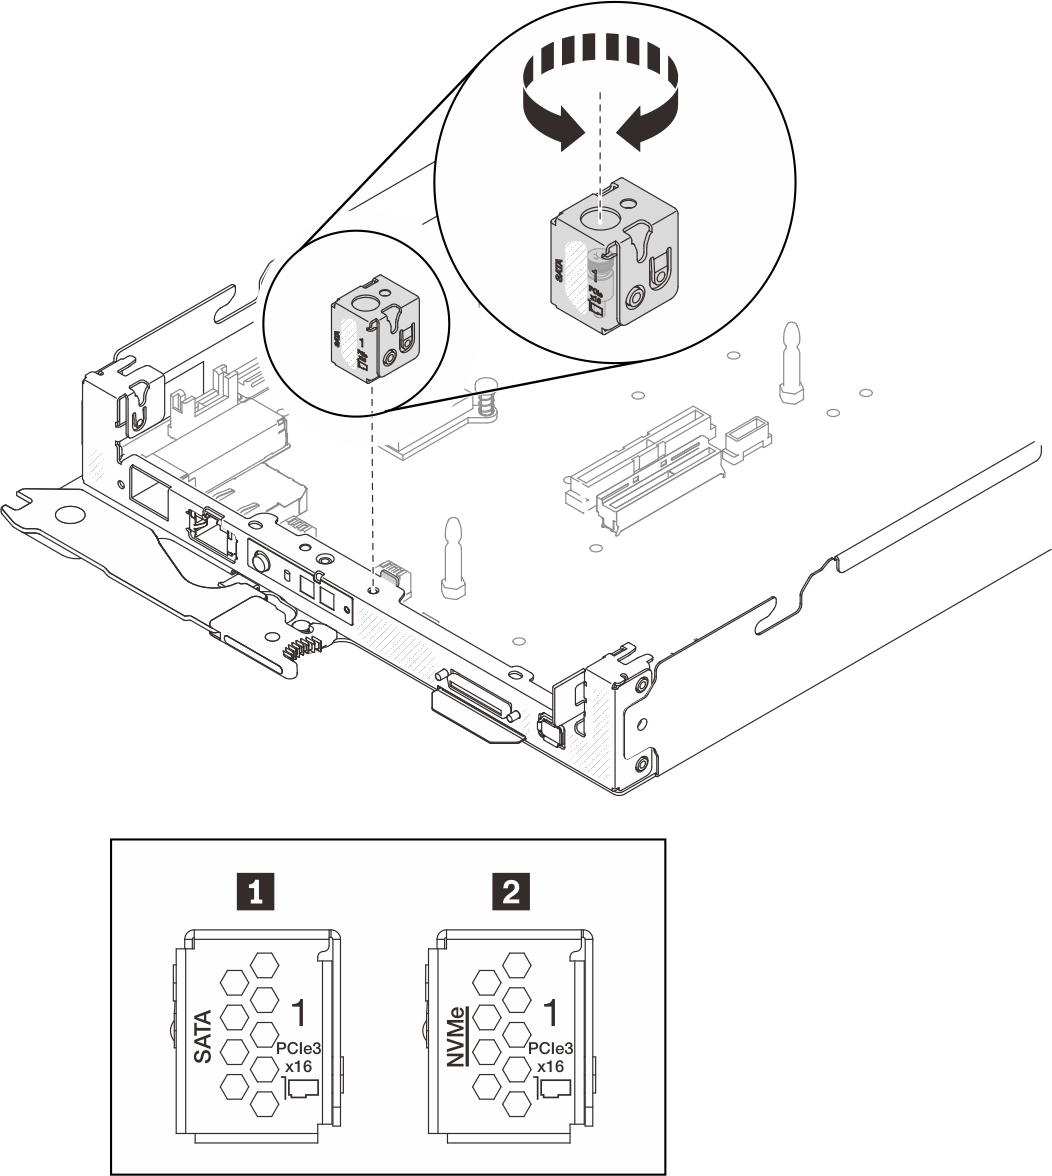
Table 1. List of spacers 1 SATA spacer 2 NVMe spacer - Align the opening on top of the spacer with the slot on the compute node tray as illustrated.
- Insert the screw into the slot through the opening on top of the spacer and tighten the screw to secure the spacer to the compute node tray.
Give documentation feedback