Remove a compute node from the enclosure
Use this information to remove a compute node from the DA240 Enclosure.
About this task
To avoid possible danger, read and follow the following safety statement.
- S002
 CAUTIONThe power-control button on the device and the power switch on the power supply do not turn off the electrical current supplied to the device. The device also might have more than one power cord. To remove all electrical current from the device, ensure that all power cords are disconnected from the power source.
Attention
Read the Installation Guidelines to ensure that you work safely.
Procedure
Figure 1. Compute node removal
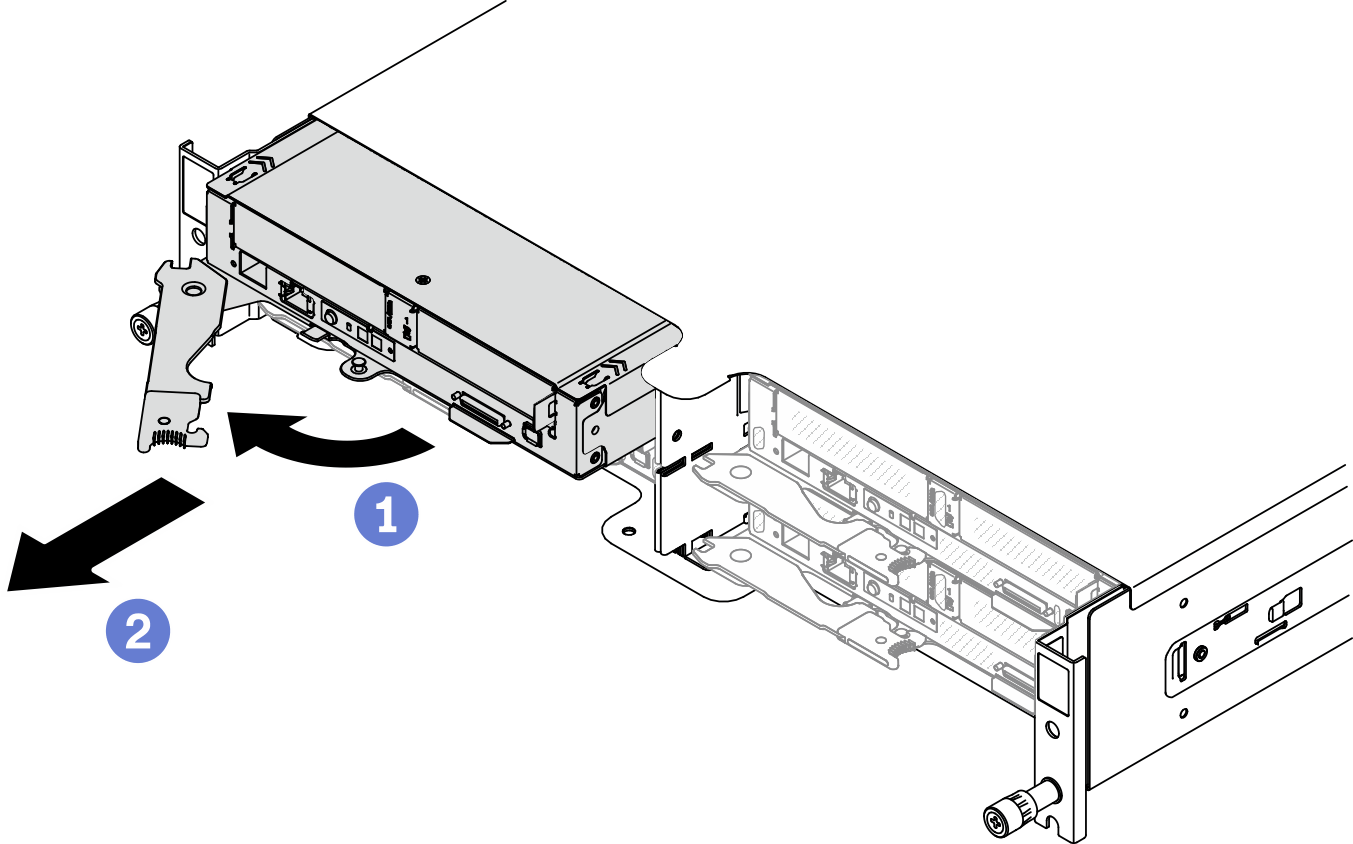
- Remove the compute node from the enclosure.
 Release and rotate the front handle on the compute node as shown in the illustration.
 Slide the compute node out about 10 inches (25.4 cm); then, grip the node with both hands and carefully pull it out of the enclosure.
AttentionWhen you remove the compute node, note the node bay number. Reinstalling a compute node into a different node bay from the one it was removed from could lead to unintended consequences. Certain configuration information and update options are established based on respective node bay numbers. If you reinstall the compute node into a different node bay, you might have to reconfigure the compute node.
Install either a node bay filler or another compute node in the node bay within one minute.
To maintain proper system cooling, do not operate the DA240 Enclosure without a compute node or node bay filler installed in each node bay.
Demo video
Give documentation feedback