System board replacement (trained technician only)
Follow instructions in this section to remove and install the system board.
Take a dust cover from the CPU socket assembly on the new system board and orient it correctly above the CPU socket assembly on the removed system board.
Gently press down the dust cover legs to the CPU socket assembly, pressing on the edges to avoid damage to the socket pins. You might hear a click on the dust cover is securely attached.
Make sure that the dust cover is securely attached to the CPU socket assembly.
This task must be operated by trained technicians that are certified by Lenovo Service. Do no attempt to remove or install it without proper training and qualification
- Before replacing a system board, go to Service process for updating PSB fuse state and do the following:
Check the current PSB fuse policy before replacement.
Ensure that the processor fuse status is expected without unexpected XCC event logs after replacement.
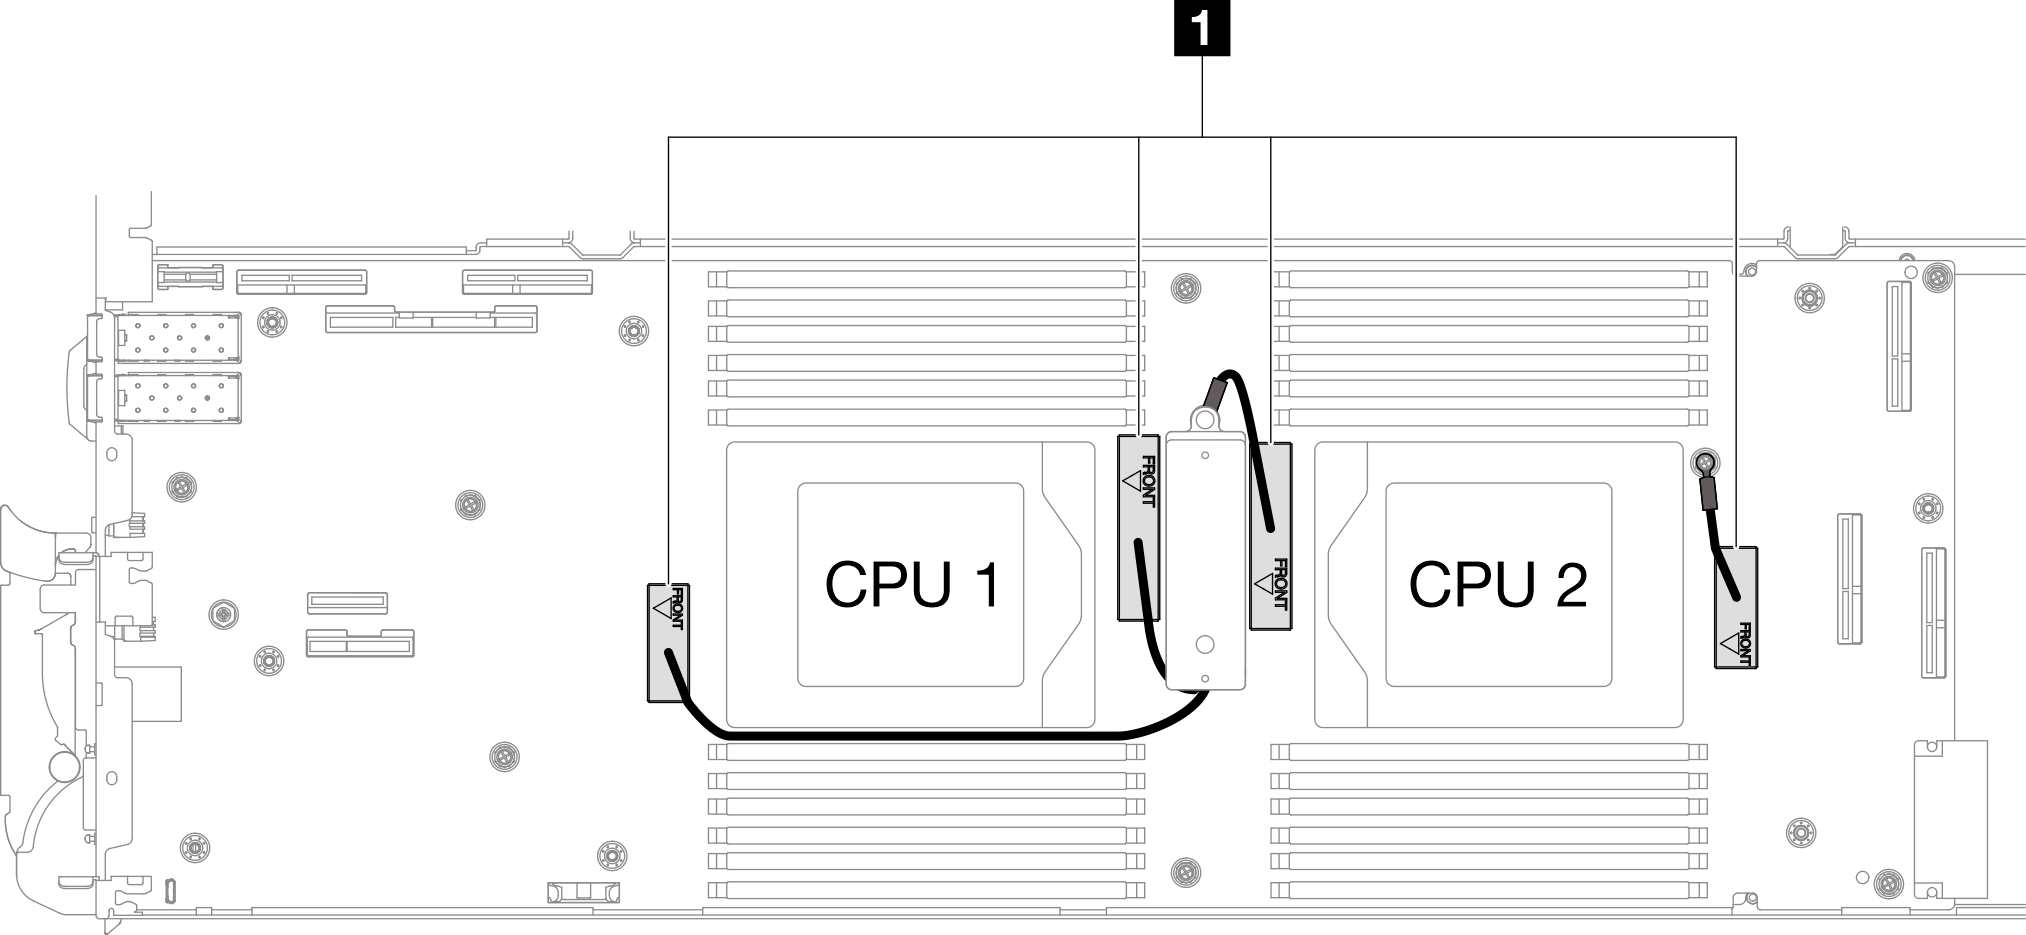
If there are shielding cables on the system board, when removing the system board, do not remove the shielding cables (1) from the system board.