Install a simple-swap drive
Use this information to install a simple-swap drive.
Before you install a simple-swap drive:
- Read the following section(s) to ensure that you work safely.
Touch the static-protective package that contains the drive to any unpainted metal surface on the server; then, remove the drive from the package and place it on a static-protective surface.
Note
When the eighth SATA drive is installed, the M.2 drive is disabled.
To install a simple-swap drive, complete the following steps:
Figure 1. Simple-swap drive installation
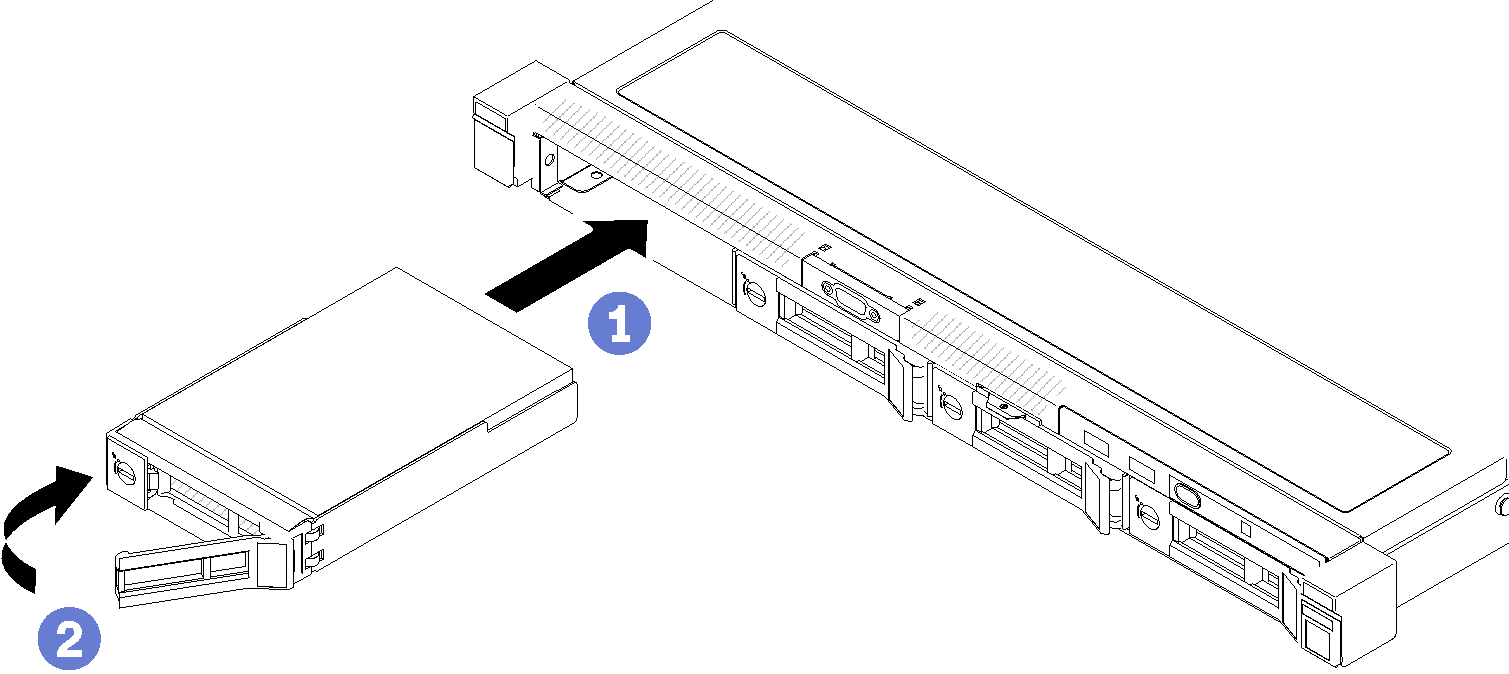
- Slide the drive into the drive bay. Make sure the drive handle is in the open position.
- Lock the drive into place by rotating the drive handle inward until it clicks.
After you install all simple-swap drives, complete the following steps:
If you are instructed to return the defective component, please package the part to prevent any shipping damage. Reuse the packaging the new part arrived in and follow all packaging instructions.
Reconnect power cords and all external cables.
Demo video
Give documentation feedback