Install a hot-swap drive
Use this information to install a hot-swap drive.
The following notes describe the type of drives that your server supports and other information that you must consider when you install a drive.
- Depending on your server models, your server supports the following types of drives:
SAS/SATA HDD
SAS/SATA SSD
NVMe SSD
For a list of supported drives, see: Lenovo ServerProven website
The drive bays are numbered to indicate the installation order (starting from number “0”). Follow the installation order when you install a drive. See Front view.
- You can mix drives of different types and different capacities in one system, but not in one RAID array. The following order is recommended when installing the drives:
Drive type priority: NVMe SSD, SAS SSD, SATA SSD, SAS HDD, SATA HDD
Drive capacity priority: the lowest capacity first
For server models with ten 2.5-inch drive bays in the front, NVMe drives are supported in drive bays 6–9.
The drives in a single RAID array must be the same type, same size, and same capacity.
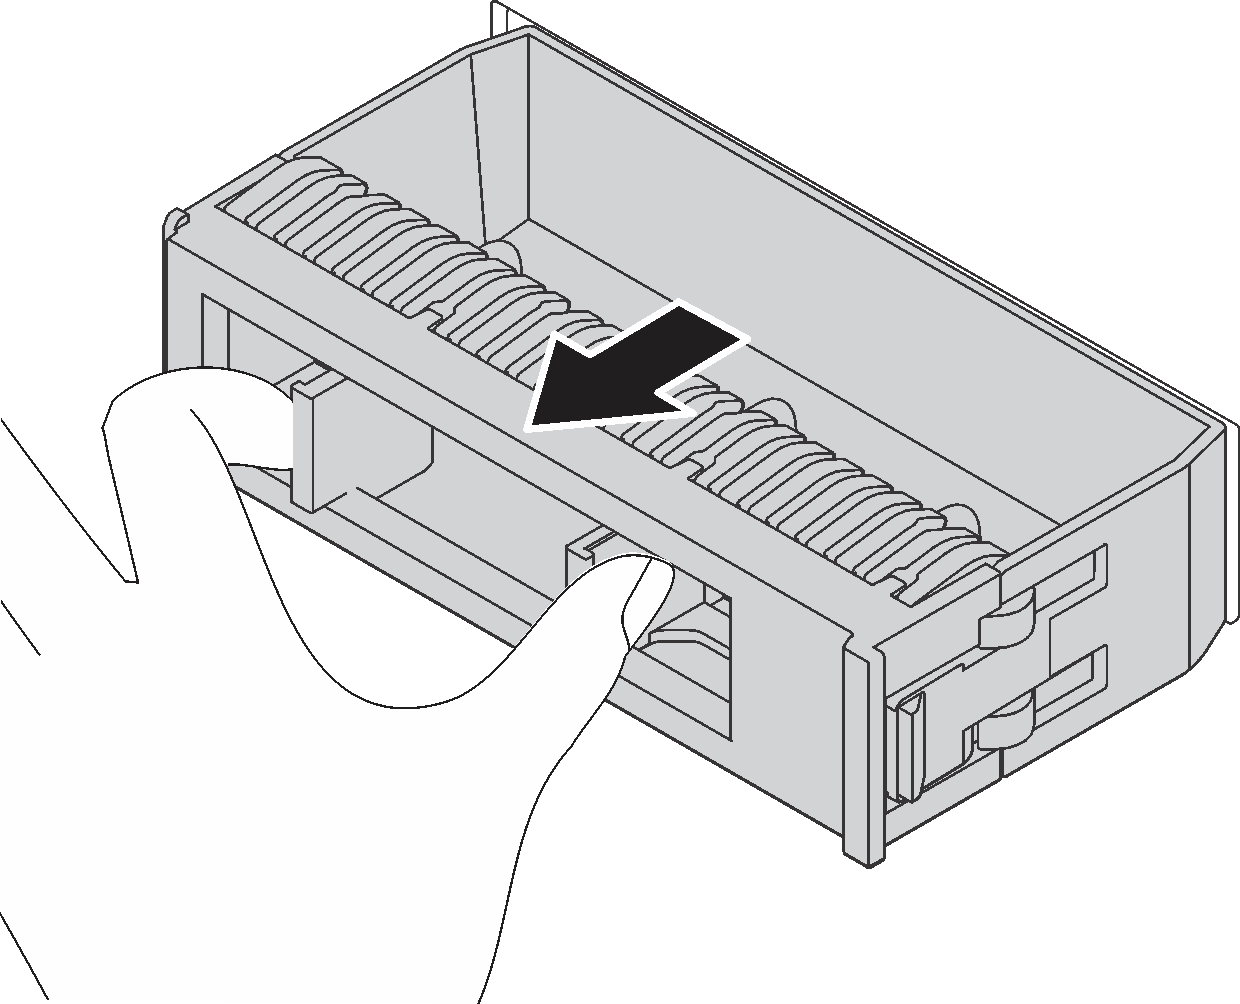
- Remove the drive filler from the drive bay. Keep the drive filler in a safe place.Figure 1. Drive filler removal

Touch the static-protective package that contains the new drive to any unpainted surface on the outside of the server. Then, take the new drive out of the package and place it on a static-protective surface.
To install a hot-swap drive, complete the following steps:

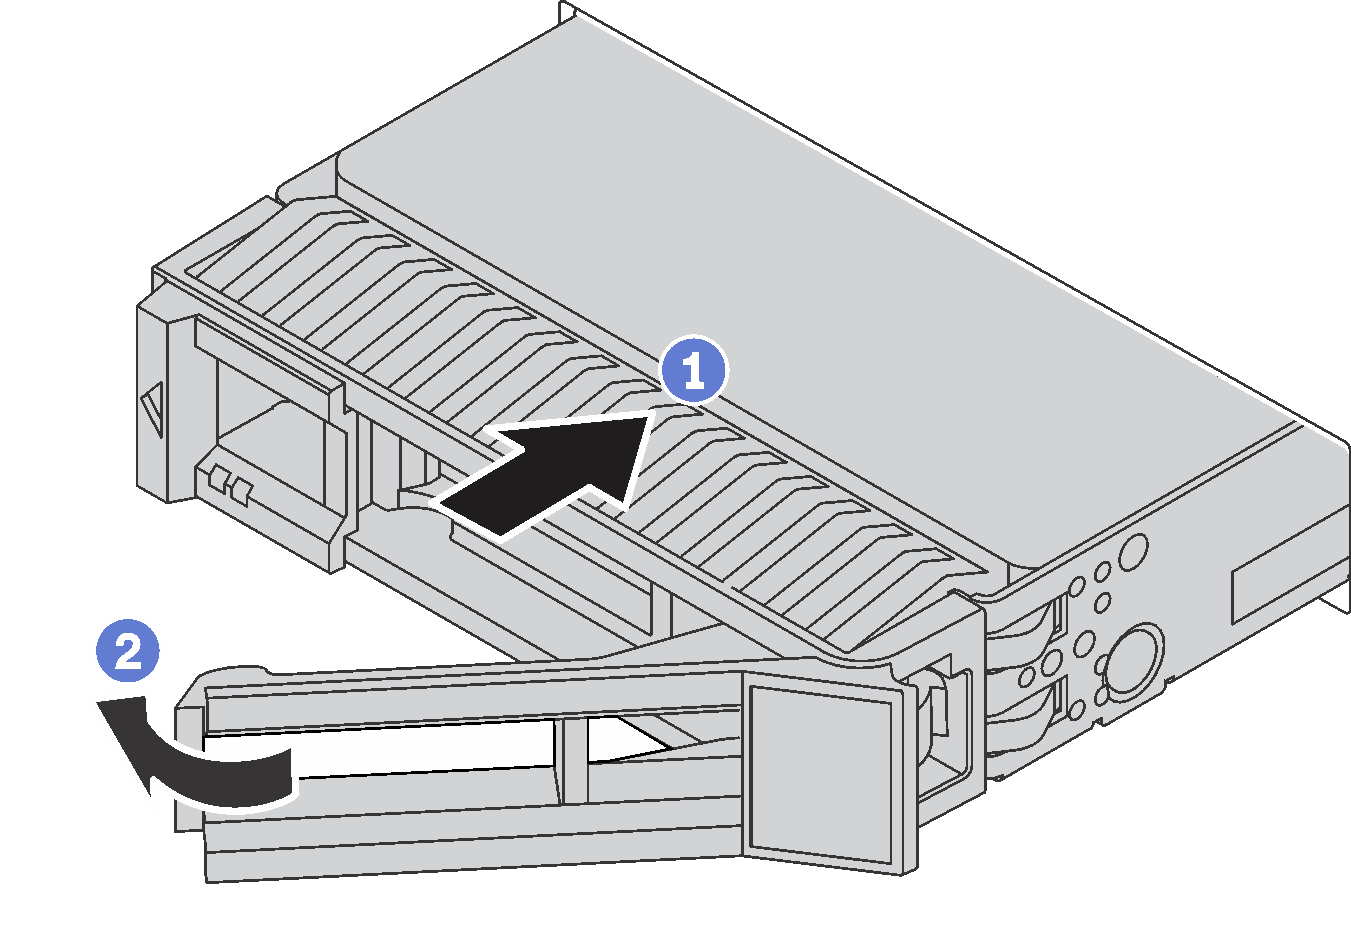
- Ensure that the drive tray handle is in the open position. Slide the drive into the drive bay until it snaps into position.
- Close the drive tray handle to lock the drive in place.
- Continue to install additional hot-swap drives if necessary.

