Install the server to rack
Follow instructions in this section to install the server to the rack.
S036
 |  |
| 18 - 32 kg (39 - 70 lb) | 32 - 55 kg (70 - 121 lb) |
CAUTION
Use safe practices when lifting.
S006


CAUTION
When laser products (such as CD-ROMs, DVD drives, fiber optic devices, or transmitters) are installed, note the following:
- Do not remove the covers. Removing the covers of the laser product could result in exposure to hazardous laser radiation. There are no serviceable parts inside the device.
- Use of controls or adjustments or performance of procedures other than those specified herein might result in hazardous radiation exposure.
About this task
Attention
Read Installation Guidelines and Safety inspection checklist to ensure that you work safely.
Power off the server and peripheral devices and disconnect the power cords and all external cables. See Power off the server.
CAUTION
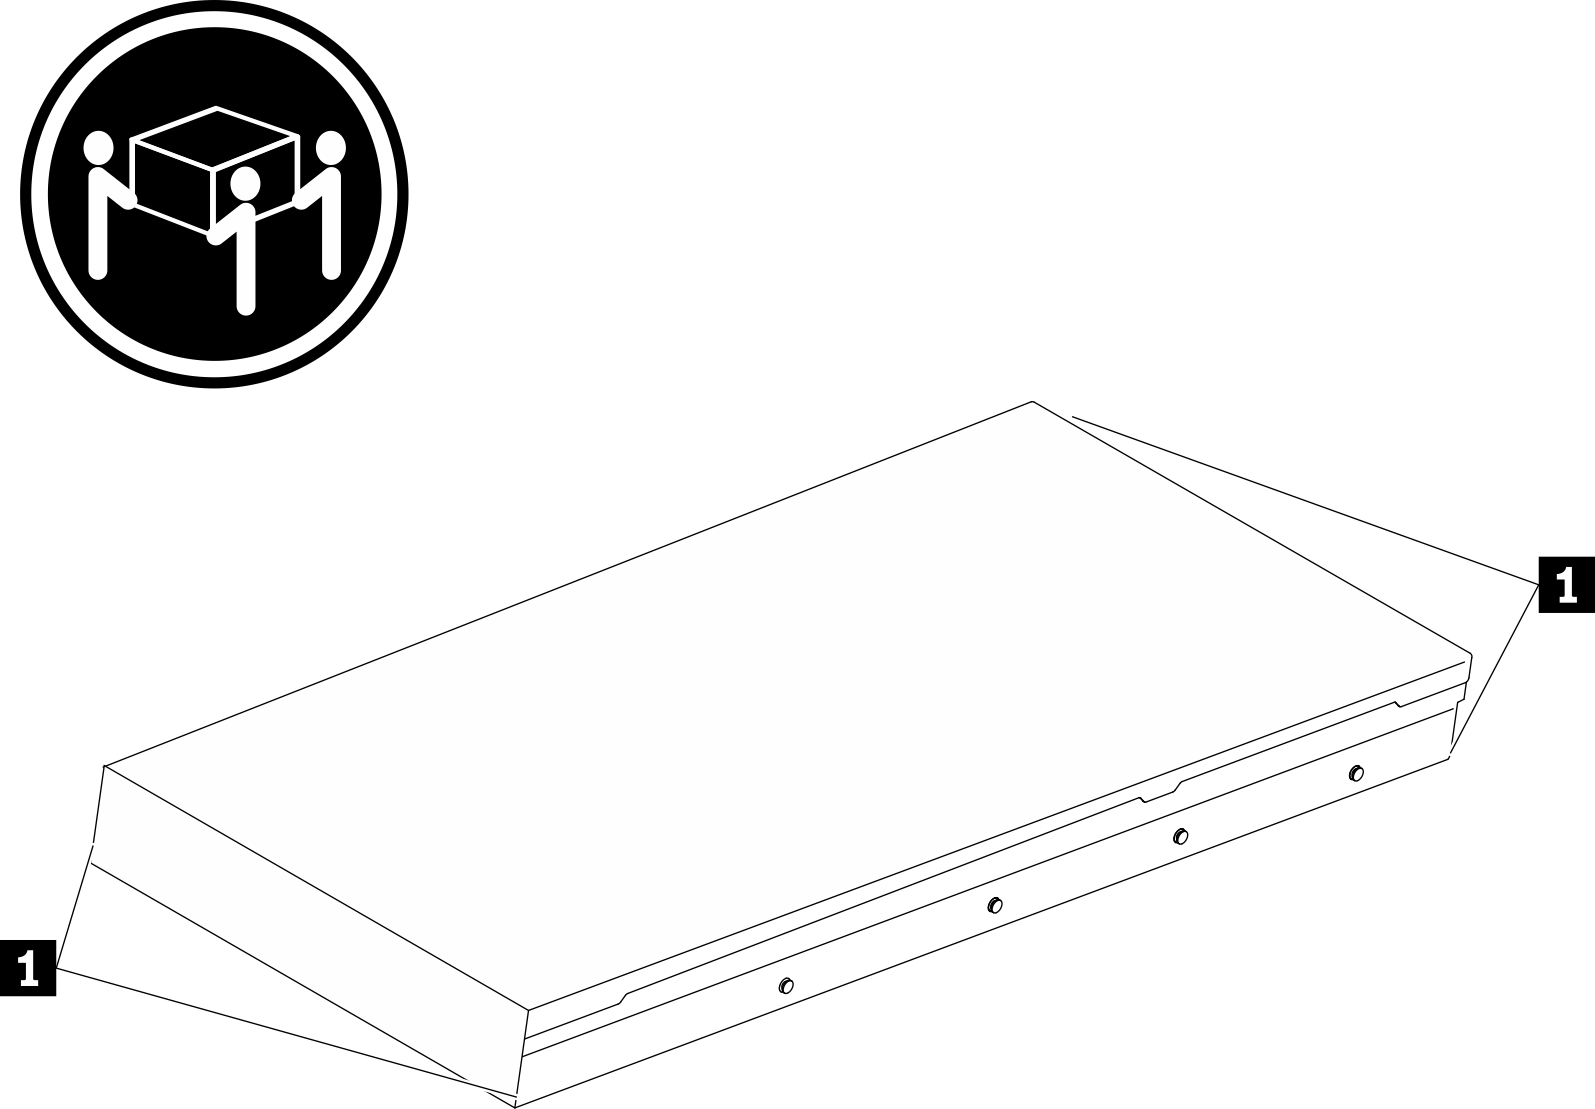
Make sure to have three people operate the server installation procedures to prevent injury.
Firmware and driver download: You might need to update the firmware or driver after replacing a component.
Go to Drivers and Software download website for ThinkSystem SR635 V3 to see the latest firmware and driver updates for your server.
Go to Update the firmware for more information on firmware updating tools.
Procedure
After you finish
Reconnect the power cords and any cables that you removed.
Power on the server and any peripheral devices. See Power on the server.
Update the server configuration. See Complete the parts replacement.
Demo video
Give documentation feedback
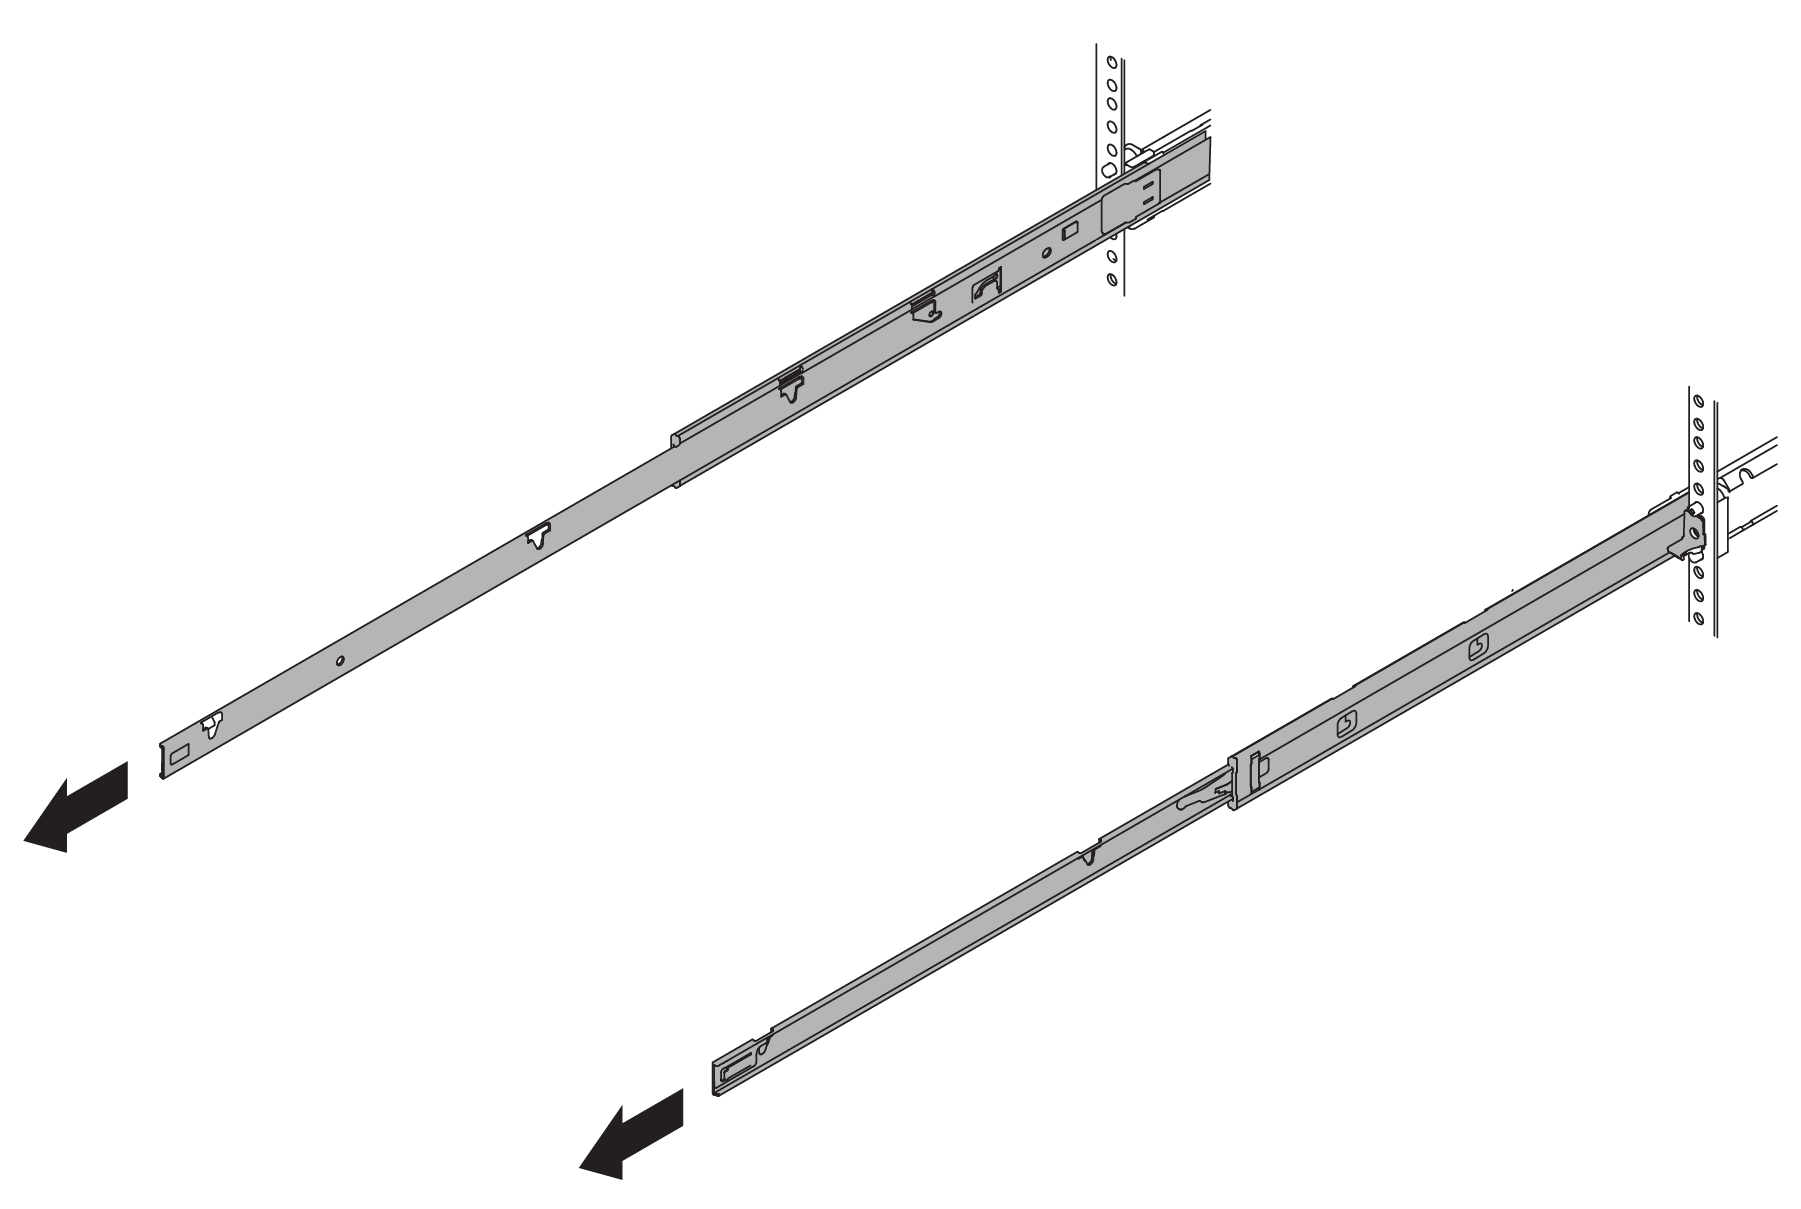
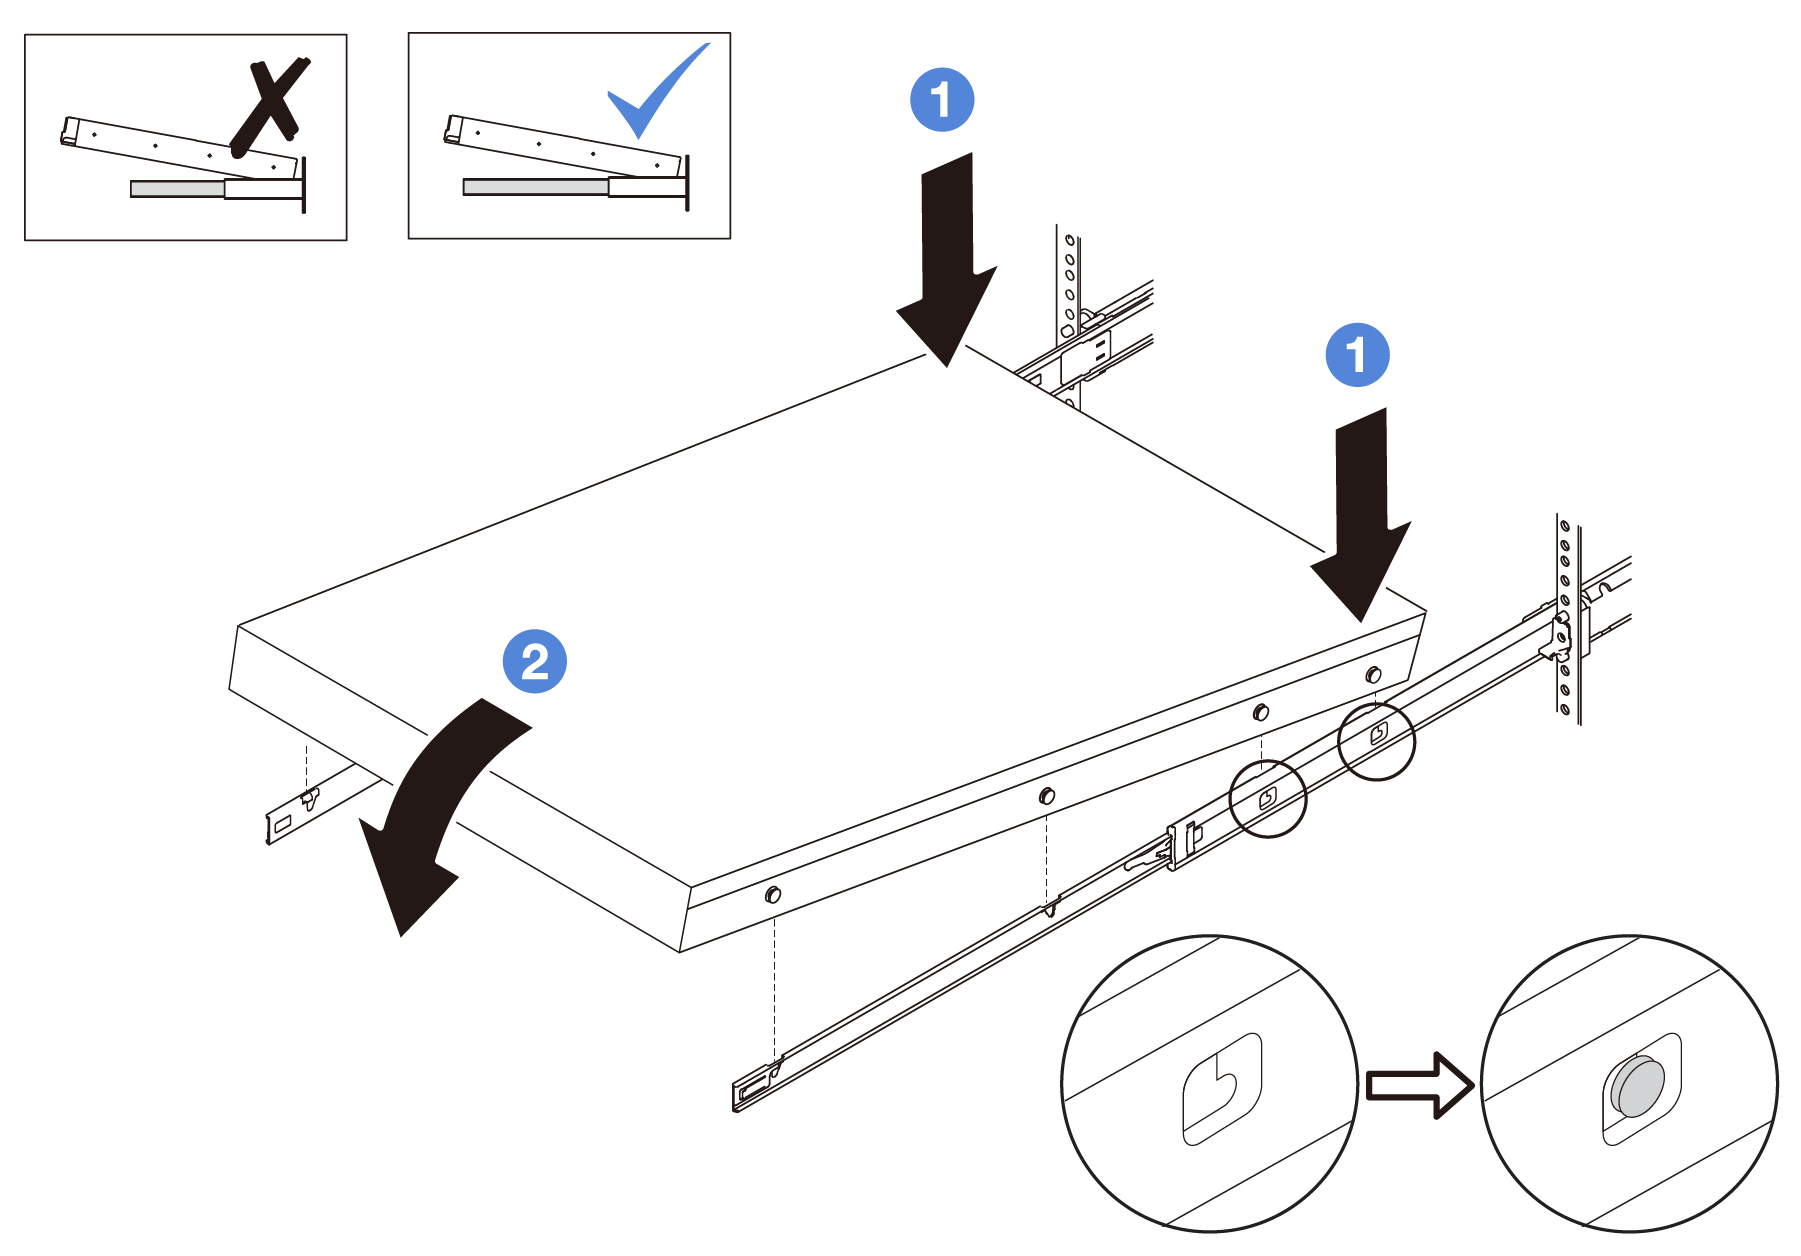
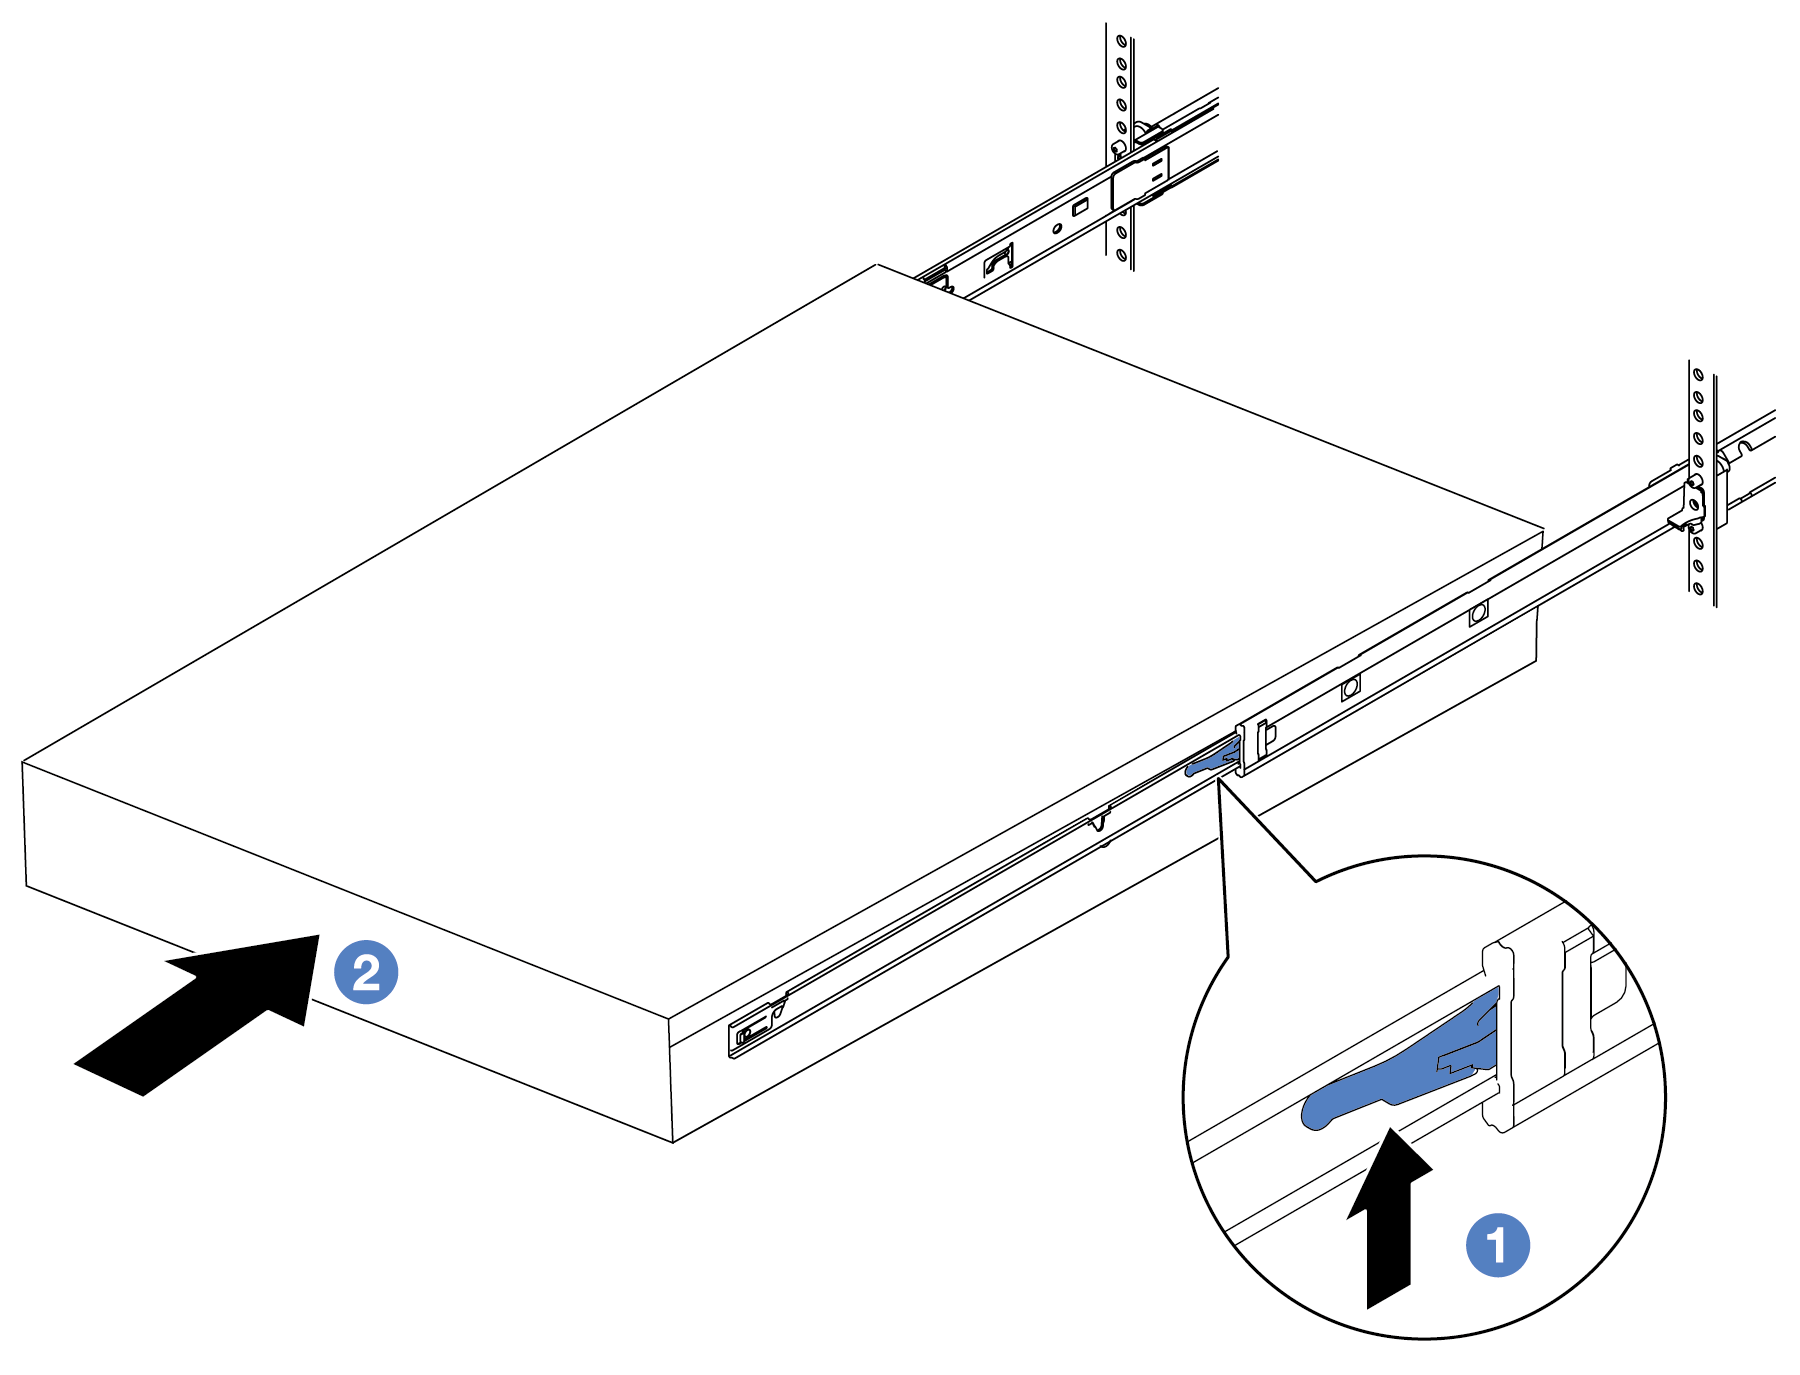
 Tilt the server and slowly lower the its rear end; then, push the rails toward the server and make sure the farthest nailheads on server’s left and right side go into the slots on the rail.
 Slowly lower the server down and make sure the other 3 nailheads on server’s left and right side slip into corresponding slots.