Remove a 7mm drive
Follow instructions in this section to remove a 7mm drive.
About this task
Attention
- Read Installation Guidelines and Safety inspection checklist to ensure that you work safely.
- To make sure that there is adequate system cooling, do not operate the solution for more than two minutes without either a drive or a filler installed in each bay.
- Before you make changes to drives, drive controllers (including controllers that are integrated on the system board assembly), drive backplanes, or drive cables, back up all important data that is stored on drives.
- Before you remove any component of a RAID array (drive, RAID card, etc.), back up all RAID configuration information.
Note
Make sure you have the drive bay fillers available if some drive bays will be left empty after the removal.
 Slide the release latch to unlock the drive handle.
 Rotate the drive handle to the open position.
 Grasp the handle and slide the drive out of the drive bay.Figure 1. 7mm drive removal
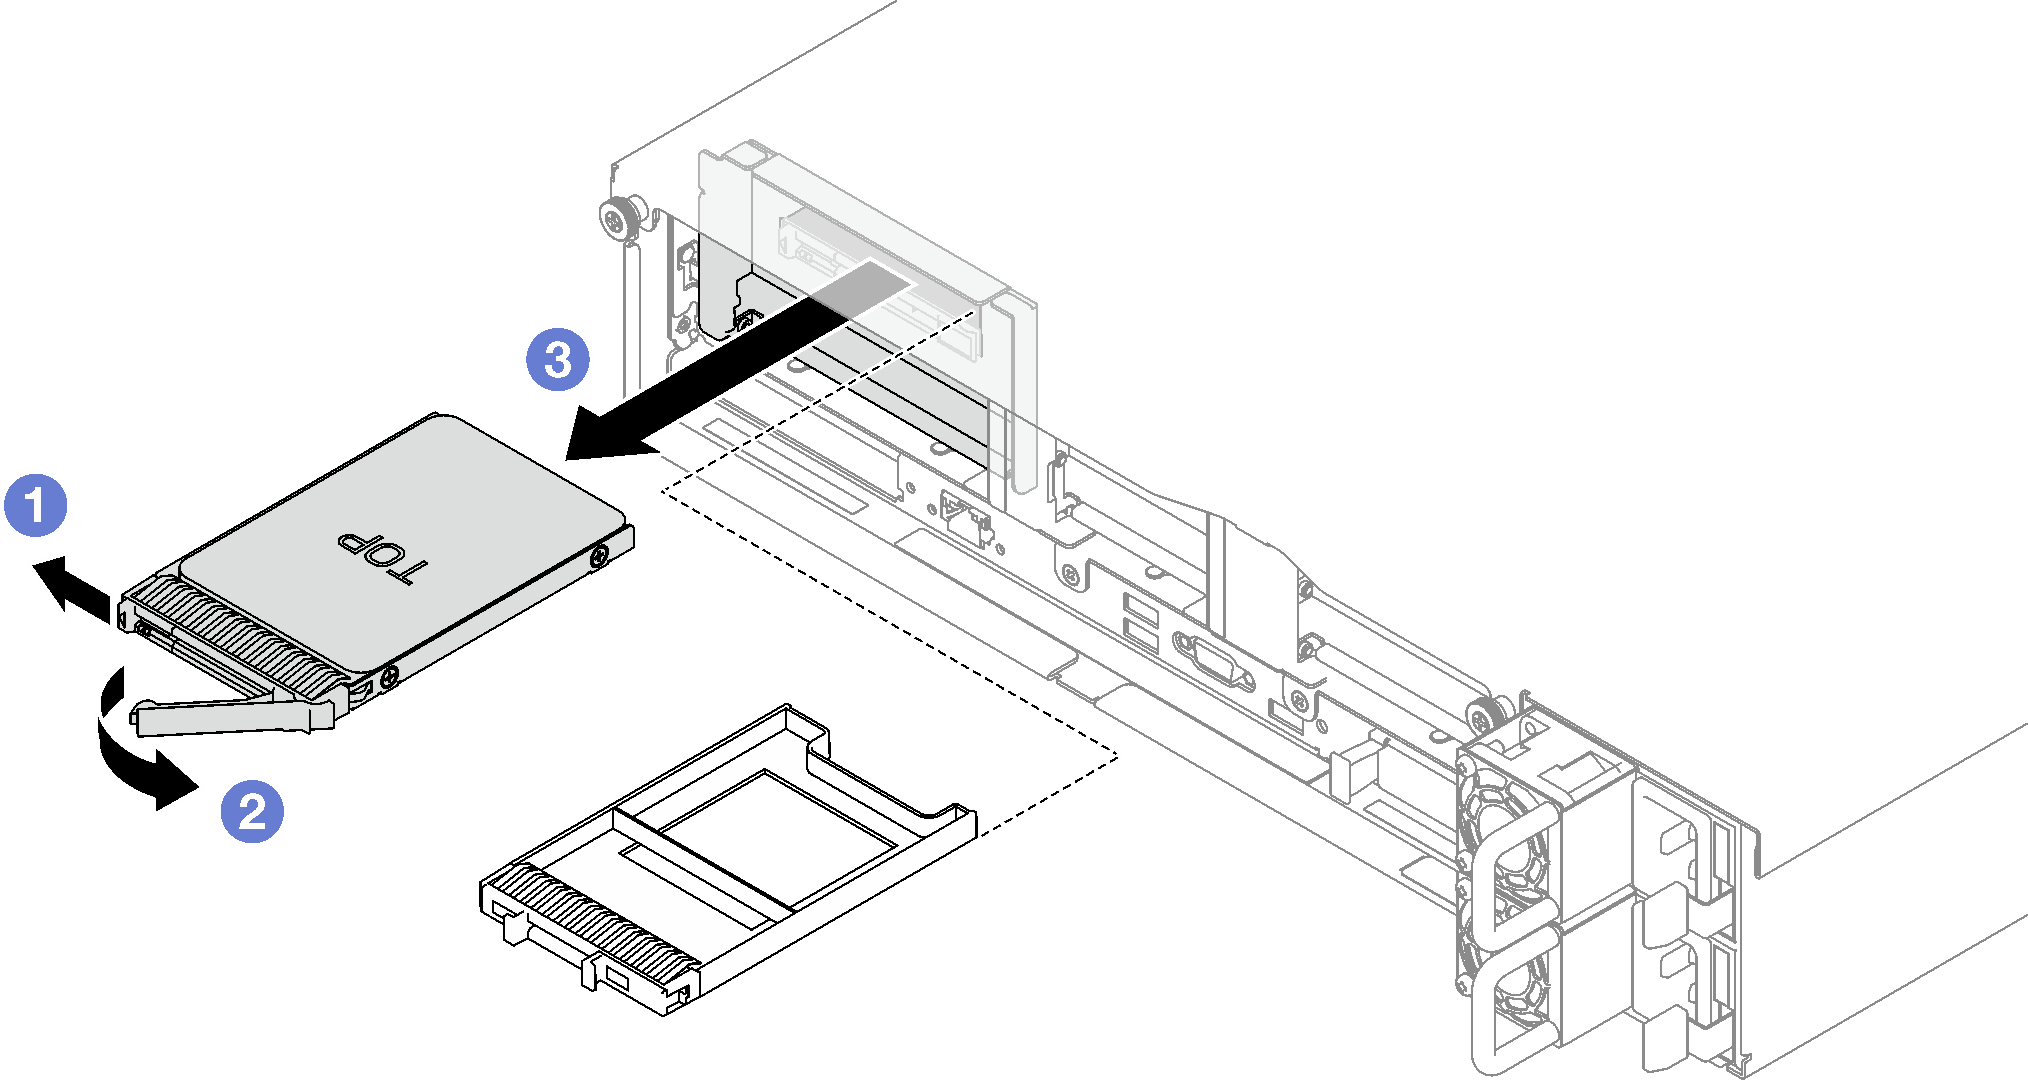
After you finish
If you are instructed to return the component or optional device, follow all packaging instructions, and use any packaging materials for shipping that are supplied to you.
Demo video
Give documentation feedback