Remove a storage interposer (lower tray)
The lower storage interposer is in the lower compute tray that is accessed from the front of the server. After removing the lower compute tray and fan cage, disconnect the RAID card from the storage interposer and lift it out of the way; then, remove the screw securing the storage interposer and remove the storage interposer from the compute tray.


Remove the front cover. See Remove the front cover.
Remove the lower compute tray or extract it to the maintenance position. See Remove a compute tray.
Remove the lower fan cage. See Remove a fan cage (lower tray).
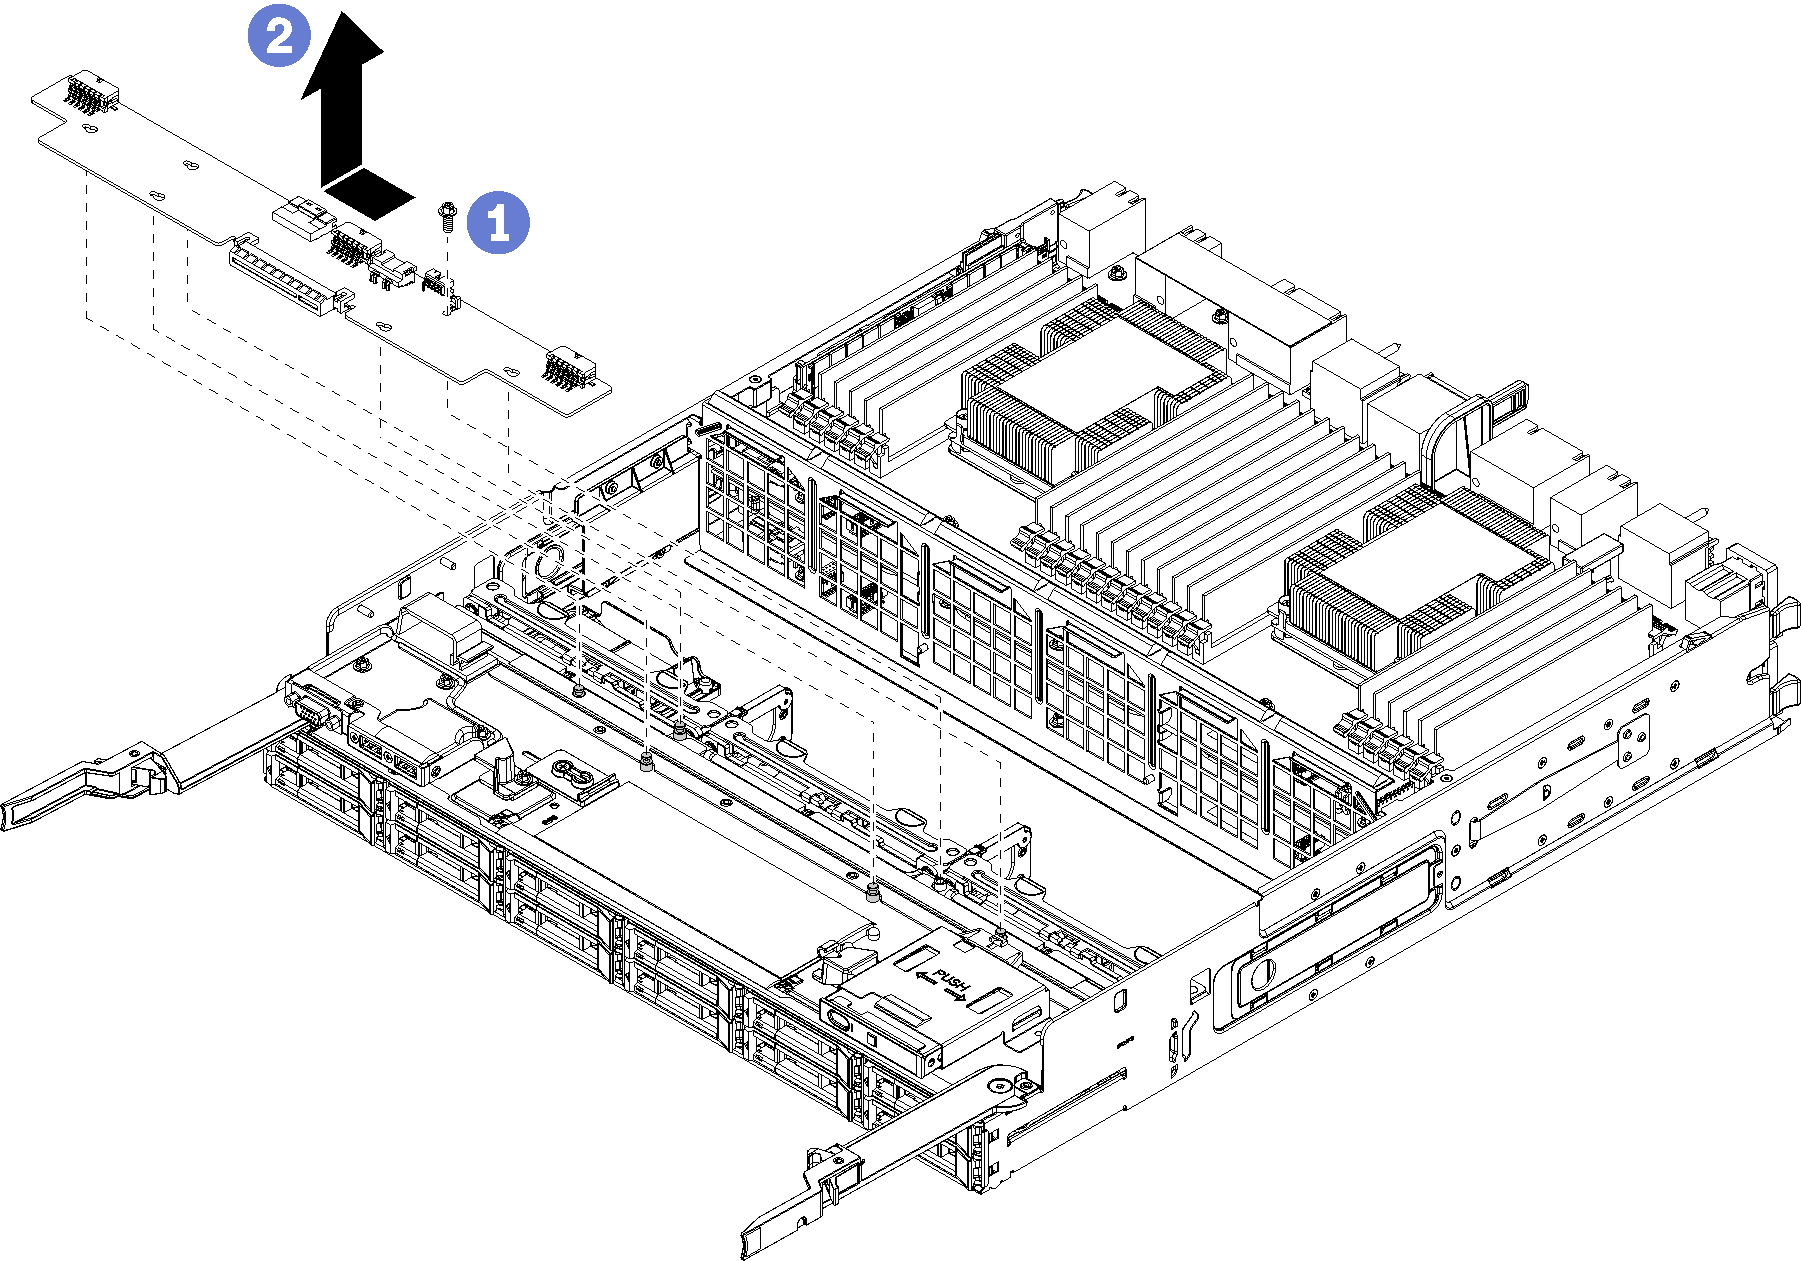
Complete the following steps to remove a lower storage interposer.
- Disconnect all power and data cables from the storage interposer.
- Slide the RAID card forward to disconnect the RAID card from the storage interposer; then, rotate the RAID card upward. (Leave the three cables connected to the RAID card.)
- Remove the screw securing the storage interposer in place.
- Slide the storage interposer to the left and remove it from the compute tray.
If you are instructed to return the storage interposer, follow all packaging instructions, and use any packaging materials for shipping that are supplied to you.
Demo video