Install the hot-swap power supply unit
Follow instructions in this section to install the hot-swap redundant power supply unit.
About this task
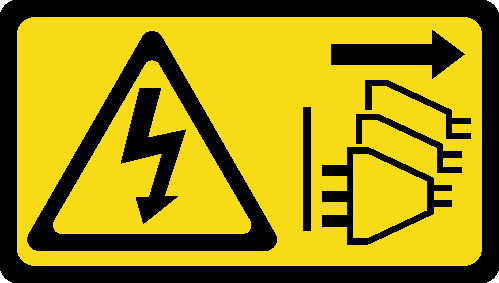
- S001
 DANGERdangerElectrical current from power, telephone, and communication cables is hazardous.
To avoid a shock hazard:
- Connect all power cords to a properly wired and grounded electrical outlet/source.
- Connect any equipment that will be attached to this product to properly wired outlets/sources.
- When possible, use one hand only to connect or disconnect signal cables.
- Never turn on any equipment when there is evidence of fire, water, or structural damage.
- The device might have more than one power cord, to remove all electrical current from the device, ensure that all power cords are disconnected from the power source.
NEVER CONNECT AND DISCONNECT THE POWER SUPPLY CABLE AND EQUIPMENT WHILE YOUR EQUIPMENT IS POWERED ON WITH DC SUPPLY (hot-plugging). Otherwise you may damage the equipment and result in data loss, the damages and losses result from incorrect operation of the equipment will not be covered by the manufacturers’ warranty.
AttentionThis type of power supply is hot-swap only when two power supplies are installed for redundancy. If only one power supply is installed, you must power off the server first before removing the power supply. - S002
 CAUTIONThe power-control button on the device and the power switch on the power supply do not turn off the electrical current supplied to the device. The device also might have more than one power cord. To remove all electrical current from the device, ensure that all power cords are disconnected from the power source.
 - S035
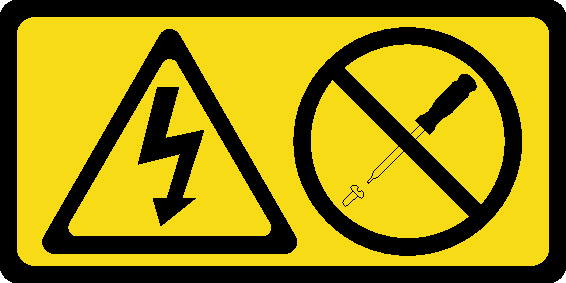 CAUTION
Never remove the cover on a power supply or any part that has this label attached. Hazardous voltage, current, and energy levels are present inside any component that has this label attached. There are no serviceable parts inside these components. If you suspect a problem with one of these parts, contact a service technician.
The standard configuration comes with one power supply unit without hot-swap support. Hot-swap support and power redundancy requires two power supply units installed in the system.
Power supply units in the chassis must have the same wattage, vendor, and part number (or alternate part number).
If you are replacing the existing power supply with a new power supply of different wattage, attach the power information label that comes with this option onto the existing label near the power supply.
Figure 1. Hot-swap power supply label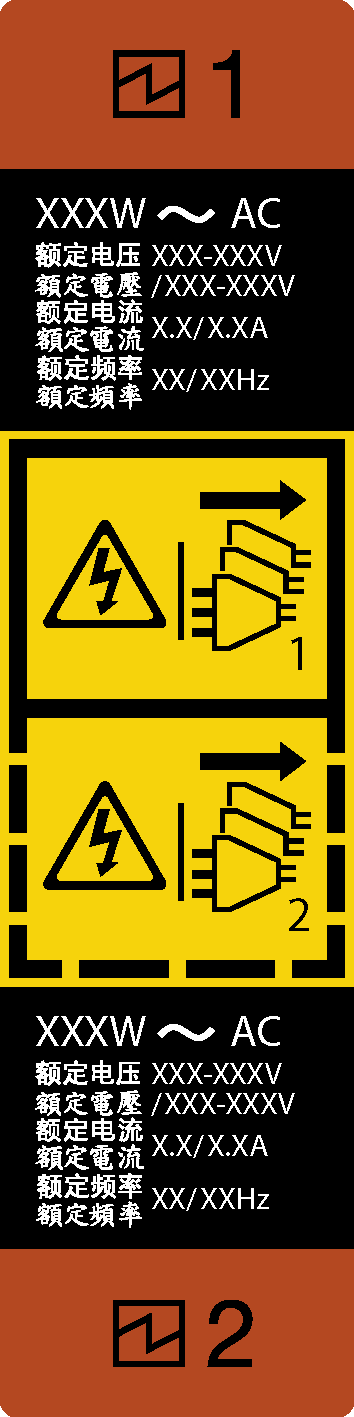
Ensure that the devices that you are installing are supported. For a list of supported optional devices for the server, go to: Lenovo ServerProven website
Read Installation Guidelines and Safety inspection checklist to ensure that you work safety.
Touch the static-protective package that contains the component to any unpainted metal surface on the server; then, remove it from the package and place it on a static-protective surface.
Procedure
- Make preparations for this task.
- If there is a PSU filler installed, perform the following steps:
 Press the latch on the PSU filler.
 Pull the filler out of the PSU slot.
ImportantDuring normal operation, each power supply bay must contain either a power supply or power supply filler for proper cooling.Figure 2. Removing a hot-swap power supply filler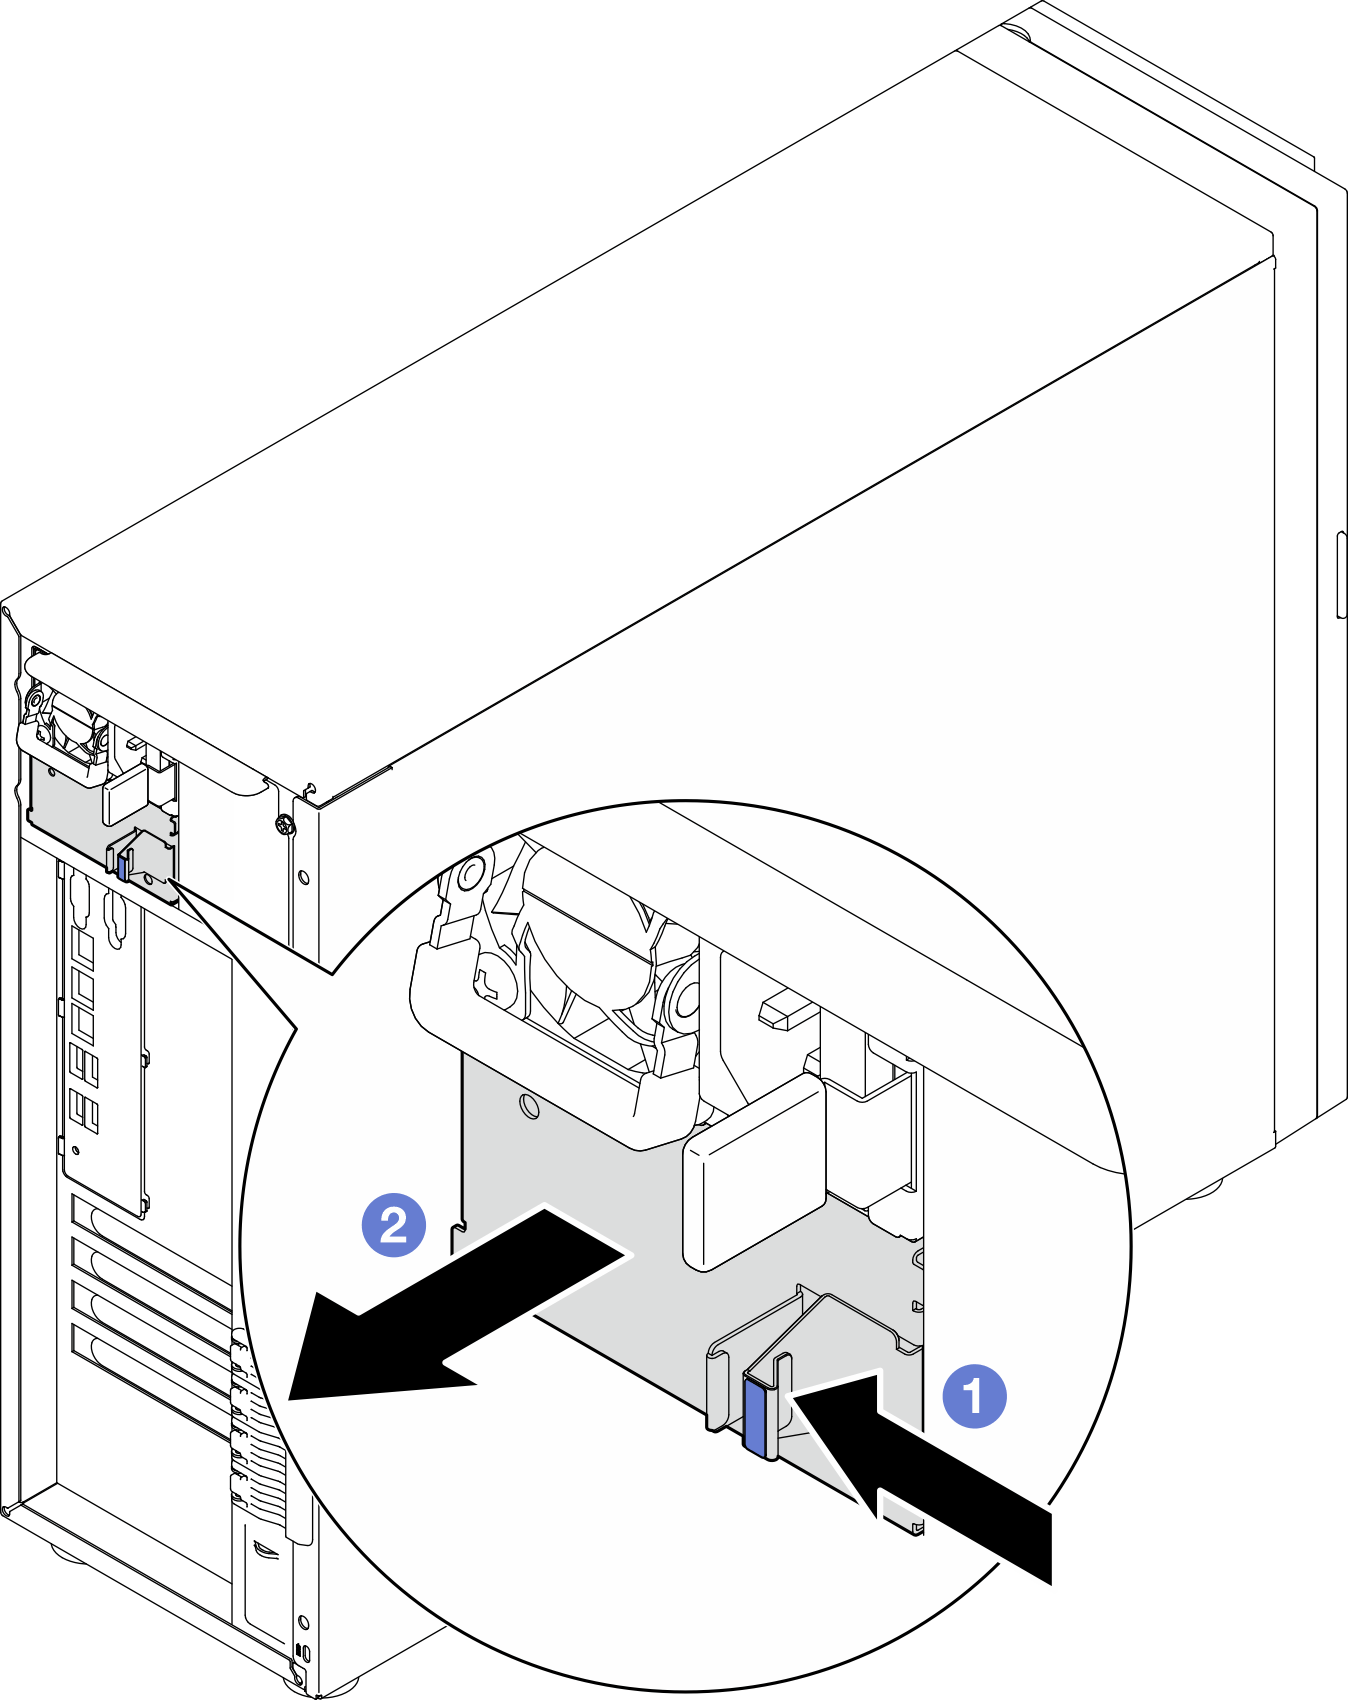
- If there is a PSU filler installed, perform the following steps:
- Make sure the label on the power supply is facing up and the release latch is on the right side as illustrated below, and then slide it into the chassis until it snaps into place.Note
If more than one power supply units are to be installed, start with the upper available power supply bay.
Figure 3. Installing a hot-swap power supply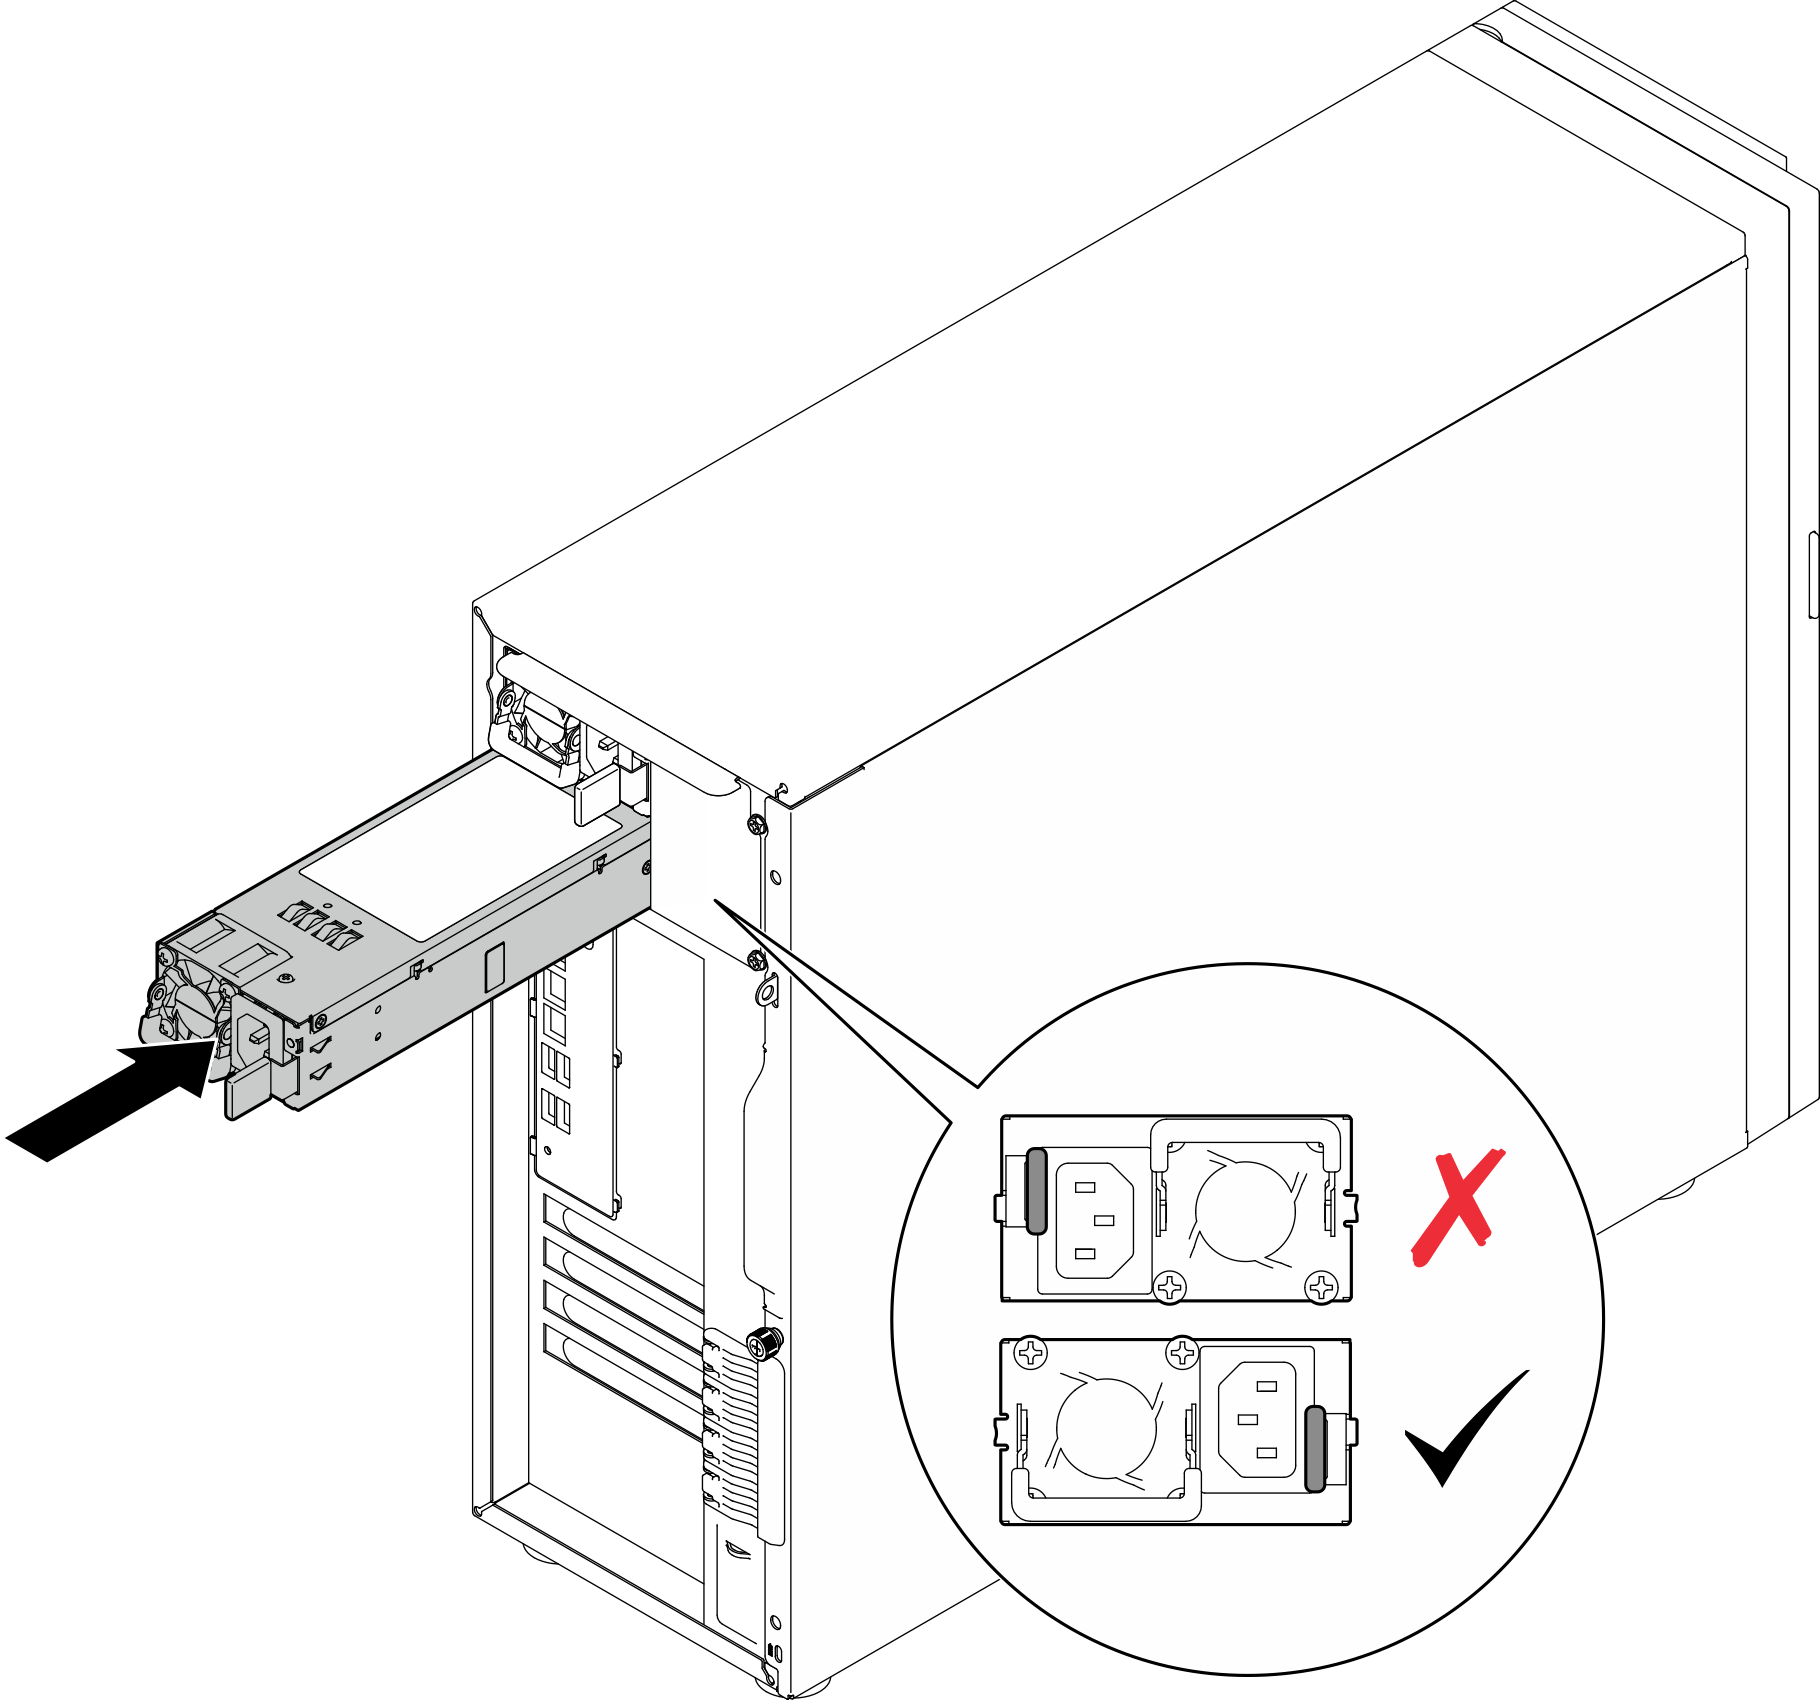
After you finish
Connect the power cable to the power supply and a properly grounded electrical outlet.
Complete the parts replacement. See Complete the parts replacement.
Demo video