Manage migration zones
Infrastructure admin users can perform actions on migrations zones, such as adding a compute node to the migration zone, renaming a migration zone, and deleting a migration zone.
Complete the following steps to manage migration zones.
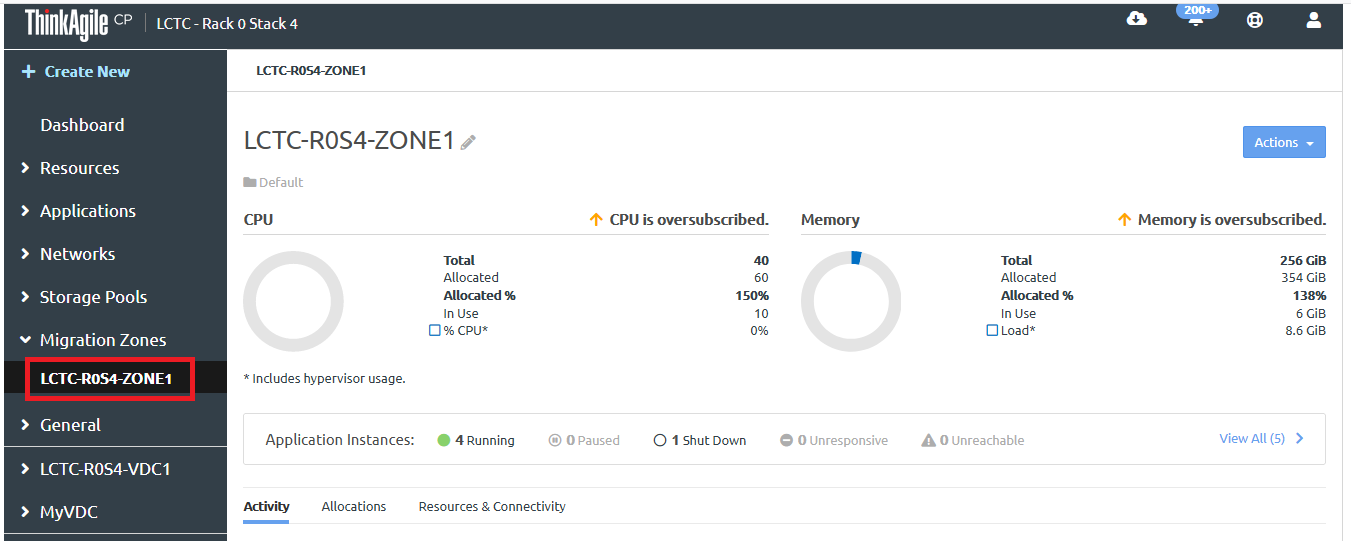
- In the left navigation, expand Migration Zones and click the migration zone to display the migration zone details page.Figure 1. Migration zone details page
- Click the Actions menu (
 ).Figure 2. Compute node Actions menu on Hardware page
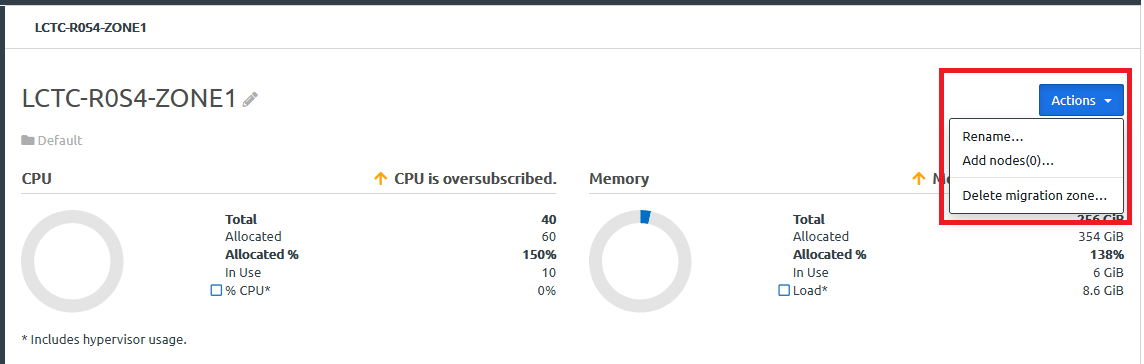 You can perform the following actions on a migration zone:
Action Description Rename
Complete the following steps to rename a migration zone:Click Rename.
In the Rename Migration Zone dialog, enter a new name.
NoteThe name must be unique across all migration zones in your ThinkAgile CP environment.
Click Update.
Add nodes
Complete the following steps to add one or more compute nodes to the migration zone:- Click Add nodes.
- Select the nodes that you want to add to the migration zone.
- Click Add Nodes.
NoteBecause a node can only belong to one migration zone, ThinkAgile CP only displays a list of unassigned nodes. If you want to add a node that is currently assigned to another migration zone, move the node to another migration zone. For more information, see the following topic:
Delete migration zone
Complete the following steps to delete a migration zone:- Click Delete migration zone.
- In the Delete Migration Zone dialog, click Delete migration zone.
NoteBefore deleting a migration zone, make sure that there are no application instances using the migration zone. For each application instance, shut down the instance and change to another migration zone.
Give feedback