Set up the Metering Manager
Follow these steps to set up the ThinkAgile CP Metering Manager.
- Navigate to the Lenovo Cloud Marketplace
 and select the Metering Manager — Lenovo Template.Figure 1. Metering Manager in the Lenovo Cloud Marketplace
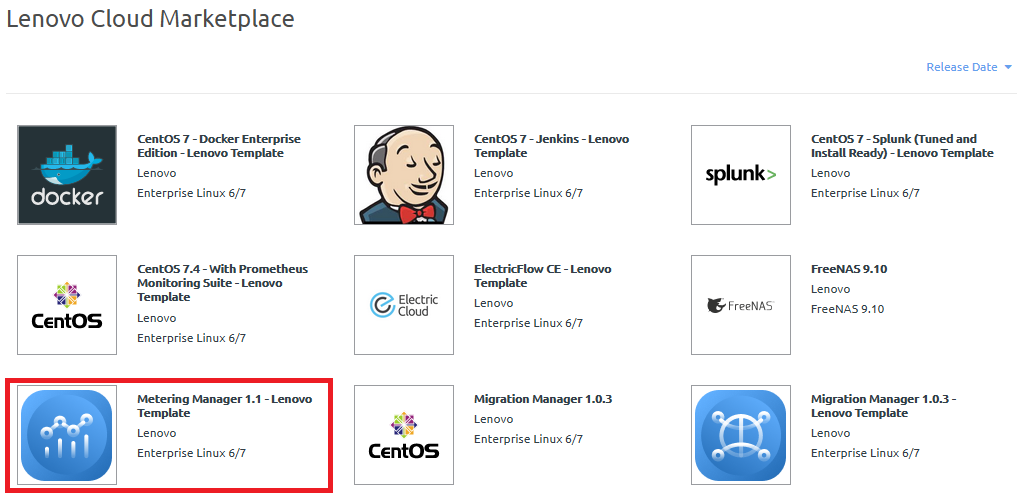
A dialog box opens. Click on the Download Template button to continue the process.
- Configure the template with the following parameters:
Save to — the target VDC (in this example: ACME Labs)
NoteIf you do not select a VDC, the template is saved under .
Template Name — a custom name for the Metering Manager template
Description — a custom description for the Metering Manager template
Provisioning — allocate CPU cores and memory
Figure 2. Download Template Options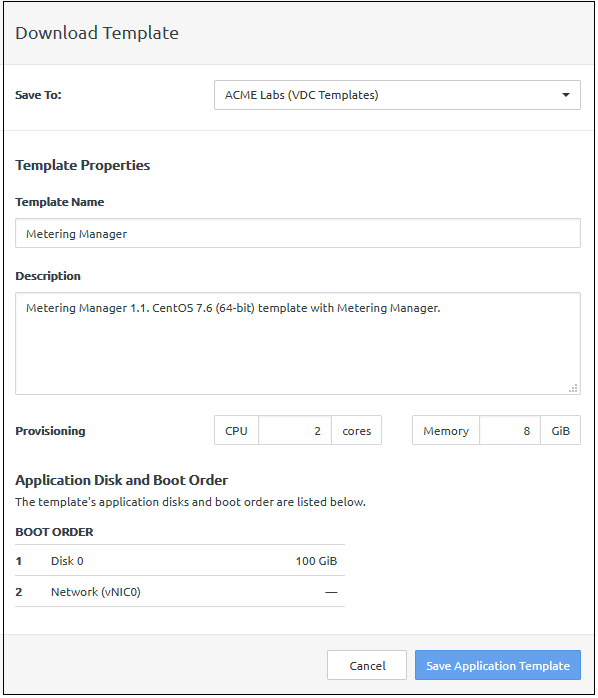
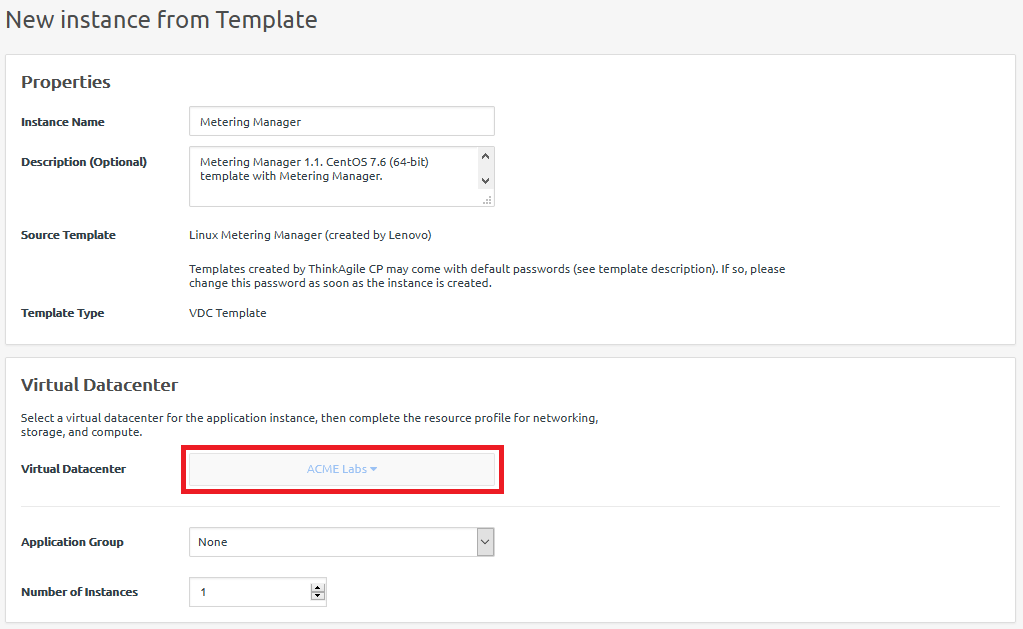
- Next to ThinkAgile CP Metering Manager, click New Instance.Figure 3. Create a New Instance of the Metering Manager

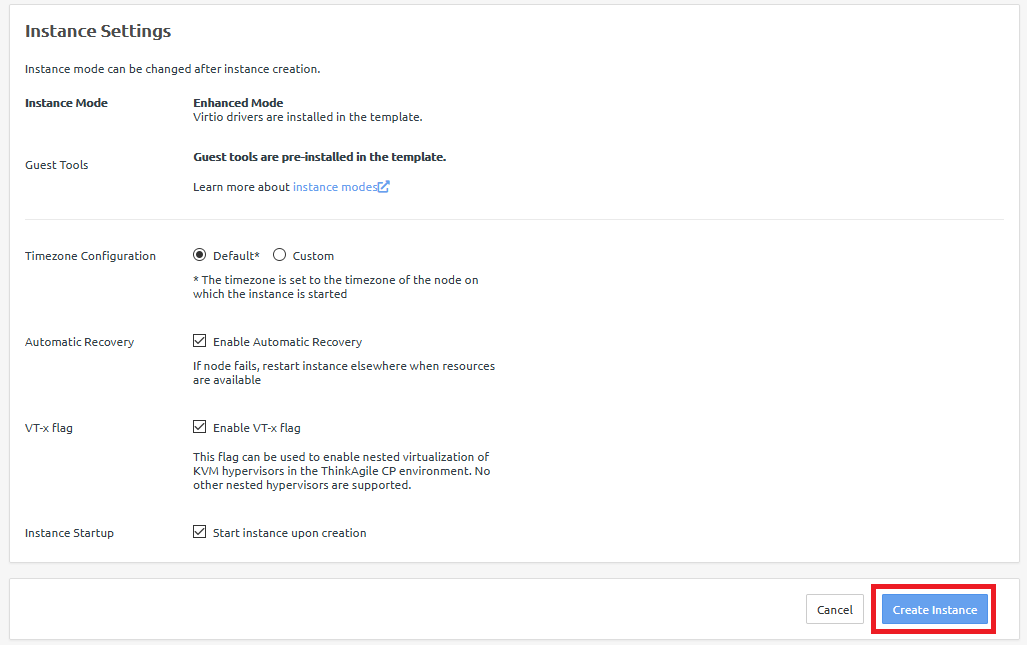
- Configure the following parameters for the template instance:
Virtual Datacenter
Storage Pool
Compute Migration Zone
Network Settings:
vNIC
Networking Mode
Network
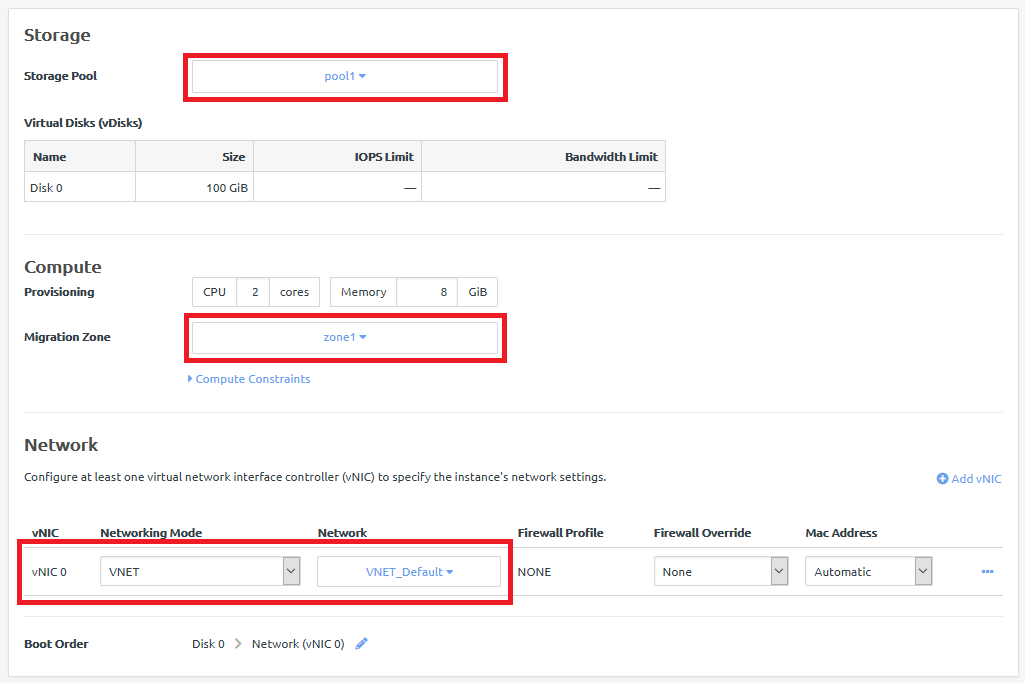
- Click on Create Instance to launch a new Metering Manager instance. An IP address is assigned to the application.
Give feedback