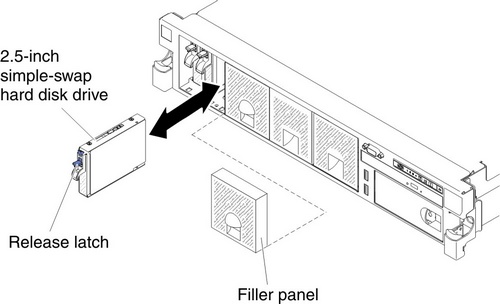
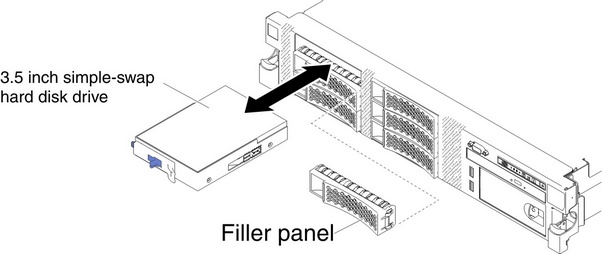
Installing a simple-swap hard disk drive
Use this information to install a simple-swap hard disk drive.
You must turn off the server before installing simple-swap drives in the server. Before you install a simple-swap SATA hard disk drive, read the following information. For a list of supported hard disk drives, see the Lenovo ServerProven website.
- Locate the documentation that comes with the hard disk drive and follow those instructions in addition to the instructions in this chapter.
- Make sure that you have all the cables and other equipment that are specified in the documentation that comes with the drive.
- Select the bay in which you want to install the drive.
- Check the instructions that come with the drive to determine whether you have to set any switches or jumpers on the drive. If you are installing a SATA device, be sure to set the SATA ID for that device.
- You can install up to six 3.5-inch simple-swap SATA hard disk drives in the server. Do not install hot-swap drives into a simple-swap server model, it is not supported.
- The simple-swap server models are available only in non-RAID configurations.
- The electromagnetic interference (EMI) integrity and cooling of the server are protected by having all bays and PCI and PCI Express slots covered or occupied. When you install a drive, PCI, or PCI Express adapter, save the EMC shield and filler panel from the bay or PCI or PCI Express adapter slot cover in the event that you later remove the device.
- Before you install an additional simple-swap hard disk drive, go to Table 2 for detailed power supply configurations.
To install a simple-swap hard disk drive, complete the following steps:
Give documentation feedback

