Removing a disk storage module

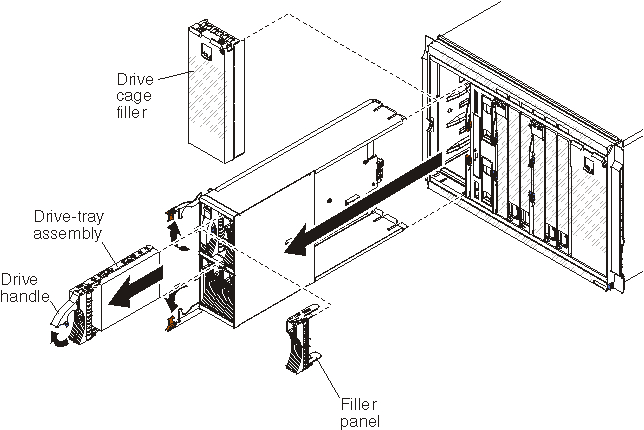
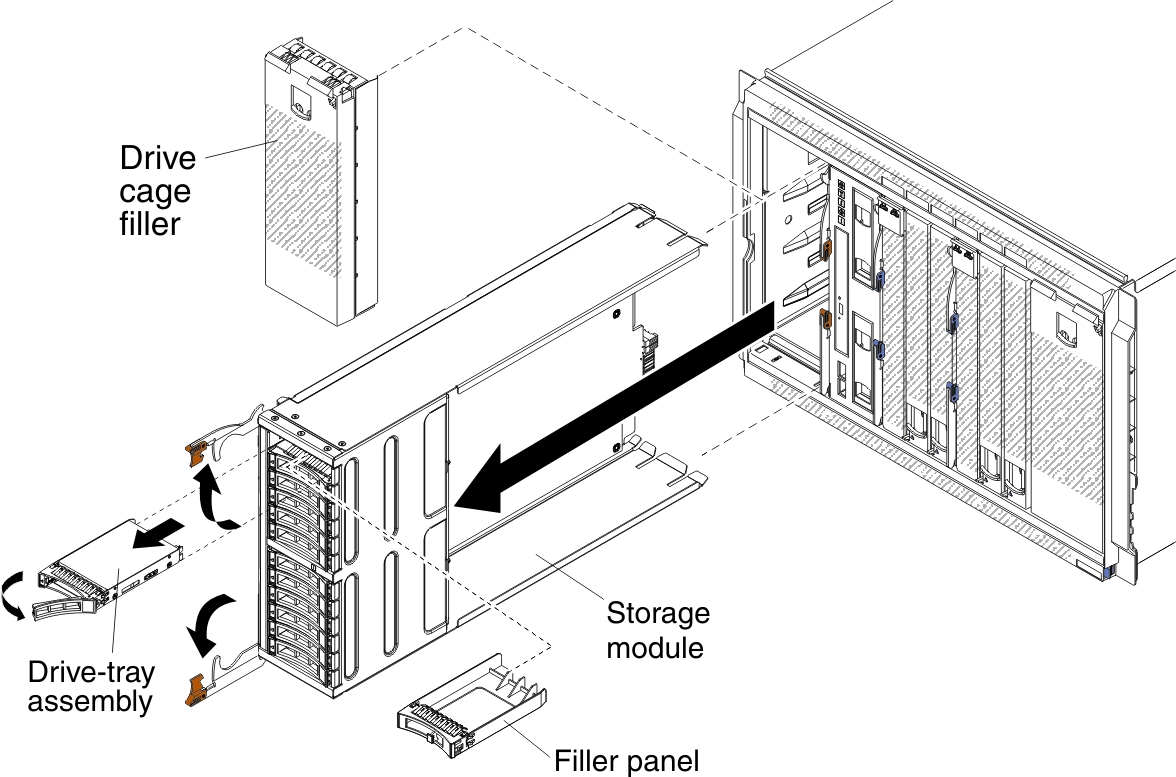
You can remove a disk storage module while the BladeCenter S system is powered on. To remove it, remove the hard disk drives, open the release handles on the disk storage module, and slide the module out of the BladeCenter S chassis.

Note
Make sure that all drive activity is stopped (the green LED on the hard disk drive is not blinking) before removing the disk storage module.
Important
If you are removing disk storage modules or hard disk drives from a BladeCenter S chassis in which SAS RAID controller modules are installed, refer to the BladeCenter S SAS RAID Controller Module Installation and User's Guide for additional steps that might need to be performed.

Graphic illustrating the removal of a 6-disk disk storage module
Graphic illustrating the removal of a 12-disk disk storage module
  1. Remove hard disk drives:
    1. Open the release handle on the hard disk drive (rotate the handle up) to disengage the hard disk drive from the disk storage module.
    2. Slide the hard disk drive out of the disk storage module.
      Important
      If SAS connectivity modules are installed in the BladeCenter S chassis, note the bay number from which you are removing the hard disk drive so that you can install it back in the same bay location. The hard disk drive bay location that you use when installing a hard disk drive is determined by the SAS connectivity module zoning configuration that you have selected for the BladeCenter S system.
  2. Open the release handles on the disk storage module (rotate the top handle up and the bottom handle down) to disengage the disk storage module from the BladeCenter S chassis.
  3. Slide the disk storage module out of the BladeCenter S chassis.