Install an M.2 drive
Use this information to install an M.2 drive option.
Before you install an M.2 drive in the M.2 backplane, complete the following steps:
Read Installation Guidelines to ensure that you work safely.
- Carefully lay the compute node on a flat, static-protective surface, orienting the compute node with the bezel pointing toward you.
Remove the compute node cover (see Remove the top cover).
- Touch the static-protective package that contains the M.2 drive to any unpainted metal surface on the chassis or any unpainted metal surface on any other grounded rack component; then, remove the M.2 drive from the package.
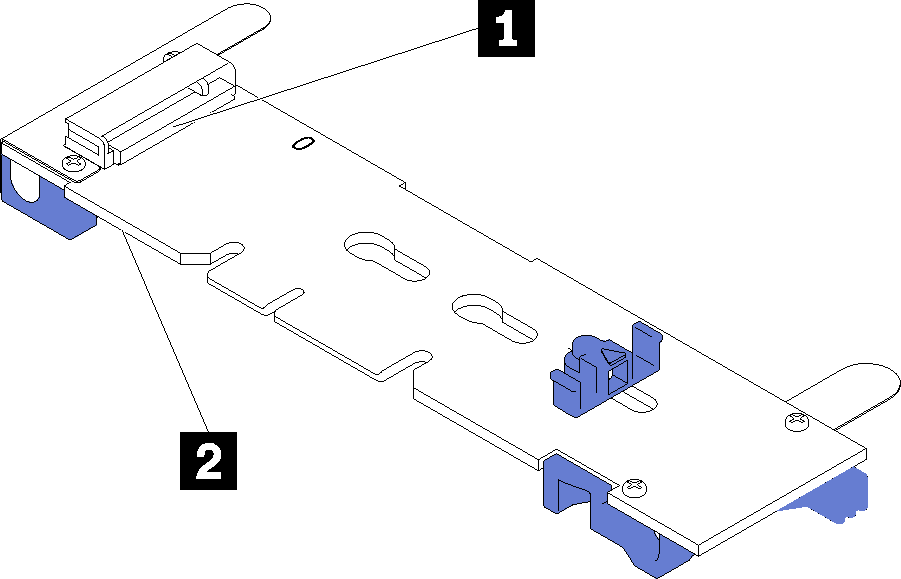
- Make sure the retainer on the M.2 backplane is in the correct keyhole to accommodate the particular size of the M.2 drive you wish to install (see Adjust the position of the retainer on the M.2 backplane).
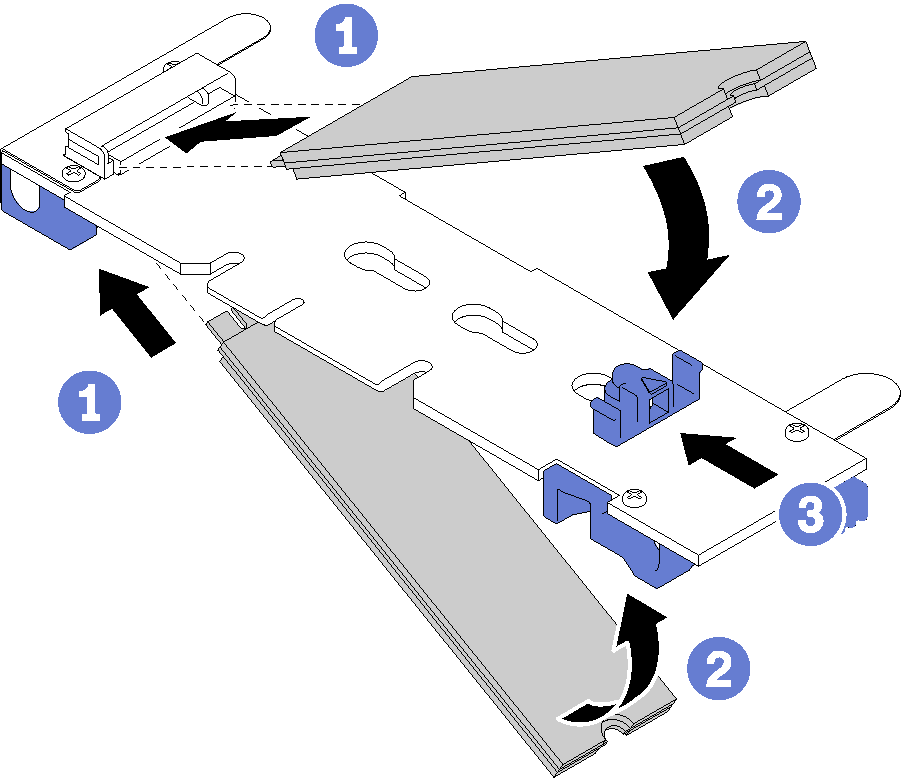
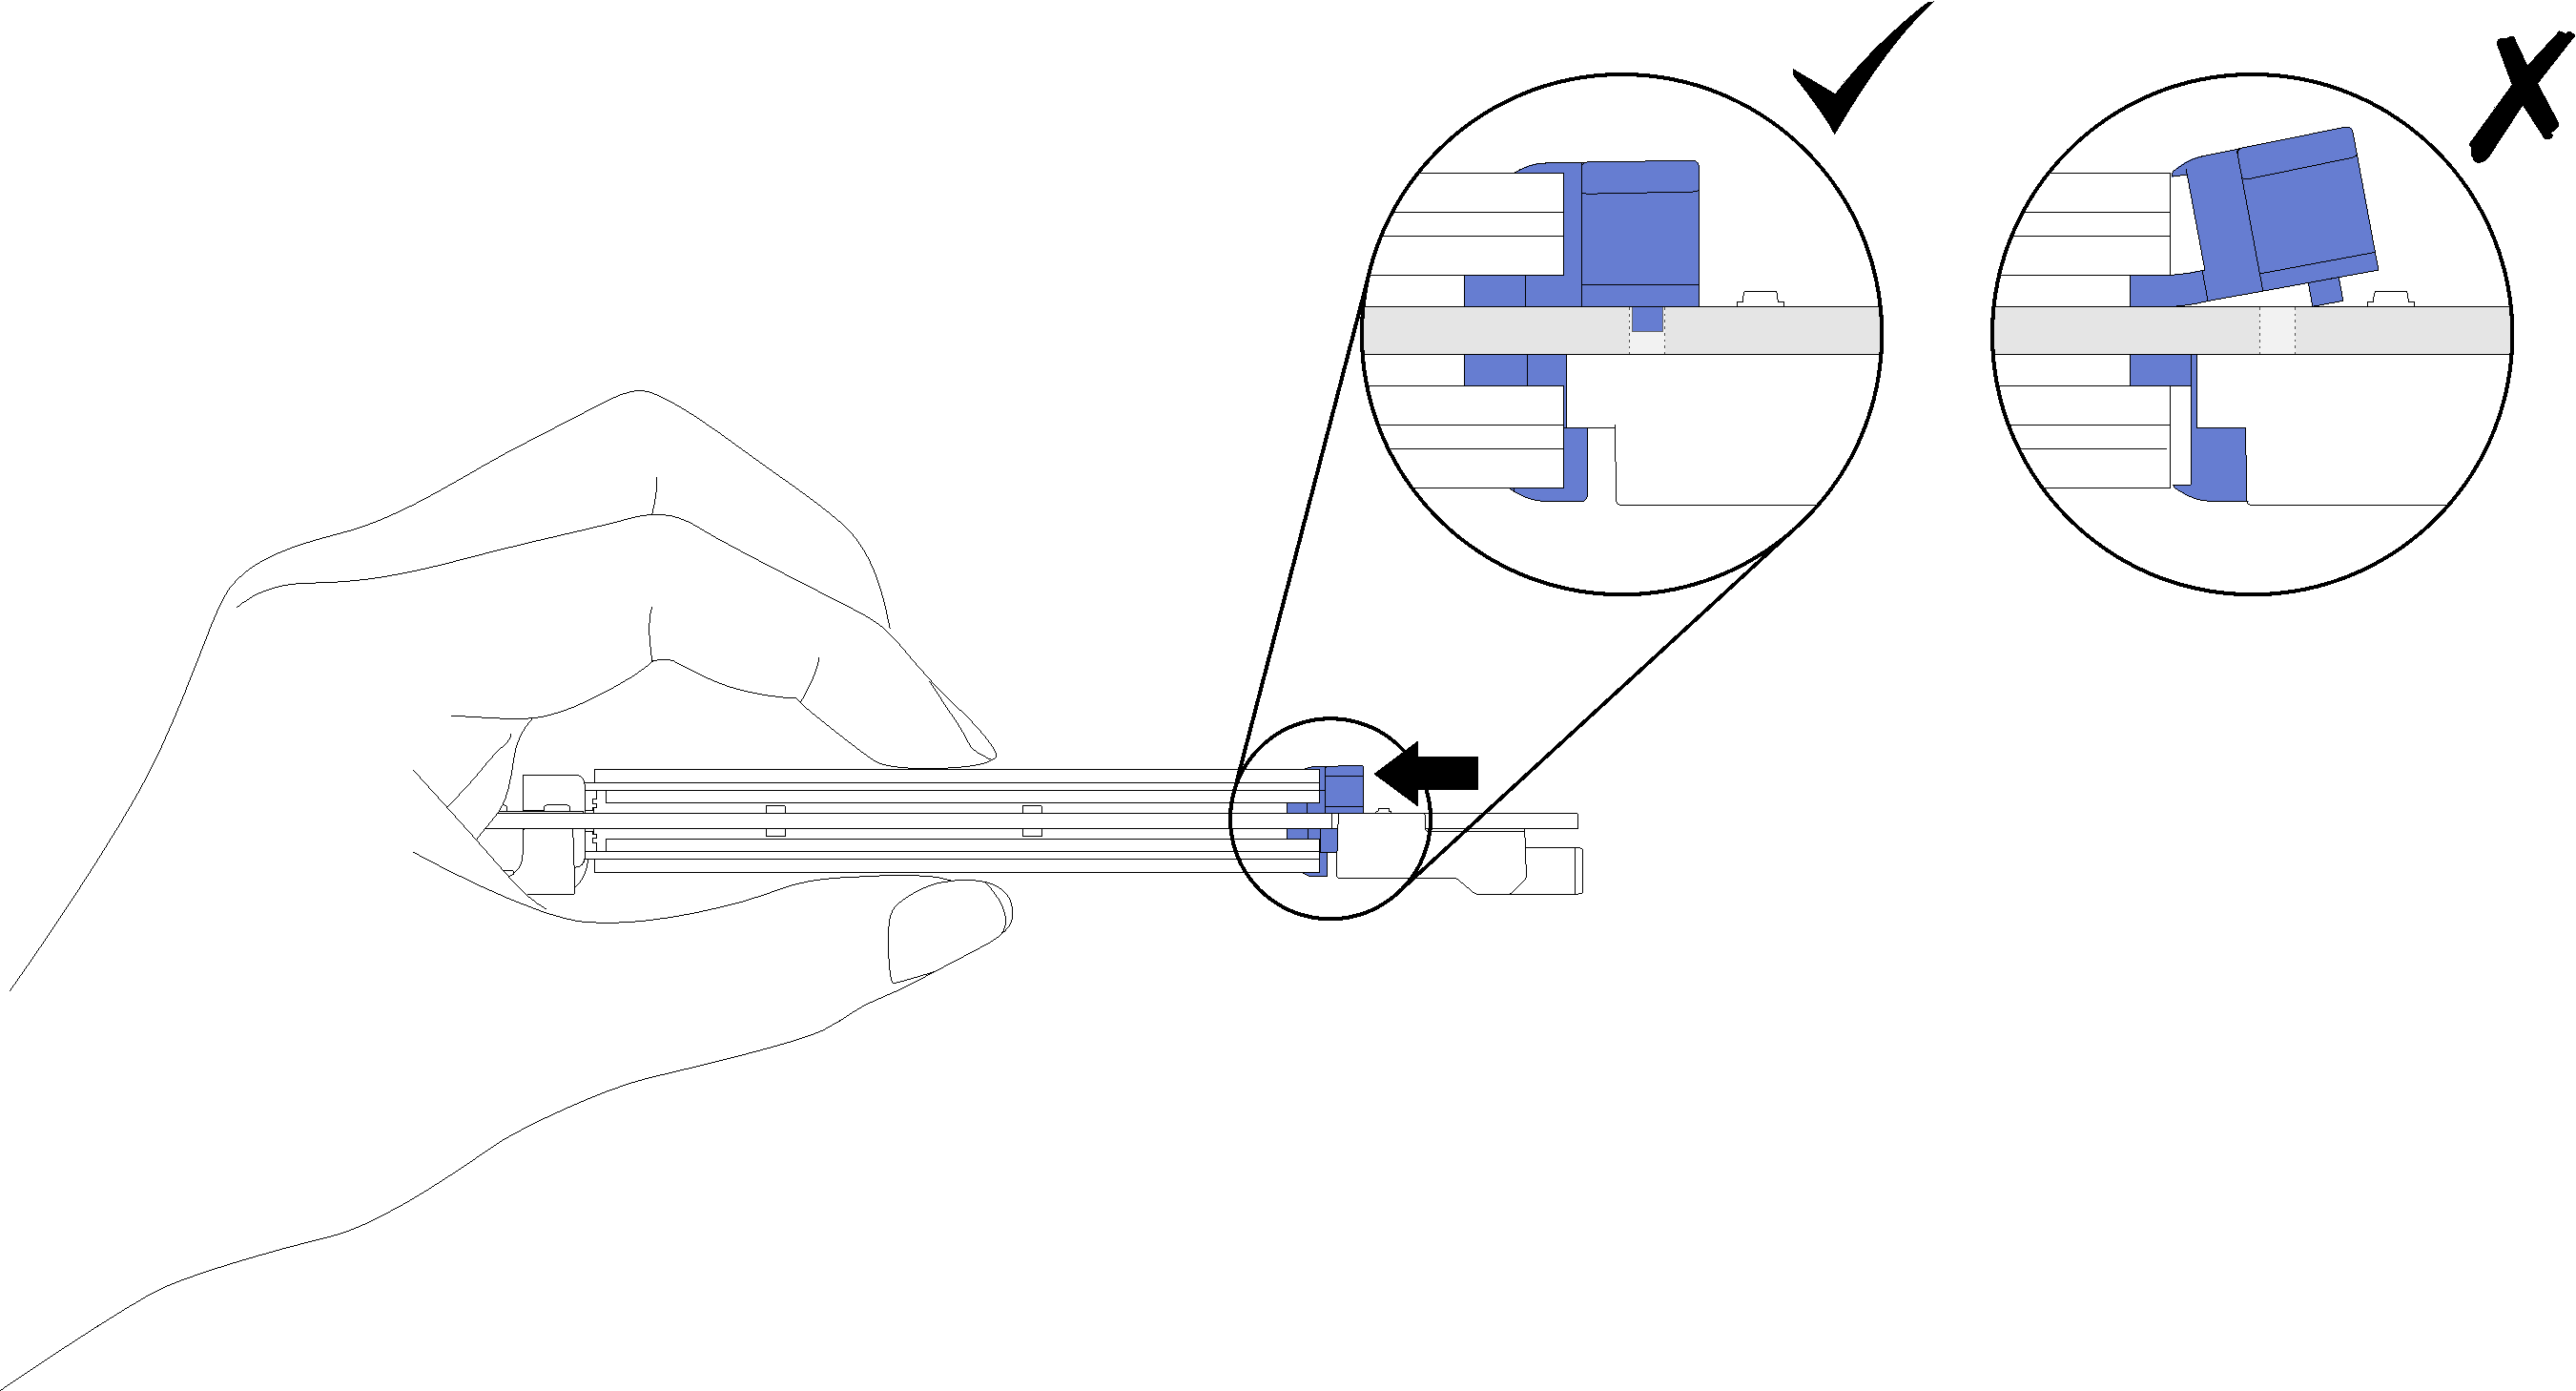
To install an M.2 drive in the M.2 backplane, complete the following steps:
After you install the M.2 drive into the M.2 backplane, complete the following steps:
Install the M.2 backplane (see Install the M.2 backplane).
Install the compute node cover (see Install the compute node cover ).
Install the compute node into the chassis (see Install the compute node in the chassis ).
- See the documentation that comes with the expansion adapter for device-driver and configuration information to complete the installation.
Demo video
Give documentation feedback


