Install a hot-swap drive
Use this information to install a hot-swap drive.


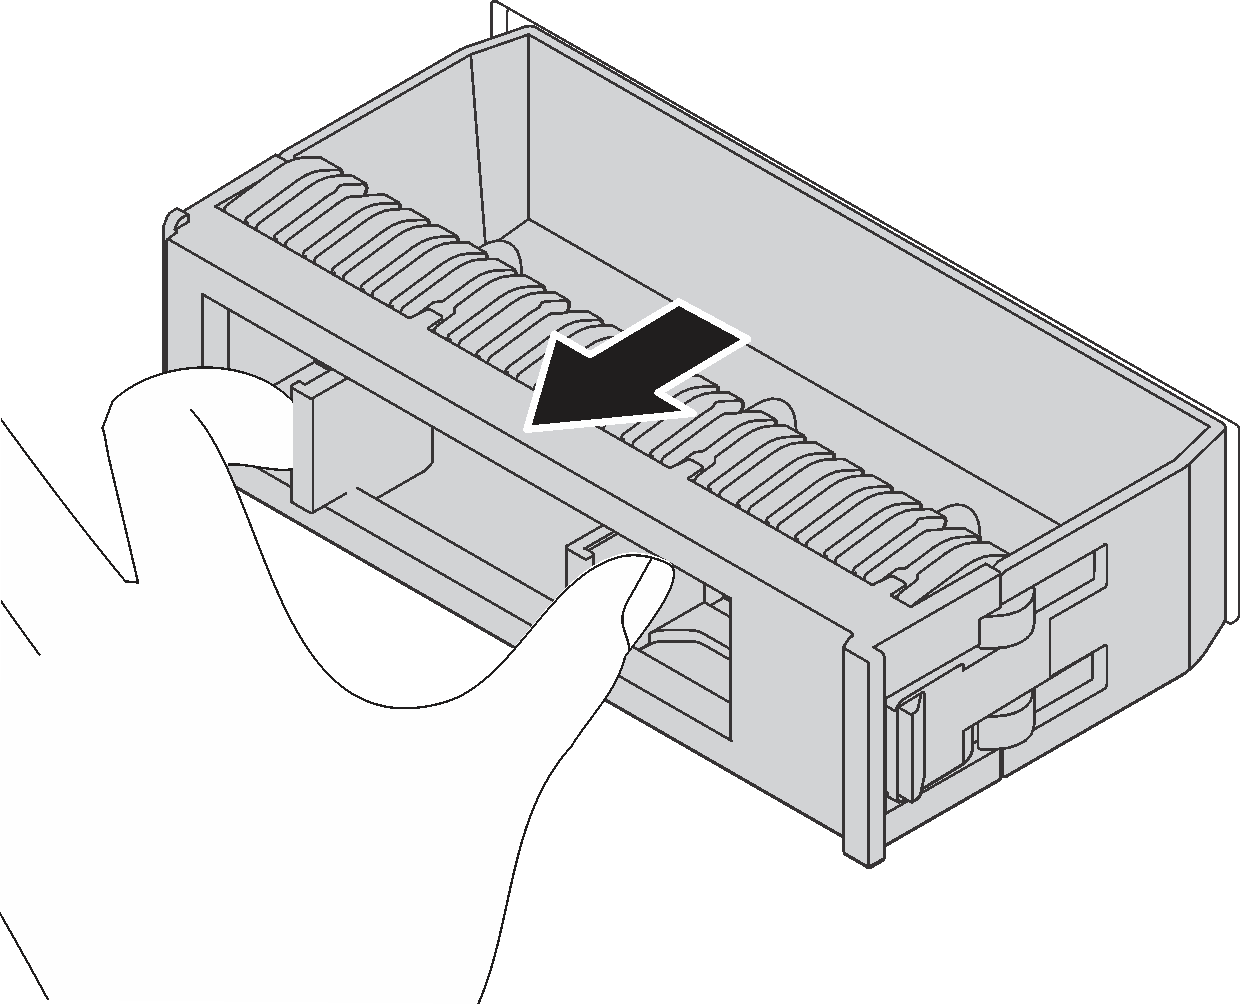
- Remove the drive filler from the drive bay. Keep the drive filler in a safe place.Figure 1. Drive filler removal
Touch the static-protective package that contains the new drive to any unpainted surface on the outside of the server. Then, take the new drive out of the package and place it on a static-protective surface.
See Technical rules for drives before you install the hot-swap drive.
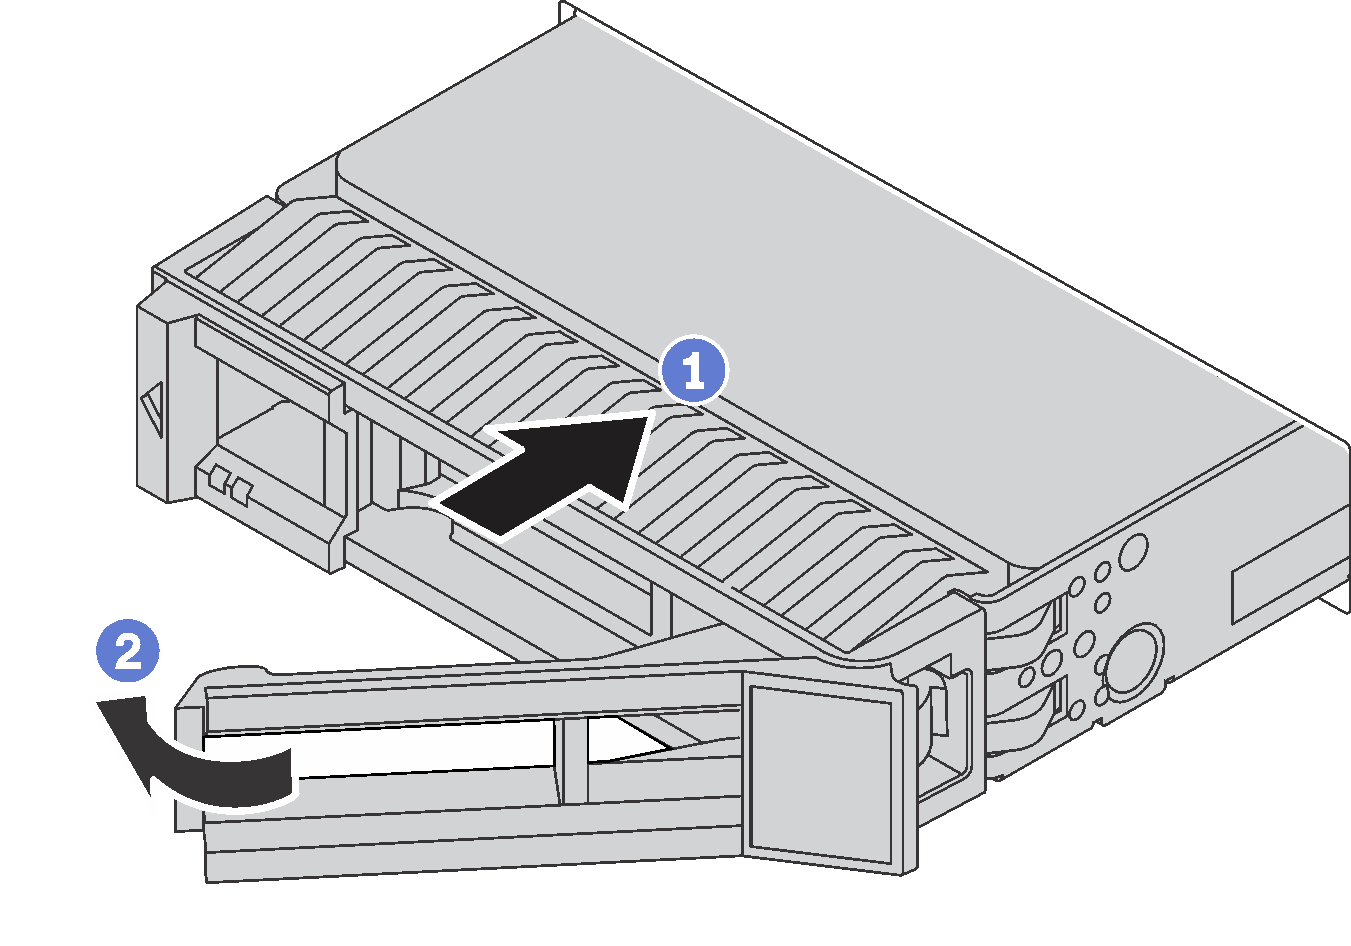
To install a hot-swap drive, complete the following steps:
Reinstall the security bezel. See Install the security bezel.
- Use the Lenovo XClarity Provisioning Manager to configure the RAID if necessary. For more information, see: Lenovo XClarity Provisioning Manager portal pageImportant
Lenovo XClarity Provisioning Manager (LXPM) supported version varies by product. All versions of Lenovo XClarity Provisioning Manager are referred to as Lenovo XClarity Provisioning Manager and LXPM in this document, unless specified otherwise. To see the LXPM version supported by your server, go to Lenovo XClarity Provisioning Manager portal page.
Complete the parts replacement. See Complete the parts replacement.
Demo video