Install an intrusion switch
Use this information to install an intrusion switch.


Before installing the intrusion switch, touch the static-protective package that contains the new intrusion switch to any unpainted surface on the outside of the server. Then, take the new intrusion switch out of the package and place them on a static-protective surface.
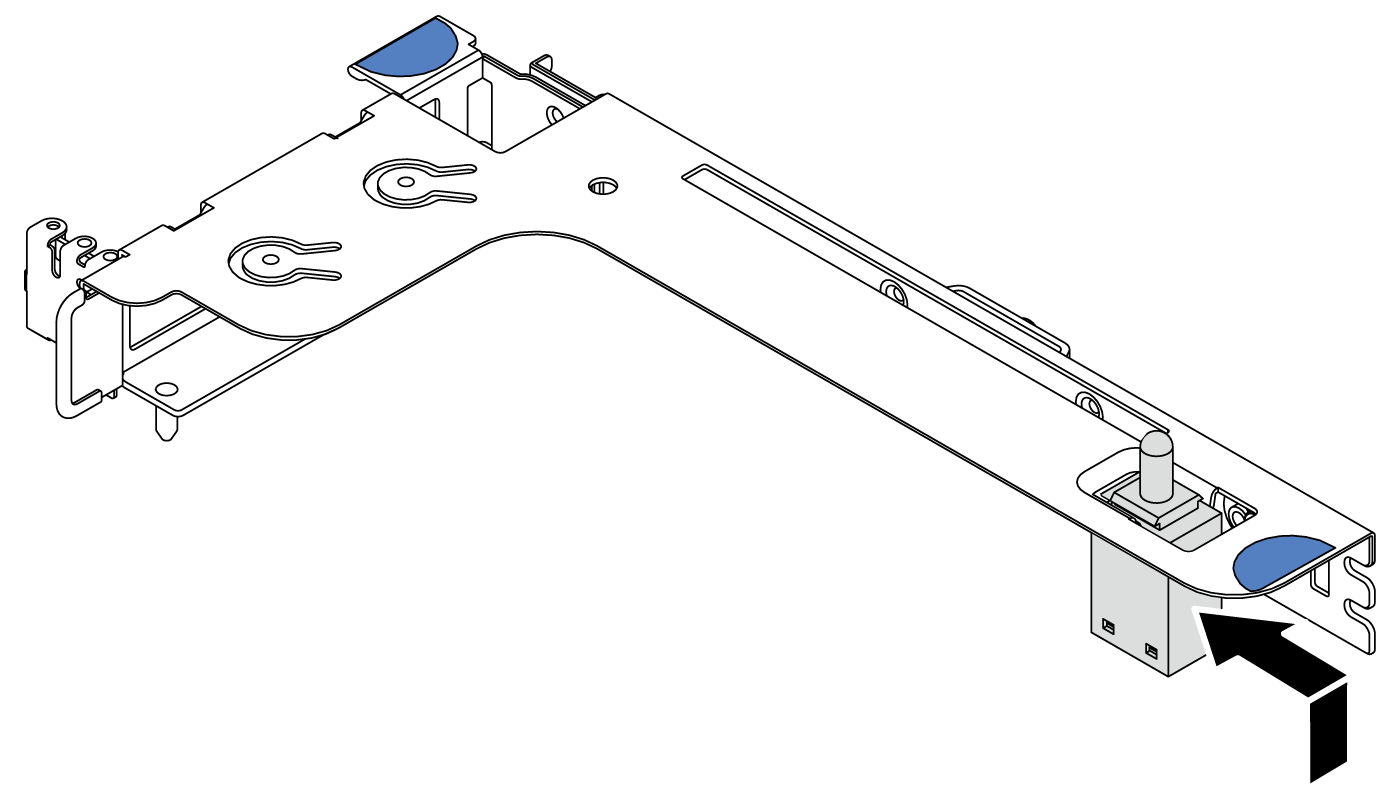
To install an intrusion switch, complete the following steps:
Watch the procedure. A video of the installation and removal process is available at YouTube.
Reinstall the PCIe adapter. See Install a PCIe adapter.
Reinstall the riser assembly. See Install a riser card.
Connect the cable of the intrusion switch to the intrusion switch connector on the system board. For the cable routing of the intrusion switch, refer to Intrusion switch cable routing.
Complete the parts replacement. See Complete the parts replacement.