Install an A1 rearwall bracket (left)
Use this information to install an A1 rearwall on the left of the rear chassis.
About this task
Attention
Read Installation Guidelines to ensure that you work safely.
Prevent exposure to static electricity, which might lead to system halt and loss of data, by keeping static-sensitive components in their static-protective packages until installation, and handling these devices with an electrostatic-discharge wrist strap or other grounding system.
Procedure
- Install an A1 rearwall bracket.Figure 1. A1 rearwall bracket installation
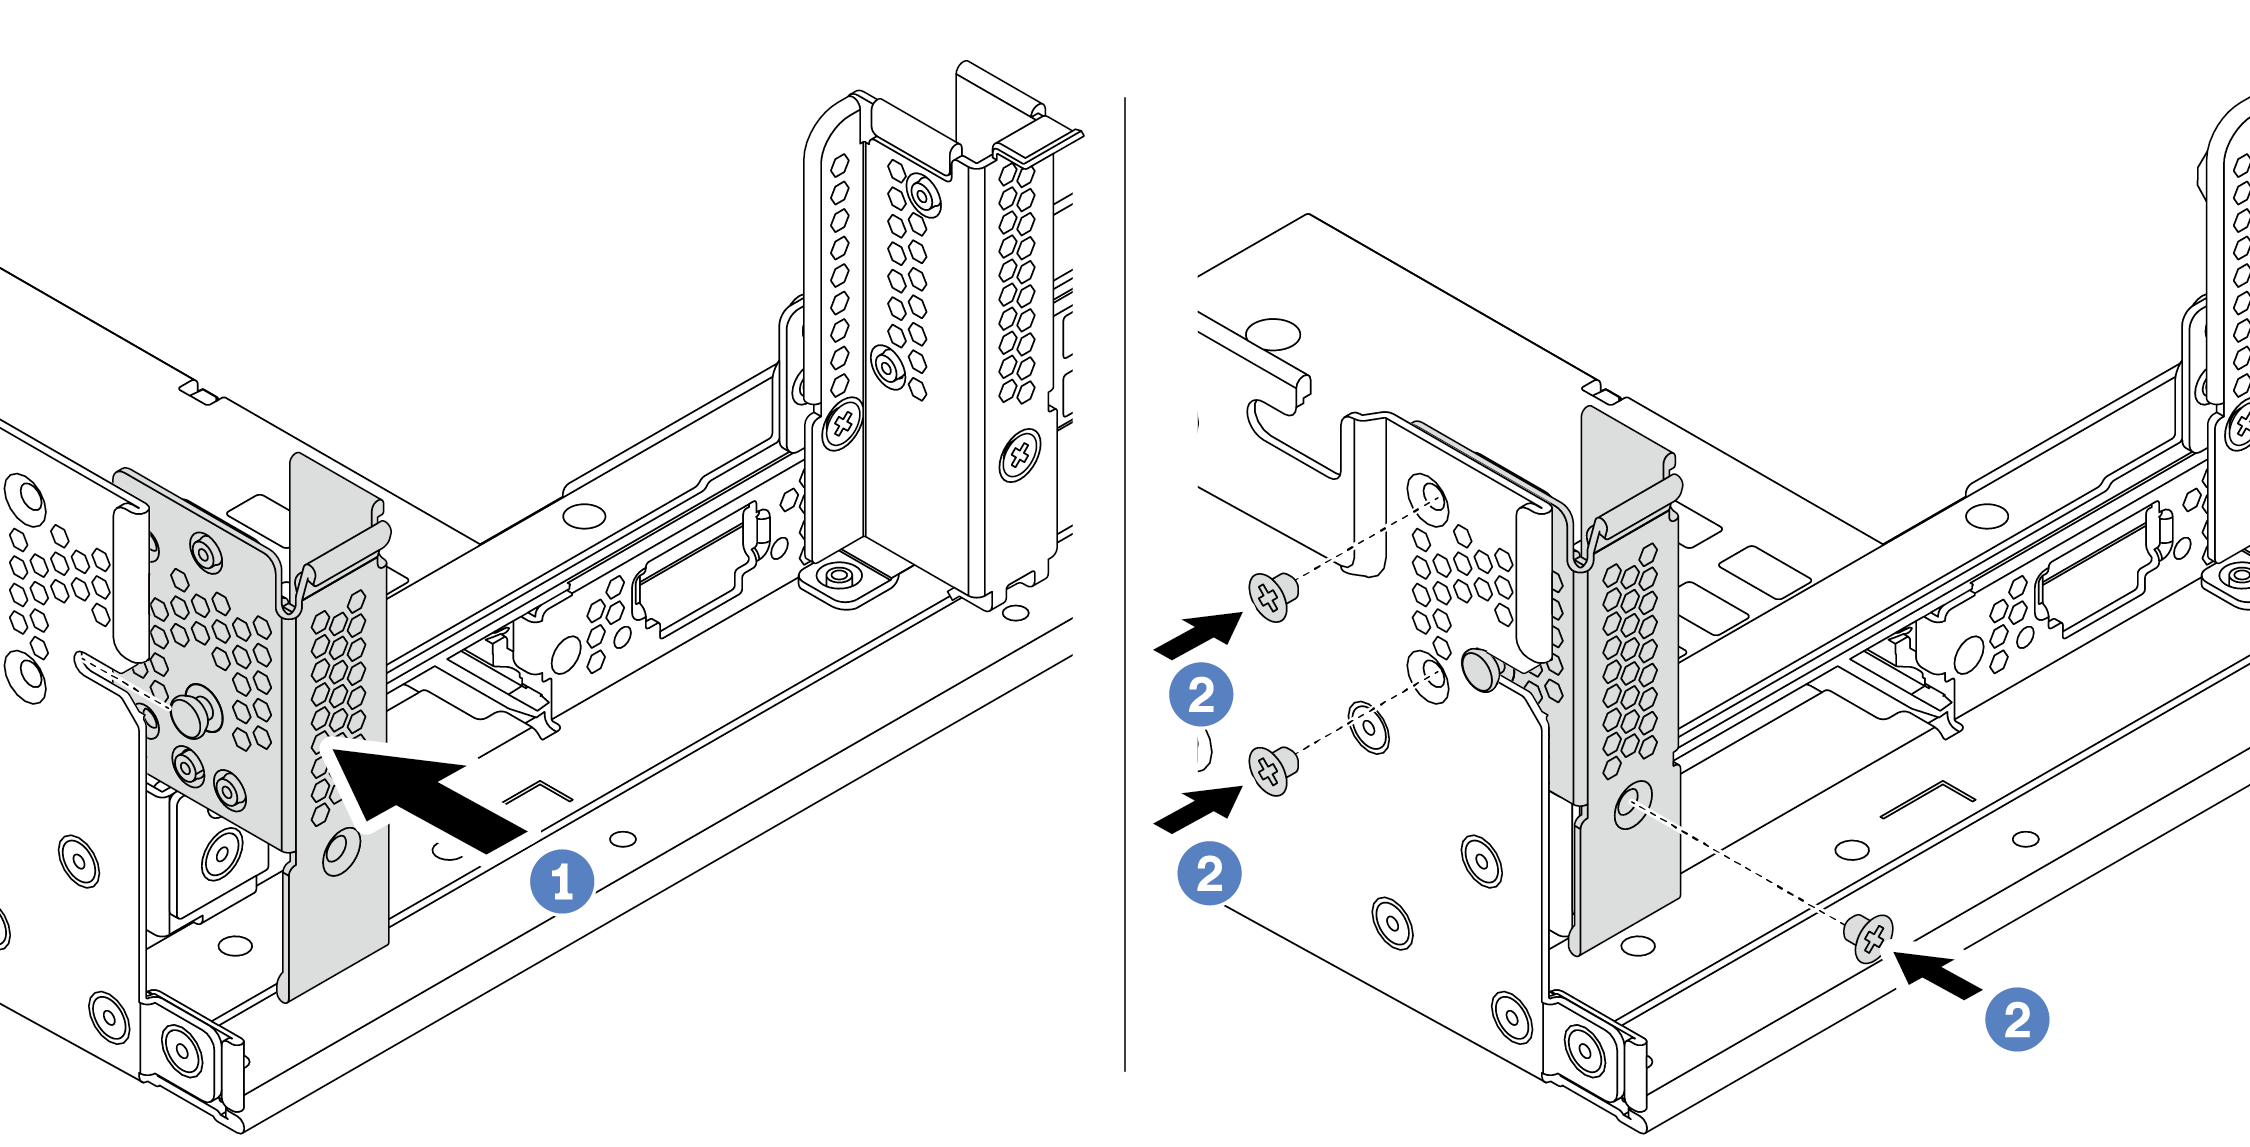
- Align the pin on the rearwall bracket and the pin slot on the left side of the rear chassis. Install the bracket to the chassis as shown.
- Install the three screws to secure the rearwall bracket.
After you finish
Install a rear drive cage or riser assemblies. See
Demo video
Give documentation feedback