Install a hard disk drive
Insert the hard disk drive in its bay and close the latch handle to lock the drive in place. Hard disk drives are hot-swap devices that can be installed while the server is powered on.

Before you install a hard disk drive, if the hard disk drive bay contains a filler, press the release tab and pull the filler from the bay.
Hard disk drive fillers can be of two types: single-bay fillers and four-bay fillers. If you remove a four-bay filler and are not installing four hard disk drives, you must install single-bay fillers in each of the empty drive bays.
When replacing a hard disk drive that was previously installed, make sure that you install it in the same drive bay from which it was removed.
Complete the following steps to install a hard disk drive:
- Install the hard disk drive in the drive bay.
If the server is operating (turned on), the green activity LED on the hard disk drive should light solid, indicating that the drive is receiving power.
Figure 1. Hard disk drive installation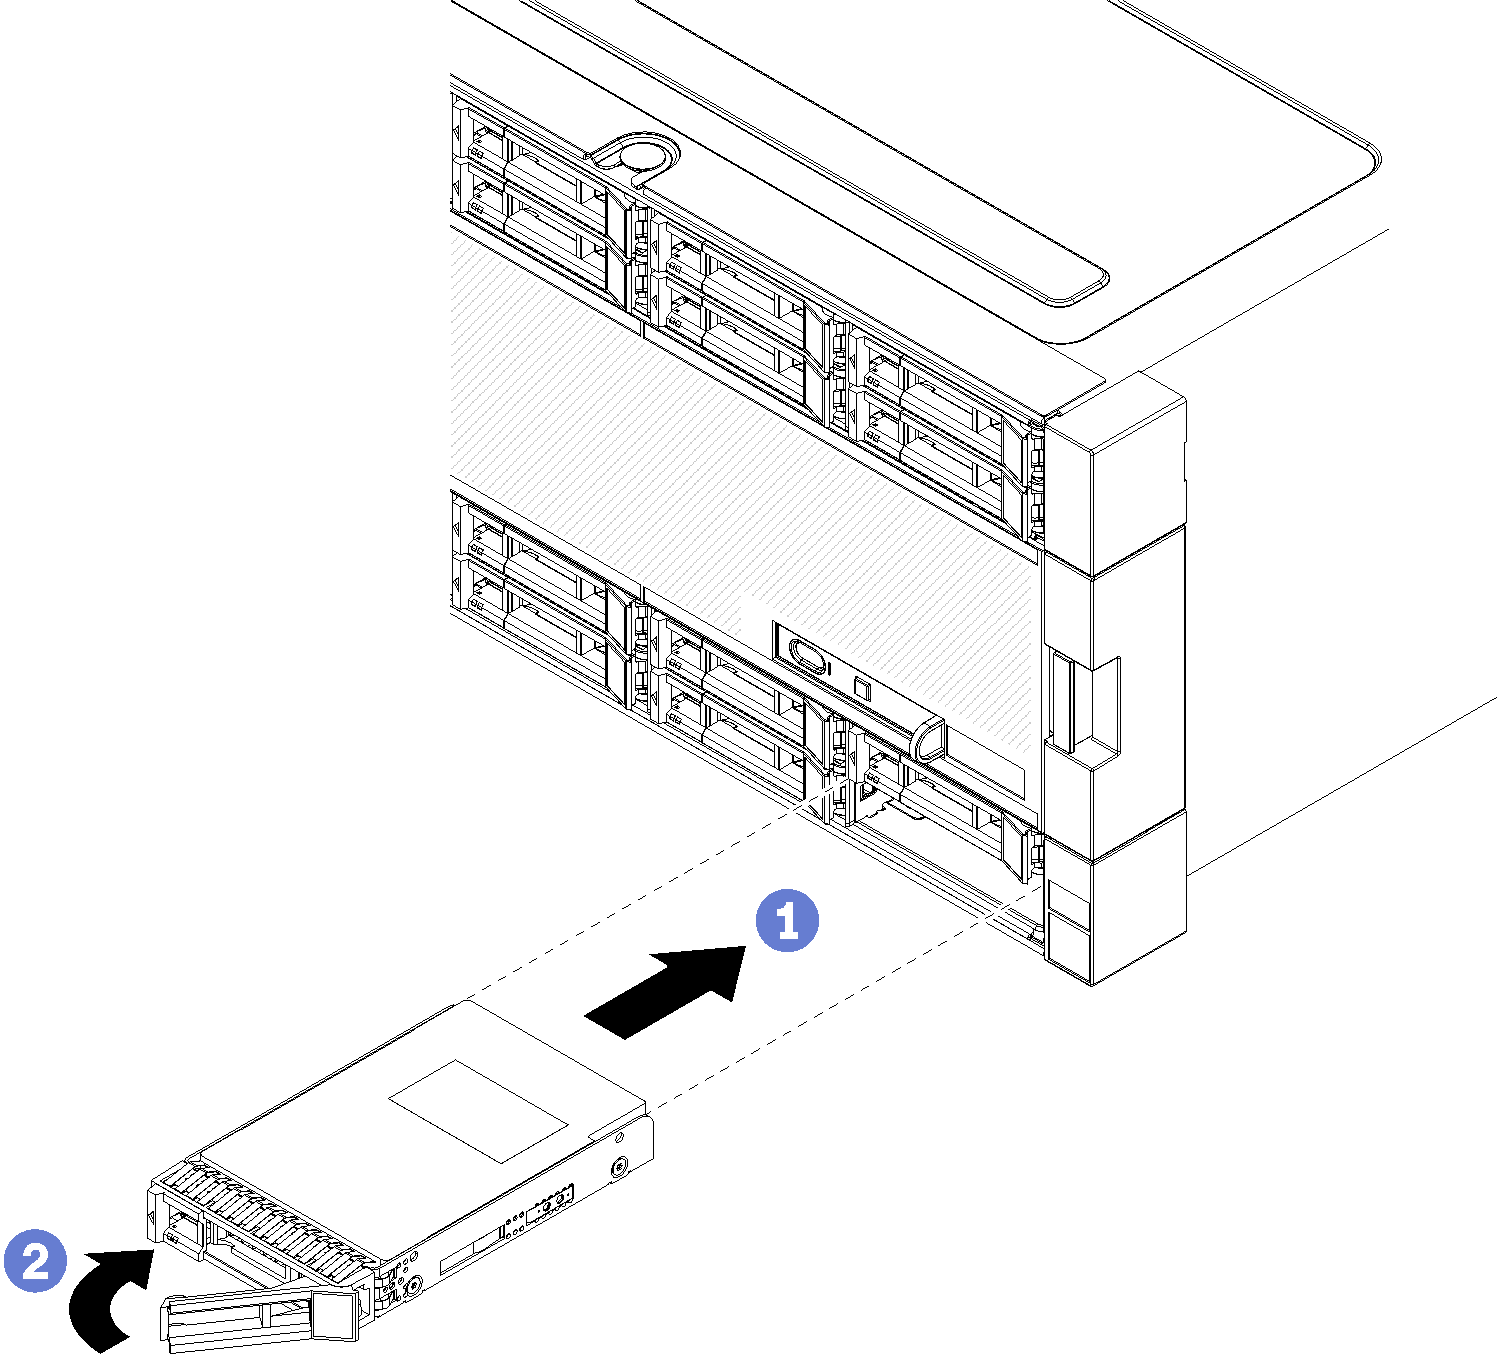
- Open the drive handle, align the drive with the drive bay, and insert the drive.
- Push the drive into the bay until the drive stops; then, rotate drive handle closed to fully seat the drive and lock it in place.
Install fillers in all empty hard disk drive bays. If you removed a four-bay filler and do not install four hard disk drives in its place, place single-bay fillers in any vacant bays.
If the server is configured for RAID operation, you might have to reconfigure your disk arrays after you install hard disk drives. See RAID configuration for information.
Demo video