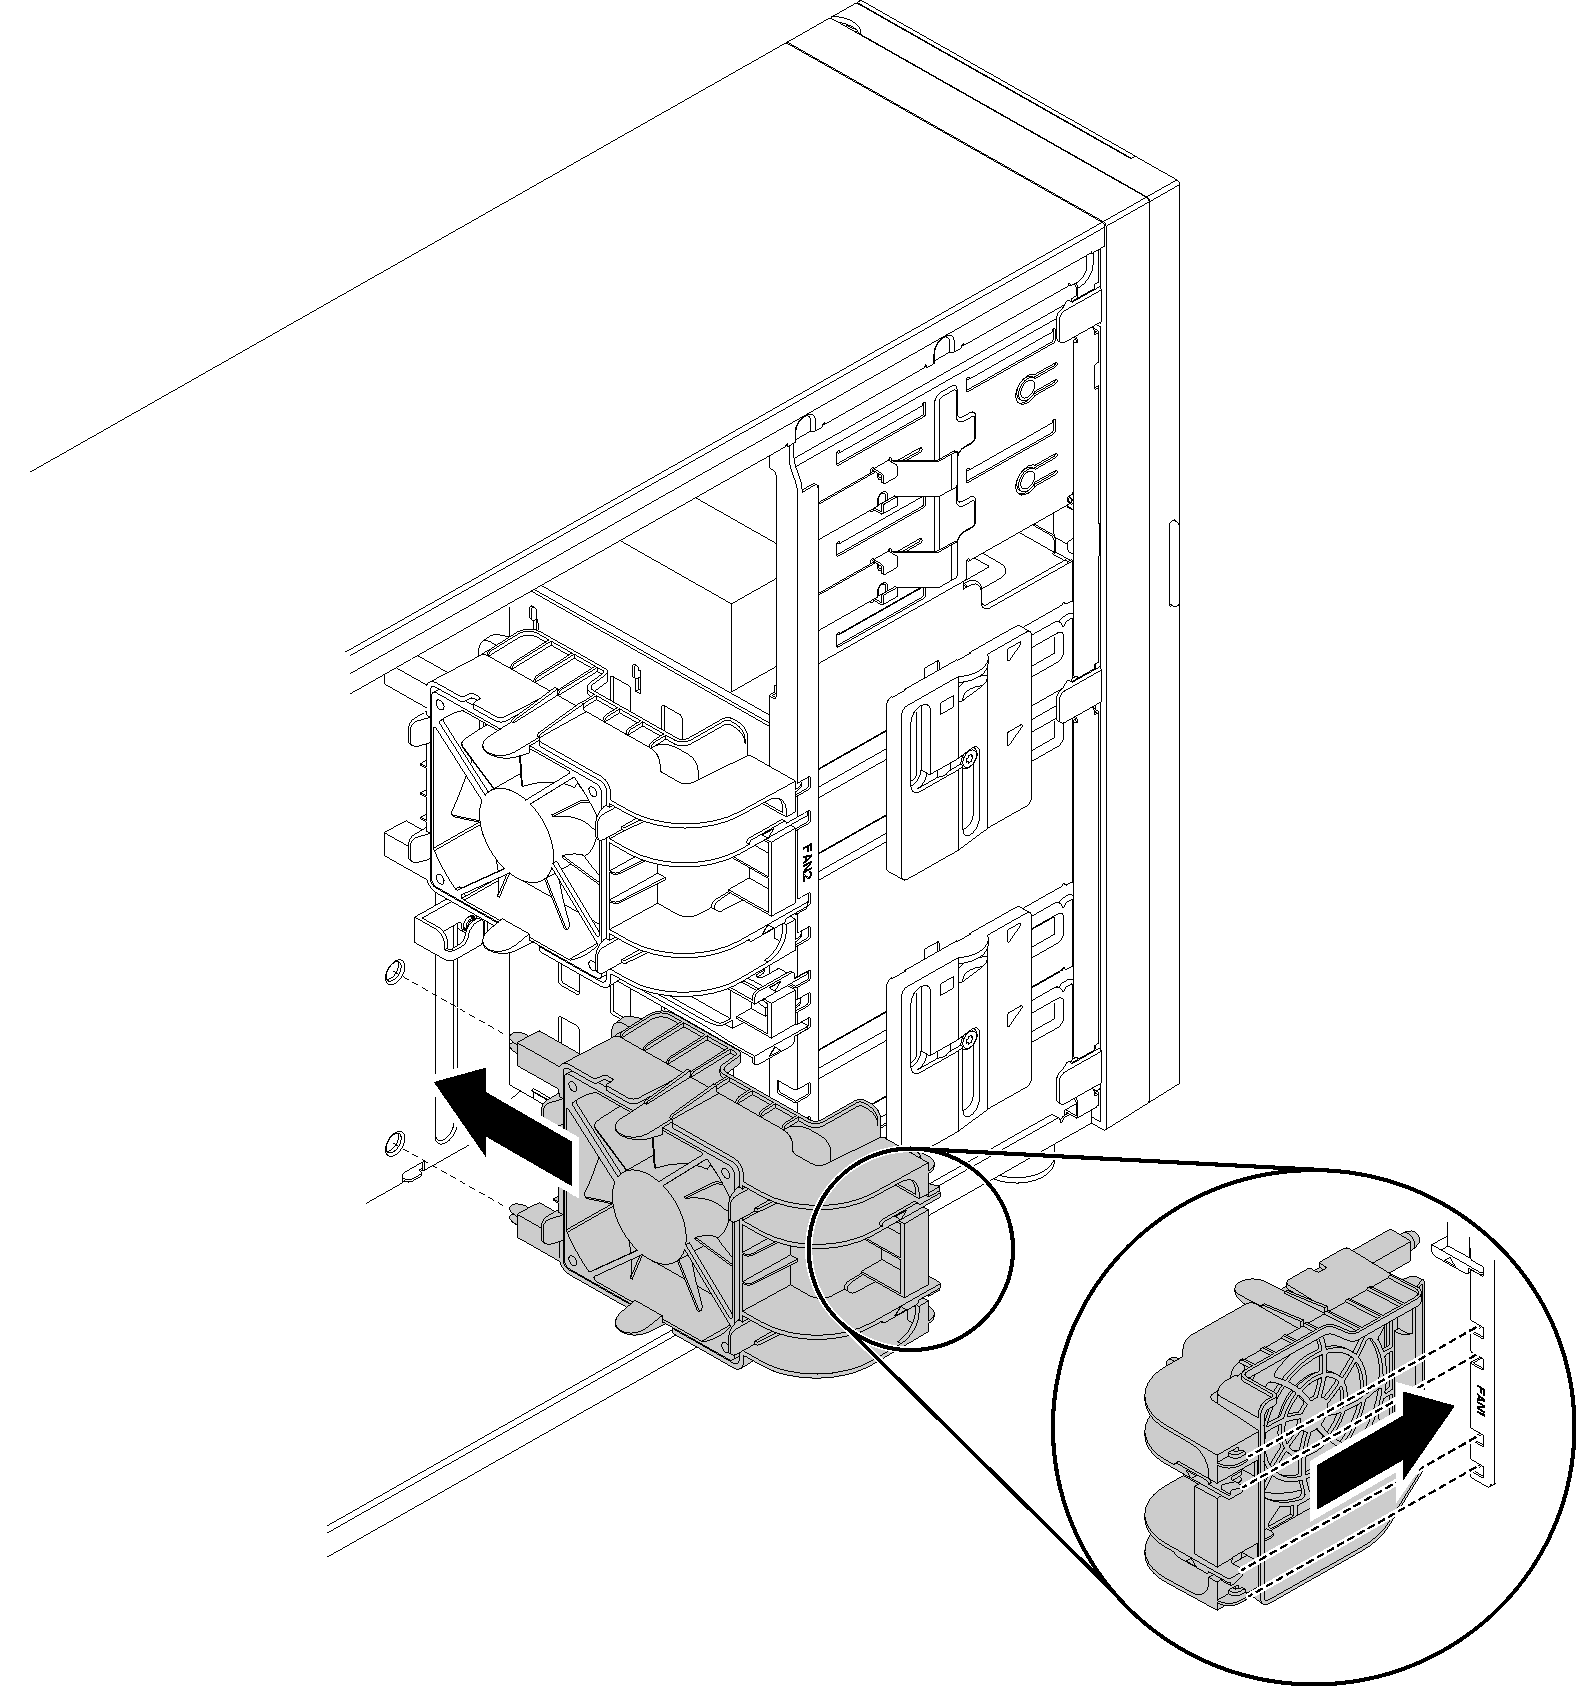
Install a front system fan
Use this information to install a front system fan.


S033

CAUTION
Hazardous energy present. Voltages with hazardous energy might cause heating when shorted with metal, which might result in spattered metal, burns, or both.
S009

CAUTION
To avoid personal injury, disconnect the fan cables before removing the fan from the device.
S002
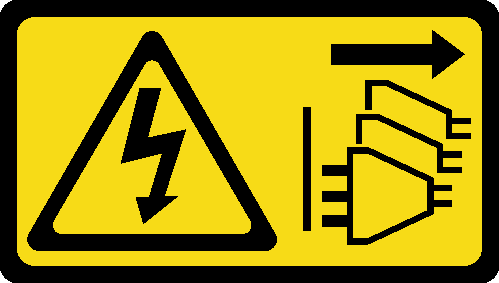
CAUTION
The power-control button on the device and the power switch on the power supply do not turn off the electrical current supplied to the device. The device also might have more than one power cord. To remove all electrical current from the device, ensure that all power cords are disconnected from the power source.
Before installing the front system fan:
Touch the static-protective package that contains the component to any unpainted metal surface on the server; then, remove it from the package and place it on a static-protective surface.
To install the front system fan, complete the following steps:
- Position the front system fan where the four tabs are aligned with the corresponding holes in the mounting area. In addition, ensure that the two posts of the front system fan are aligned with the corresponding holes in the inner side of the chassis; then, carefully slide the front system fan into the chassis until it snaps into position.NoteWhen installing the front system fan into the chassis, make sure the cables do not interfere with the two posts and the fan is firmly seated.Figure 1. Front system fan installation
Demo video
Give documentation feedback