Install the 3.5-inch simple-swap drive backplate
Use this information to install the 3.5-inch simple-swap drive backplate.


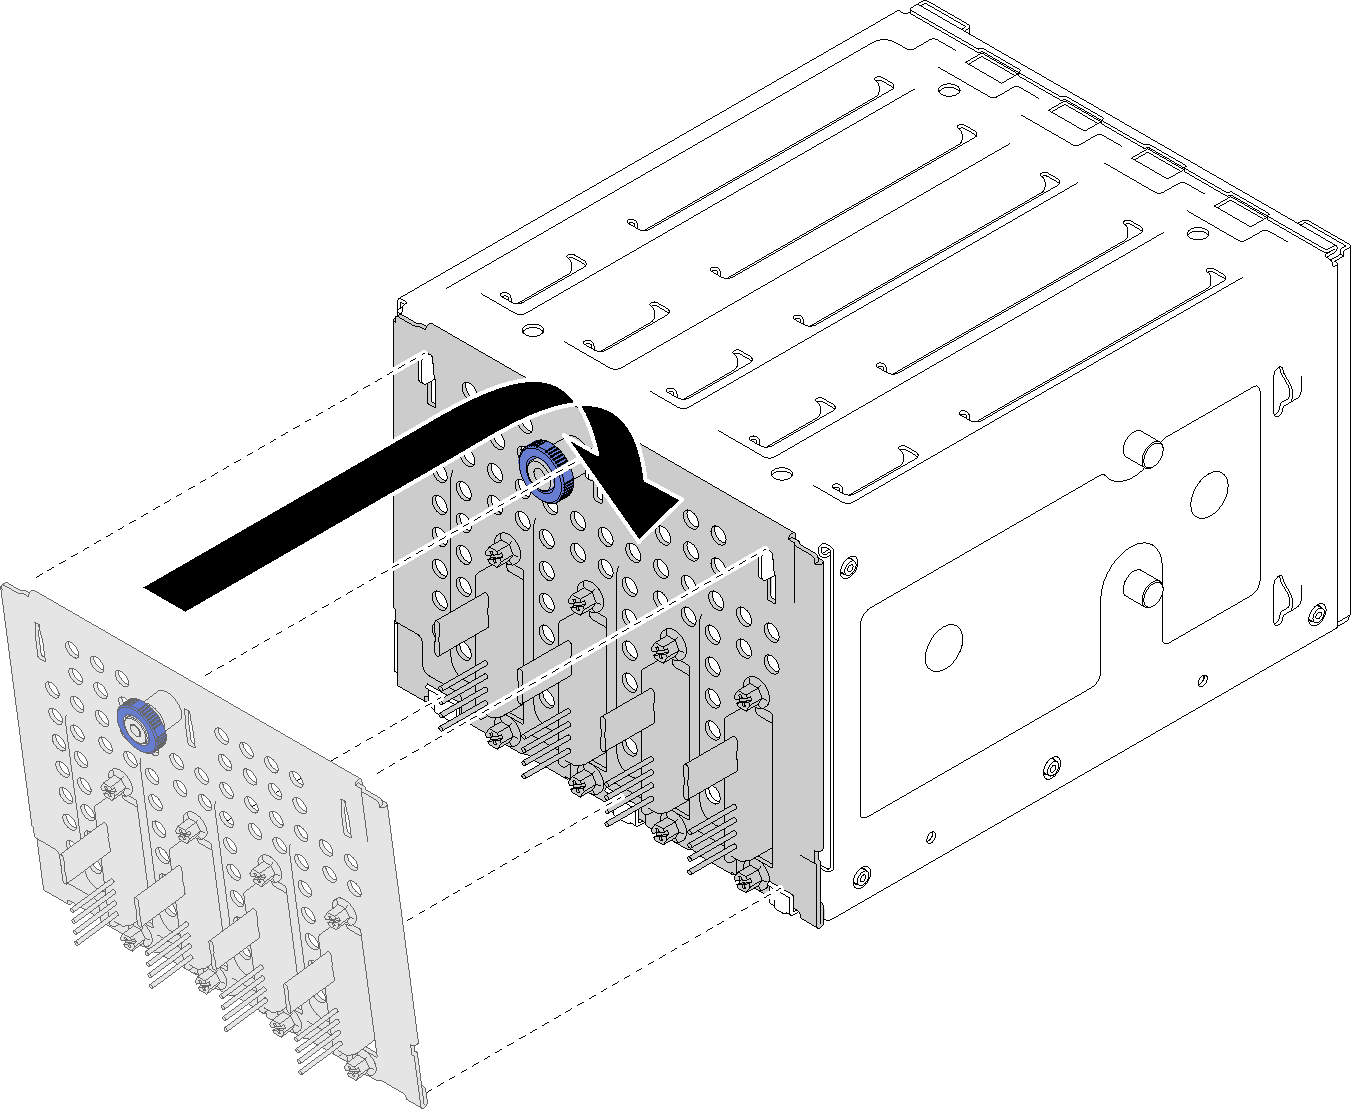
To install a simple-swap drive backplate, complete the following steps:
- Close the plunger to secure the backplate into position.Figure 1. Simple-swap drive backplate installation
Demo video
Give documentation feedback