Install the server cover
Follow this procedure to install the server cover.
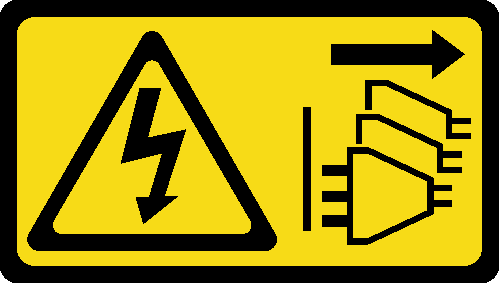
S002
CAUTION
The power-control button on the device and the power switch on the power supply do not turn off the electrical current supplied to the device. The device also might have more than one power cord. To remove all electrical current from the device, ensure that all power cords are disconnected from the power source.
S014

CAUTION
Hazardous voltage, current, and energy levels might be present. Only a qualified service technician is authorized to remove the covers where the label is attached.
S033

CAUTION
Hazardous energy present. Voltages with hazardous energy might cause heating when shorted with metal, which might result in spattered metal, burns, or both.
About this task
Attention
Read Safety inspection checklist and Installation guidelines to ensure that you work safely.
Ensure that all adapters and other components are installed and seated correctly, and that you have not left loose tools or parts inside the server.
Ensure that all internal cables are correctly routed, see Internal cable routing for more information.
If you are installing a new server cover, attach the service label to the inside of the new server cover if necessary.
NoteA new server cover comes without a service label attached. If you need a service label, order it together with the new server cover. The service label is free of charge.
Watch the procedure
- A video of this procedure is available at YouTube.
Procedure
- (Optional) Install the cage bar.
- Align the tabs on the other end of the cage bar to the slots on the front side of the chassis, and rotate the cage bar toward the front of the chassis until the cage bar is secured in place.Figure 1. Installing the cage bar
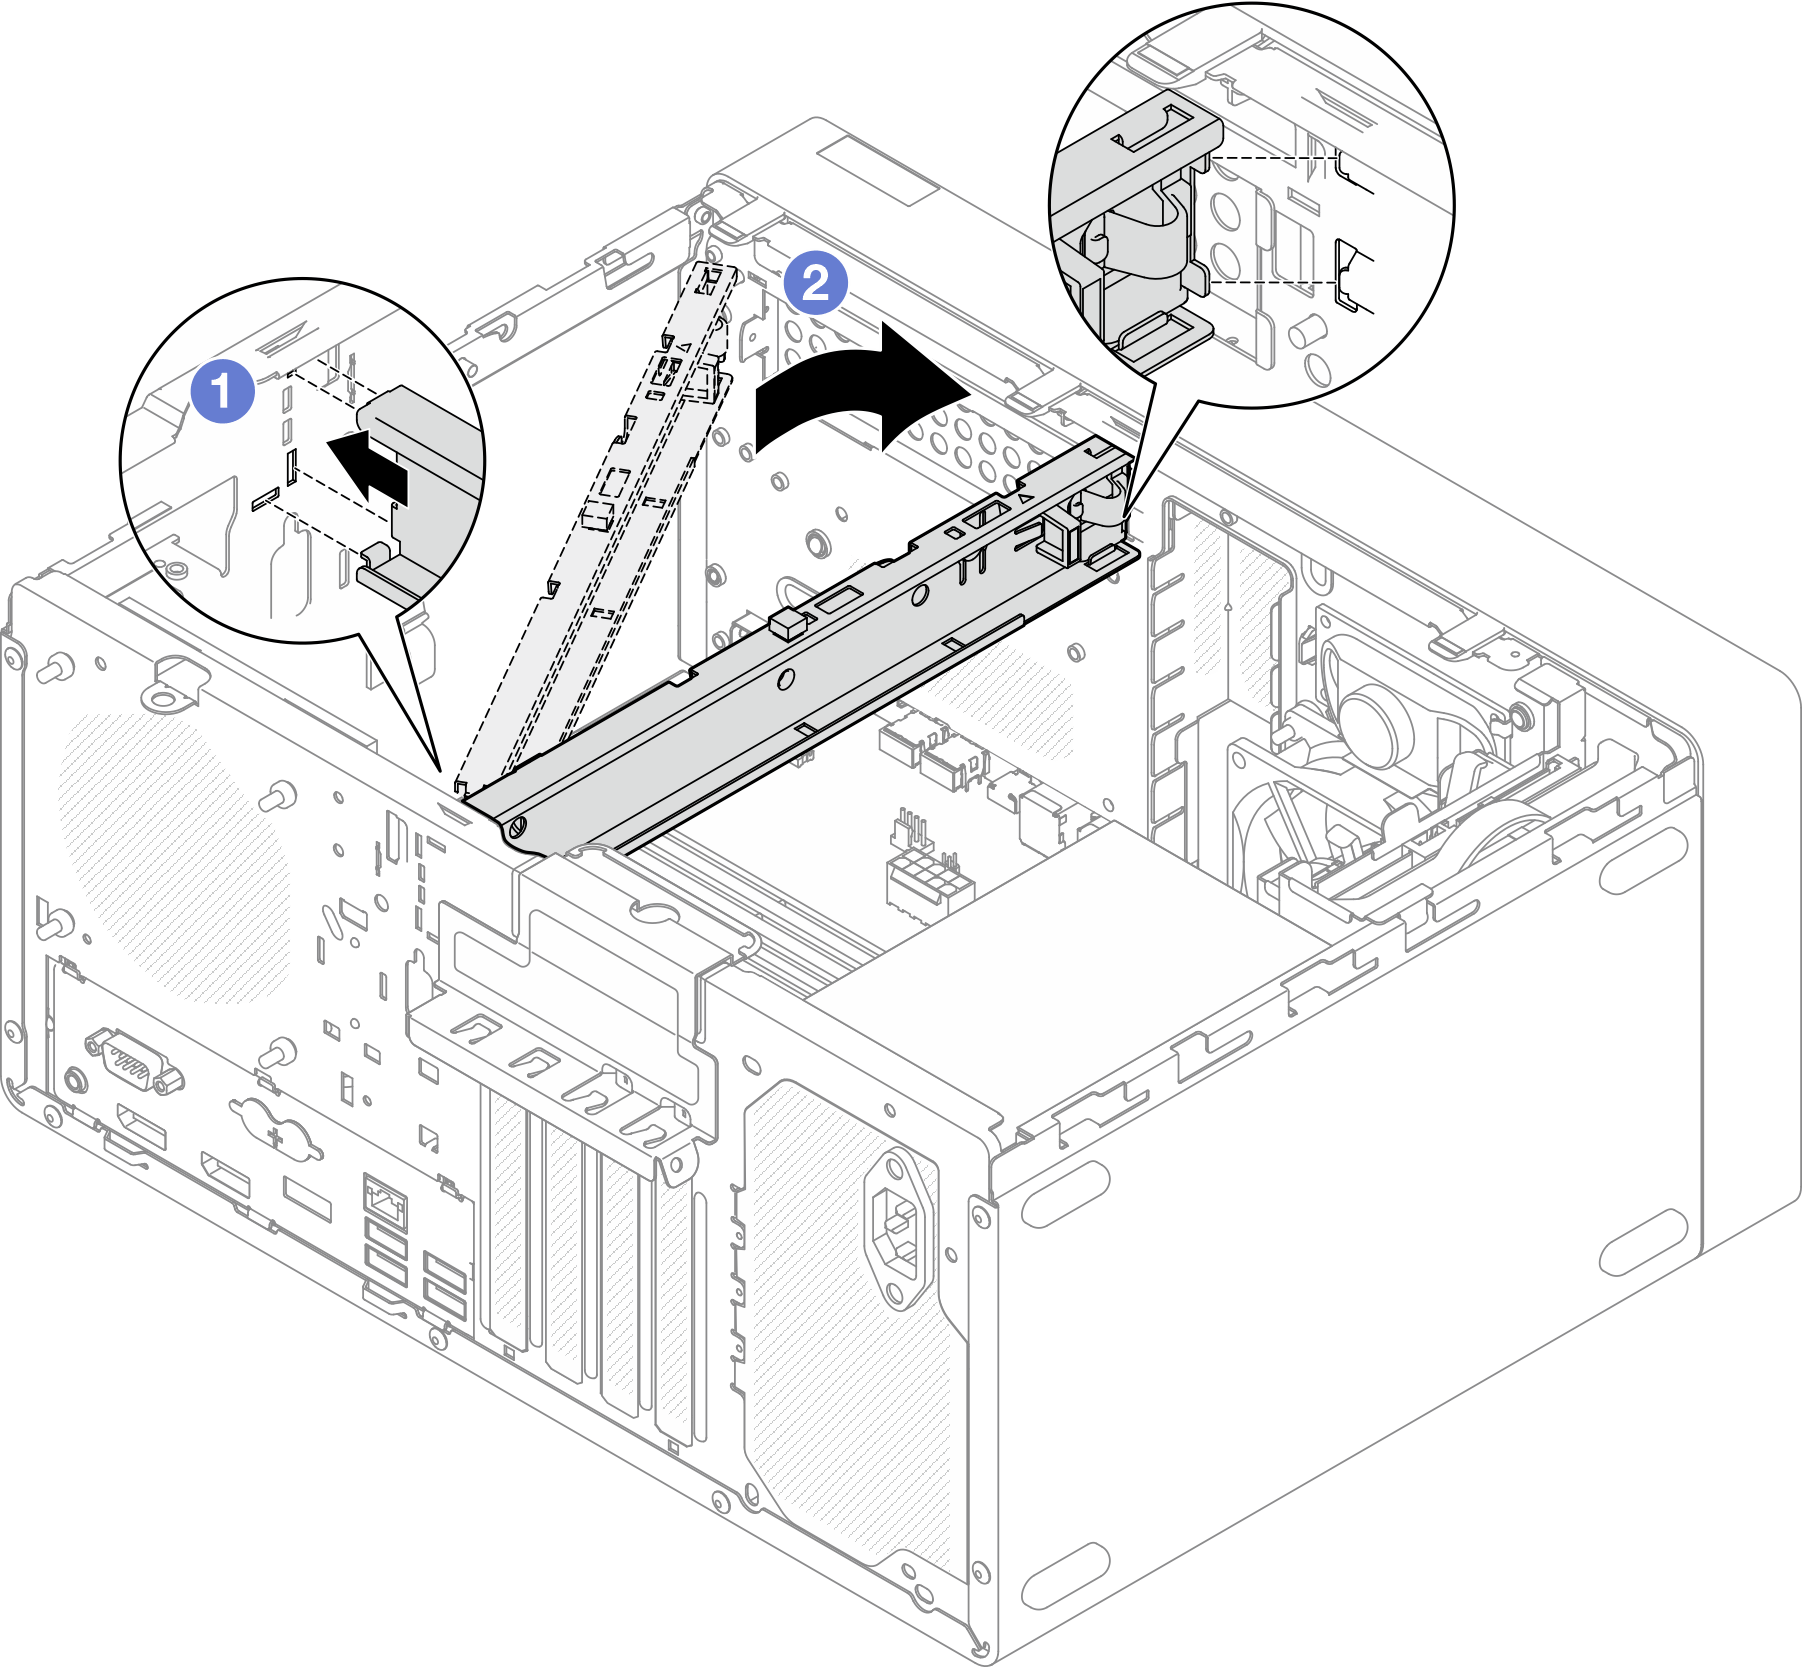
- Align the tabs on the other end of the cage bar to the slots on the front side of the chassis, and rotate the cage bar toward the front of the chassis until the cage bar is secured in place.
- Install the serve cover.
 Align the server cover to the slots on the side of the chassis. Ensure that all the tabs on the cover align are engaged with chassis properly; then, slide the cover towards the front bezel until it snaps in place.
 Use a screwdriver to fasten the two screws to secure the cover to the chassis.Figure 2. Installing the server cover
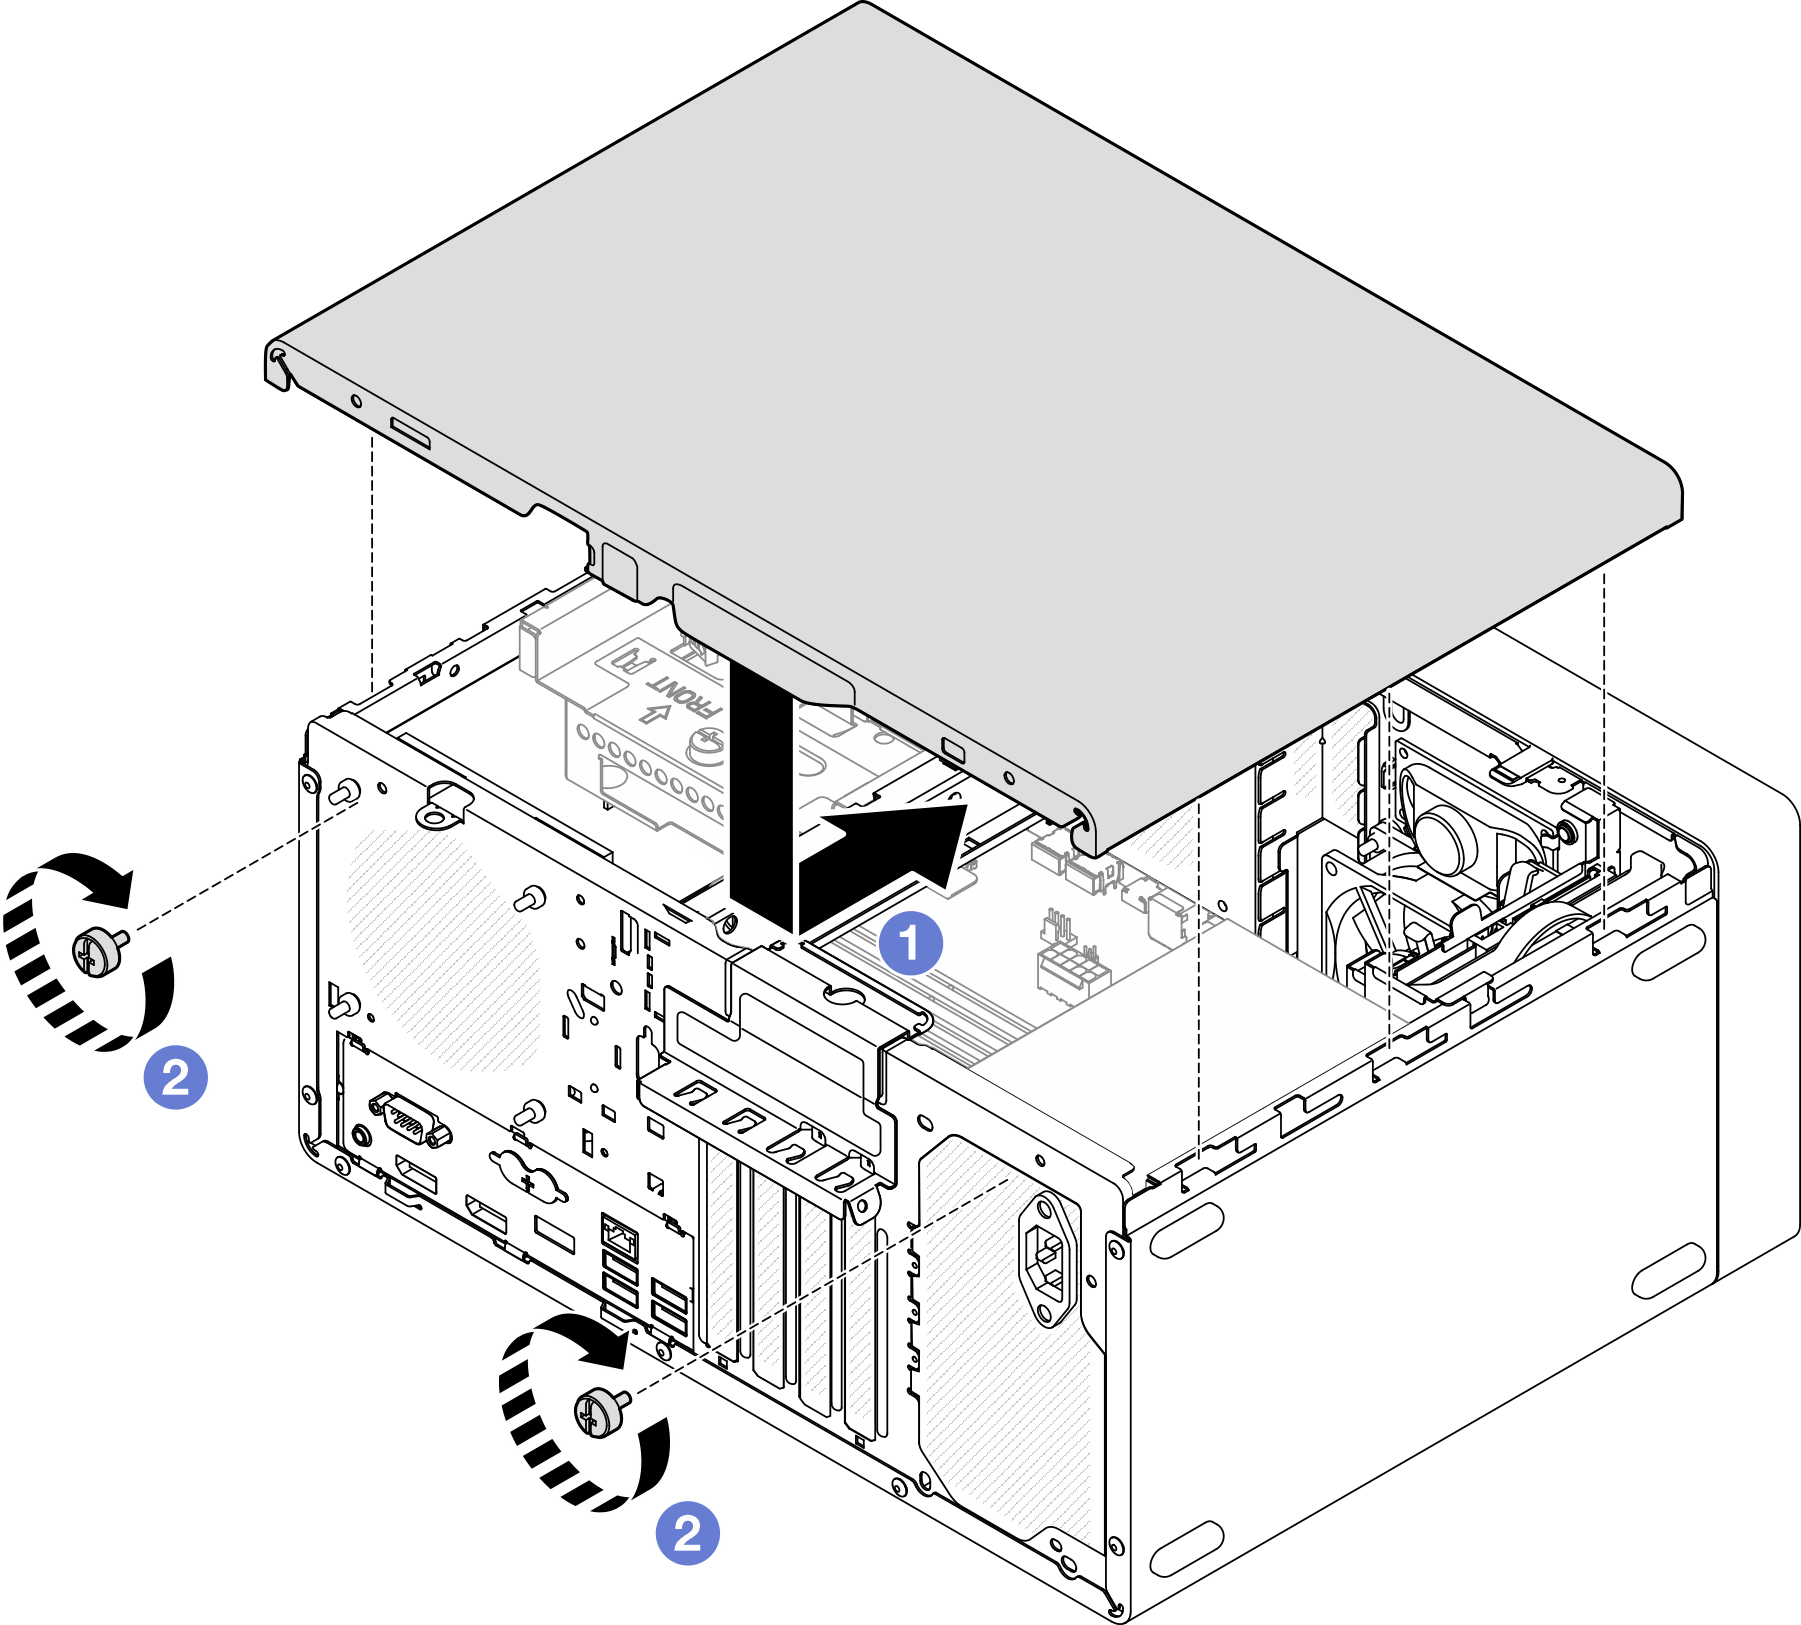
Give documentation feedback