Issues with bringing a cloned disk online
When you clone a disk from a backup of a Windows 2016 server and attach it to that same server, you may encounter problems bringing the disk online through File and Storage Services in Server Manager.
If you bring the disk online through Disk Management, the problem is avoided.
Complete the following steps to bring a cloned disk online.
- Connect to the application instance.
- Bring the disk online through Disk Management.
- Bring up Computer Management (from the Control Panel), and click Disk Management.Figure 1. Disk Management
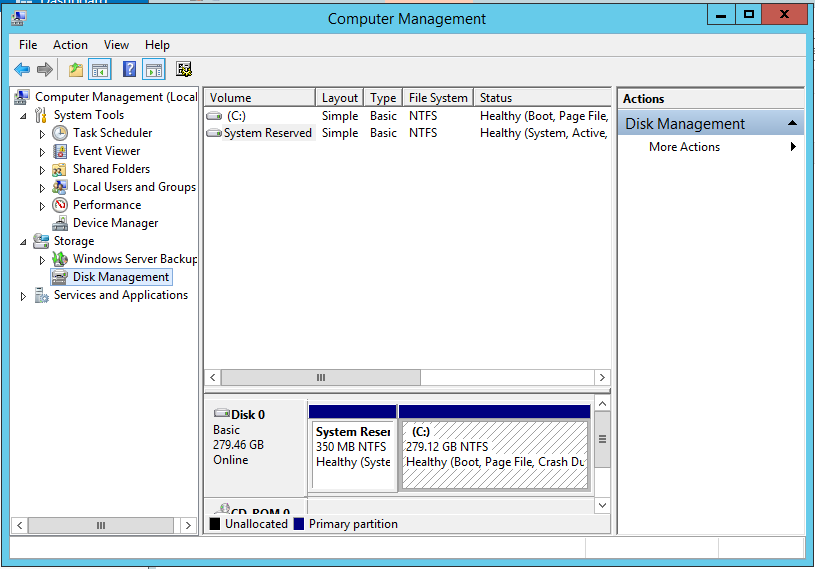
- Bring up Computer Management (from the Control Panel), and click Disk Management.
- Bring the disk online through File and Storage Services (from Server Manager) by removing the read-only attribute on the disk.
The disk should be online.
Give feedback