Create the update storage container
Follow this procedure for creating a storage container within Azure Stack Hub to import the update package.
For an OEM Extension Package to be applied to Azure Stack Hub, it must be imported into a specific storage container within Azure Stack Hub. This container must be created as follows:
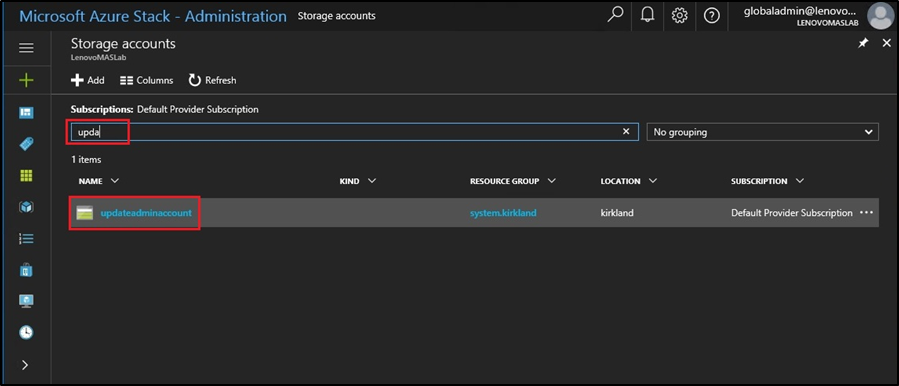
- In the filter box, type update, and select updateadminaccount.Figure 1. Navigating to the updateadminaccount storage container
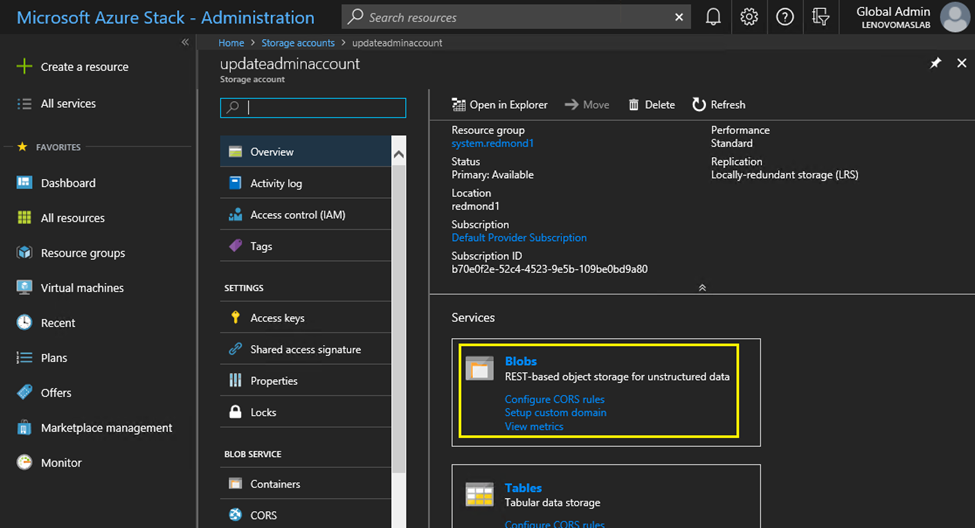
- In the updateadminaccount storage account details, under Services, select Blobs.Figure 2. Navigating to the Blobs storage container
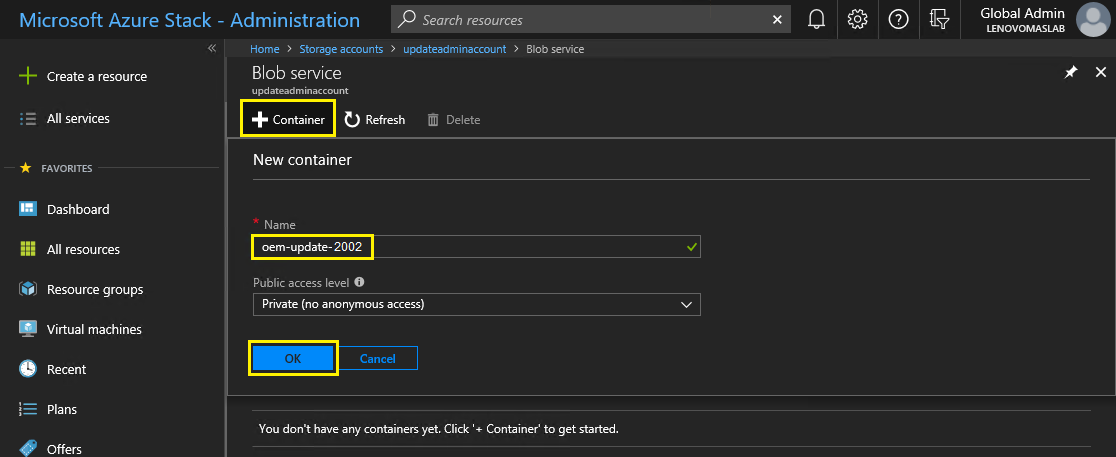
- On the Blob service tile, click + Container to create a container, enter a name for the container (for example, oem-update-2002), and click OK.Figure 3. Creating the new container
Give documentation feedback