Removing the 3.5-inch hard disk drive backplate assembly
Use this information to remove the 3.5-inch hard disk drive backplate assembly.
Read the safety information in Safety and Installation guidelines.
If you are replacing a server component in the server, you need to turn off the server and peripheral devices, and disconnect the power cords and all external cables.
To remove the 3.5-inch simple-swap hard disk drive backplate assembly, complete the following steps.
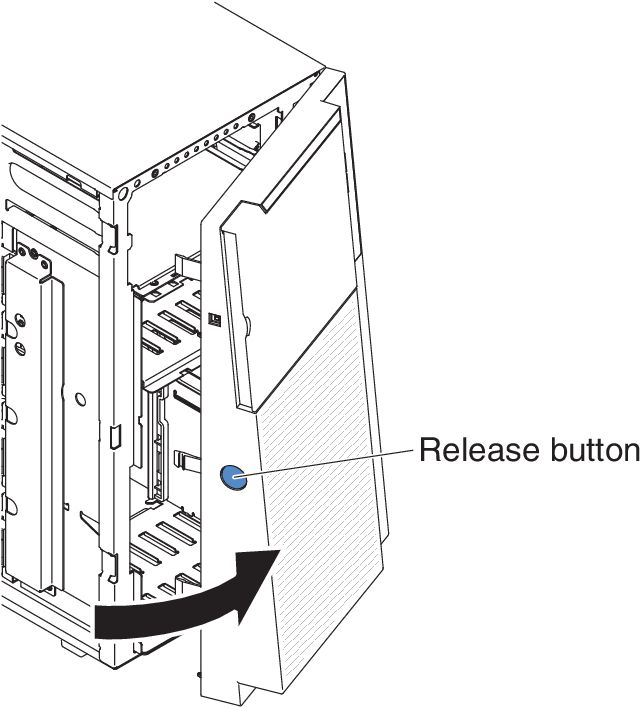
- Open the bezel by pressing the button on the left edge of the bezel, and rotate the left side of the bezel away from the server.Figure 1. Open bezel
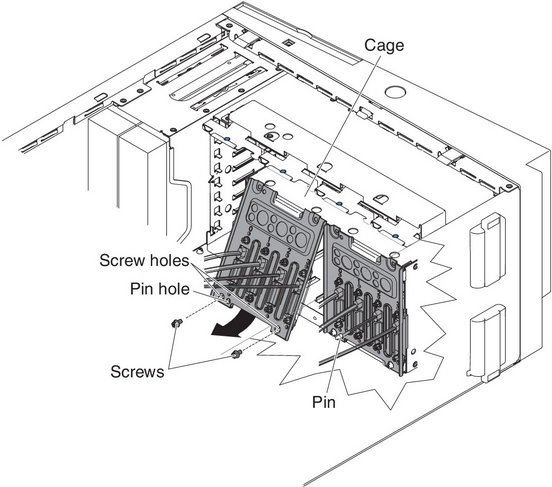
- Rotate the backplate assembly away from the bottom side of the drive cage until the guide pins on the drive cage disengage from the backplate assembly . Figure 2. Rotate backplate assembly away
If you are instructed to return the server component or optional device, follow all packaging instructions, and use any packaging materials for shipping that are supplied to you.
Give documentation feedback