Installing an adapter
Use this information to install an adapter.
The following notes describe the types of adapters that the server supports and other information that you must consider when you install an adapter:
- To confirm that the server supports the adapter that you are installing, see the Lenovo ServerProven website.
- Locate the documentation that comes with the adapter and follow those instructions in addition to the instructions in this section.
- Do not set the maximum digital video adapter resolution above 1600 x 1200 at 75 Hz for an LCD monitor. This is the highest resolution that is supported for any add-on video adapter that you install in the server.
- Avoid touching the components and gold-edge connectors on the adapter.
- The server uses a rotational interrupt technique to configure PCI adapters so that you can install PCI adapters that do not support sharing of PCI interrupts.
- The following table lists the option part numbers and CRU part numbers for the network adapters.
Table 1. Network adapters . Three column table for documenting the network adapters description, option part number, and CRU part number. Network Adapters Description Option part number CRU part number NetXtreme II 1000 express Ethernet adapter 39Y6066 39Y6070 NetXtreme II 1000 express dual-port Ethernet adapter 42C1780 49Y7947 QLogic 10Gb CNA 42C1800 42C1802 QLogic 8Gb FC dual-port HBA 42D0510 42D0516 NetXtreme II 1000 express quad-port Ethernet adapter 49Y4220 49Y7949 Intel Ethernet dual-port server adapter I340-T2 49Y4230 49Y4232 Intel Ethernet quad-port server adapter I340-T4 49Y4240 49Y4242 Broadcom NetXtreme II dual-port 10GBaseT adapter 49Y7910 49Y7912 Intel X520-DA2 dual-port 10GbE SFP adapter 49Y7960 49Y7962 Intel X540-T2 dual-port 10GBaseT adapter 49Y7970 49Y7972 Broadcom NetXtreme I quad-port GbE adapter 90Y9352 90Y9355 Broadcom NetXtreme I dual-port GbE adapter 90Y9370 90Y9373 Emulex 10 GbE virtual fabric adapter III 95Y3762 9573766 Emulex 10 GbE virtual fabric adapter III lite 95Y3768 95Y3766
Attention
Static electricity that is released to internal server components when the server is powered-on might cause the server to stop, which might result in the loss of data. To avoid this potential problem, always use an electrostatic-discharge wrist strap or other grounding system when working inside the server with the power on.
Read the safety information in Safety and Installation guidelines.
If you are replacing a server component in the server, you need to turn off the server and peripheral devices, and disconnect the power cords and all external cables.
To install an adapter, complete the following steps.
- Rotate the adapter-retention brackets to the open position.Figure 1. Rotate the adapter-retention brackets to the open position

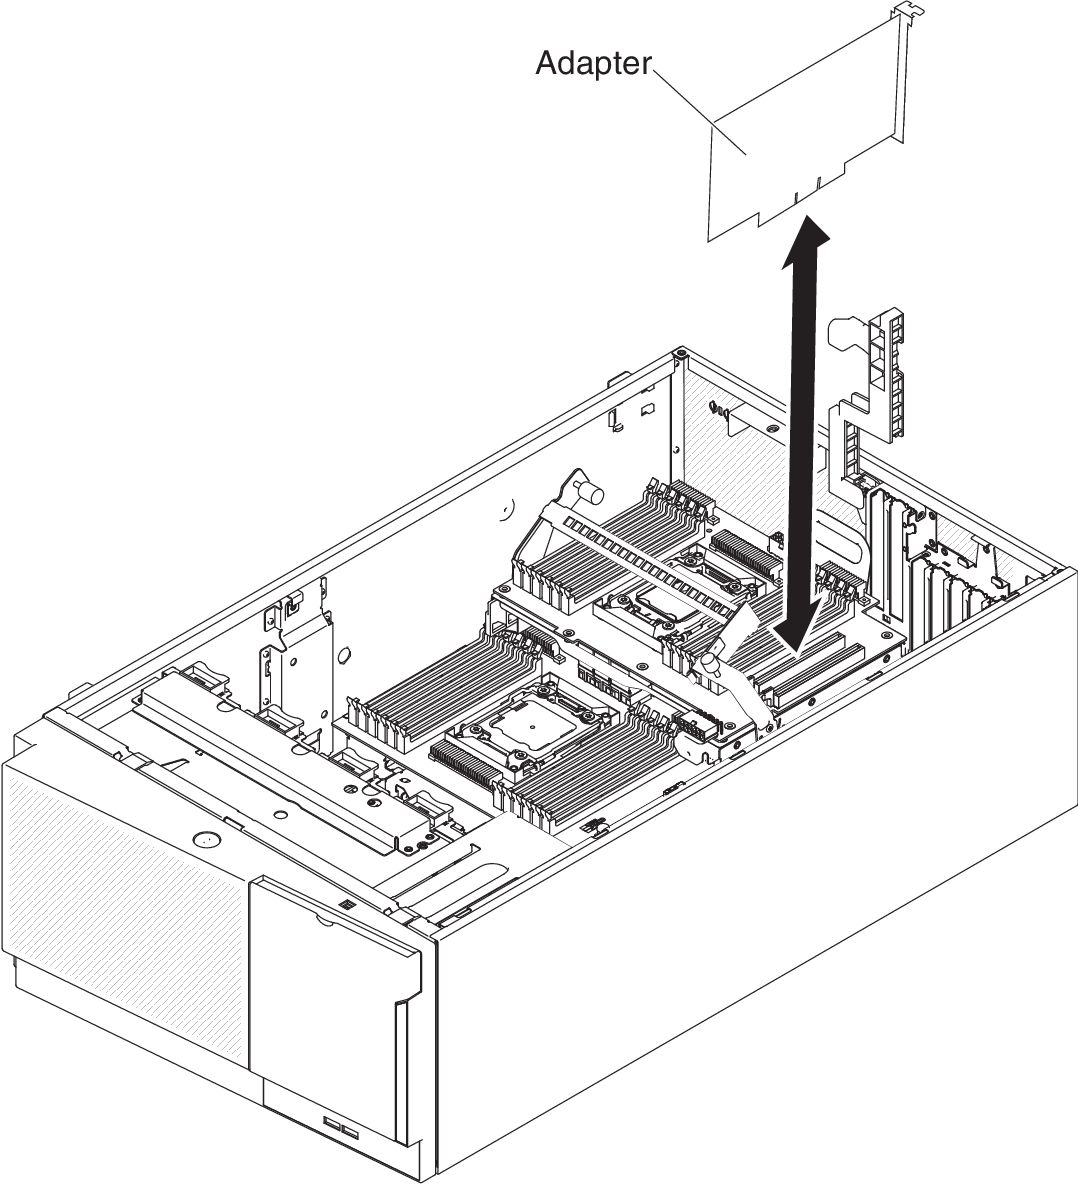
- Press the adapter firmly into the expansion slot.Figure 2. Press adapter into expansion slot
 AttentionIncomplete insertion might cause damage to the system board or the adapter.
If you have replaced a server component or installed an optional device in the server, you need to reconnect the power cords and all external cables, and turn on the server and peripheral devices.
Note
If the server is configured for RAID operation through an optional ServeRAID adapter, you might have to reconfigure your disk arrays after you install an adapter. See the ServeRAID documentation on the Lenovo ServerRAID Support CD for additional information about RAID operation and complete instructions for using ServeRAID Manager.
Give documentation feedback