Creating users
You can manually create user accounts in the local (embedded) authentication server. Local user accounts are used to log in to Lenovo SDI Management Platform and authorize access to resources.
About this task
At least one user must be a member of a local user group to which the predefined Supervisor role is assigned (see Controlling access to functions).
Procedure
To create a local user, complete the following steps:
- From the Lenovo SDI Management Platform menu bar, click Administration (
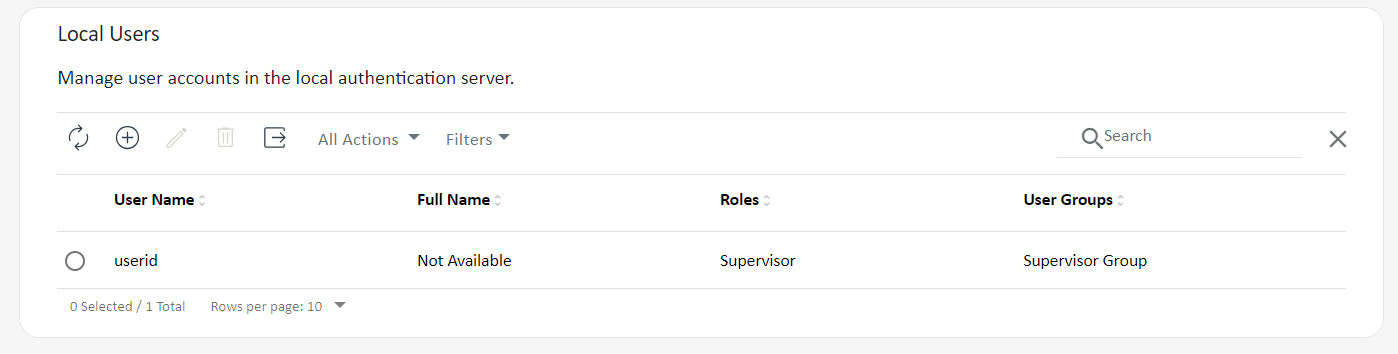
 ) > Security, and then click Local Users in the left navigation bar to display the Local Users card.
- Click the Create icon (
 ) to create a user. The Create New User dialog is displayed.
 - Fill in the following information in the dialog.
- [ ]Enter a unique user name. You can specify up to 32 characters, including all letters and numeric characters in supported languages, special characters (@ - _ + / [ ] . , :), and spaces.
Enter the new password and confirm it. By default, passwords must contain 8–128 characters and must meet the following criteria:
Must contain at least one alphabetic character, and must not have more than two sequential characters, including sequences of alphabetic characters, digits, and QWERTY keyboard keys (for example, “abc”, “123”, and “asd” are not allowed)
Must contain at least one number
Must contain at least two of the following characters.
Uppercase alphabetic characters (A – Z)
Lowercase alphabetic characters (a – z)
Special characters ; @ _ !' $ \& +
Must not repeat or reverse the user name
Must not contain more than two of the same characters consecutively (for example, “aaa”, “111”, and “...” are not allowed)
(Optional) Specify contact information for the user account, including the full name, email address, and phone number.
TIP: For the full name, you can specify up to 128 characters, including letters, numbers, spaces, periods, hyphens, apostrophes, and commas
Click the User Groups tab, and select the user groups to which this user is to be a member.
Click Create. The user account is added to the table.
After you finish
You can perform the following actions from the Local Users ****card.
View user properties by clicking the row in the table for a user to display the User Details dialog.
Modify the properties of a selected user, including the password and user groups, by clicking the Edit icon (
 ).
).Delete a selected user by clicking the Delete icon(
 ).
).