Replace a rearwall bracket
Use this information to replace a rearwall bracket.
About this task
Before you add a rear drive cage, you might need remove or replace the existing rearwall bracket with a required rearwall bracket that comes with the rear drive cage.
Attention
Read Installation Guidelines to ensure that you work safely.
Power off the server and disconnect all power cords for this task.
Prevent exposure to static electricity, which might lead to system halt and loss of data, by keeping static-sensitive components in their static-protective packages until installation, and handling these devices with an electrostatic-discharge wrist strap or other grounding system.
Procedure
- Remove the riser assemblies. The below illustration shows removing the riser 1 assembly. It is similar for removing other riser assemblies.Figure 1. Riser assembly removal
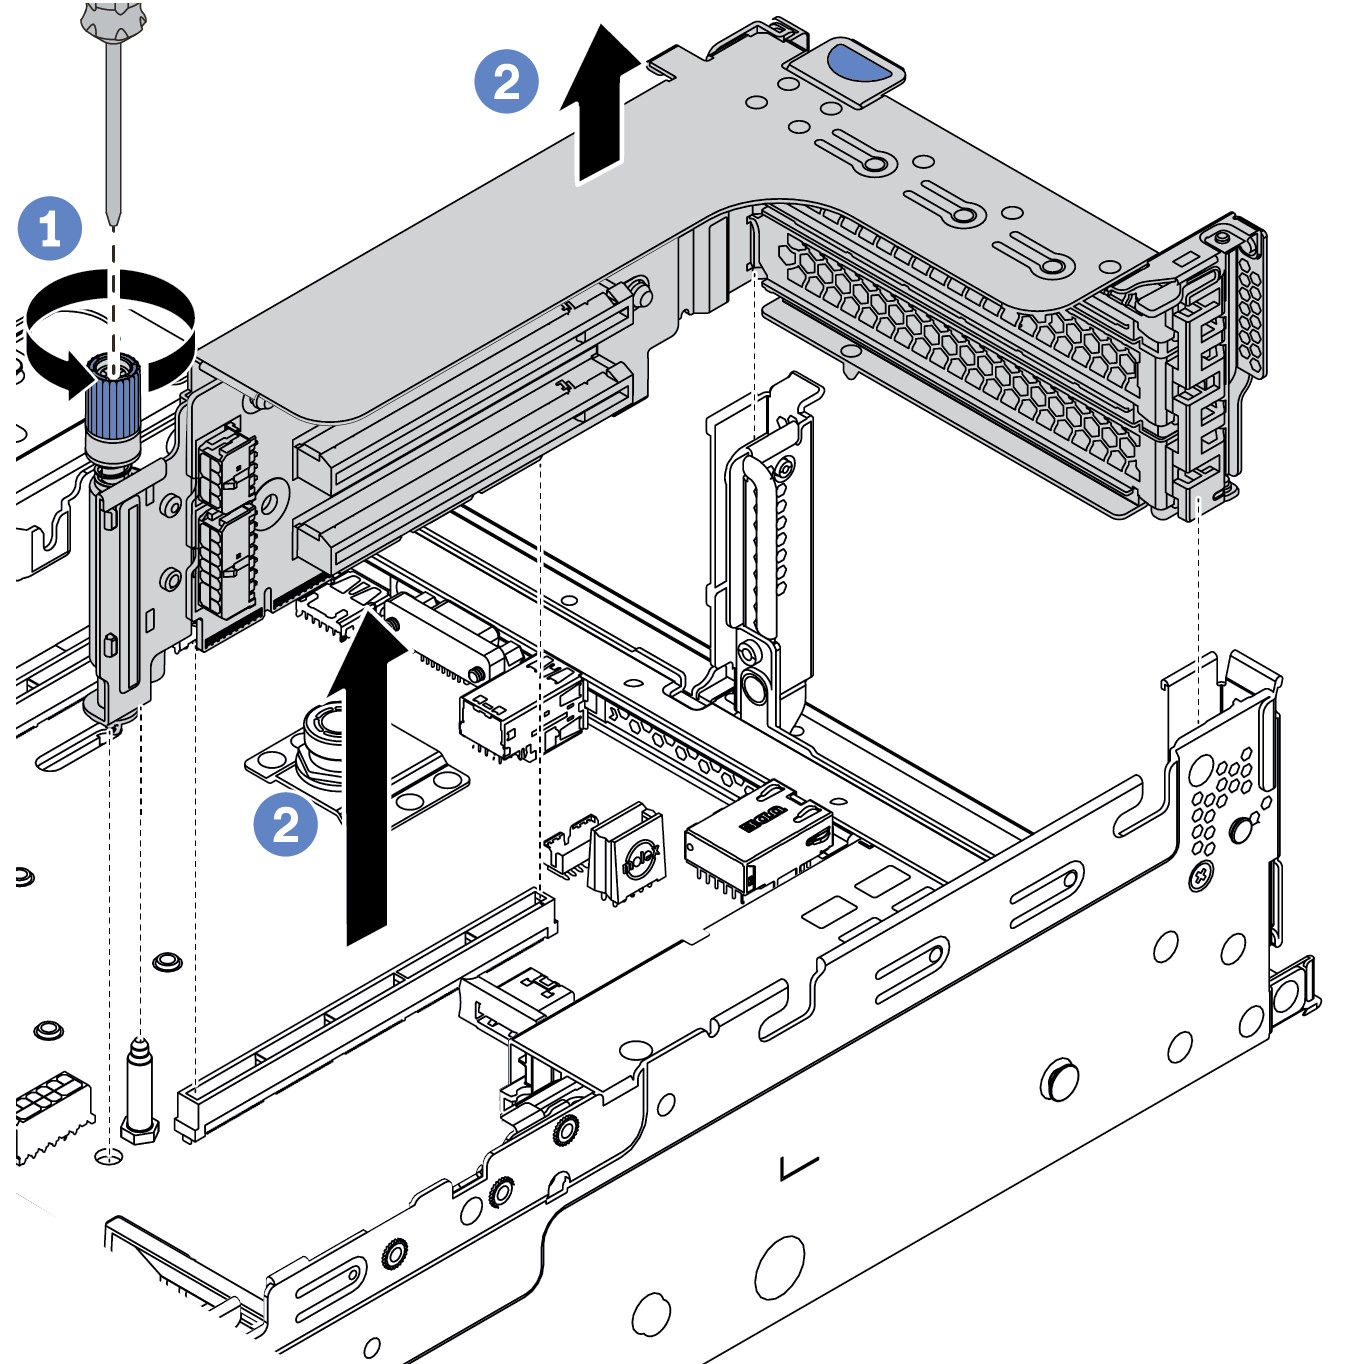
- Loosen the screw that secures the riser assembly.
- Grasp the riser assembly by its edges and carefully lift it straight up and off the chassis.
- Remove the existing rearwall bracket. Refer to Rearwall bracket combinations matrix to determine the bracket to be removed.NoteThe illustrations show removing the A1, B1, and C1 rearwall brackets. The procedure is the same for removing other rearwall brackets.Figure 2. A1 rearwall bracket removal
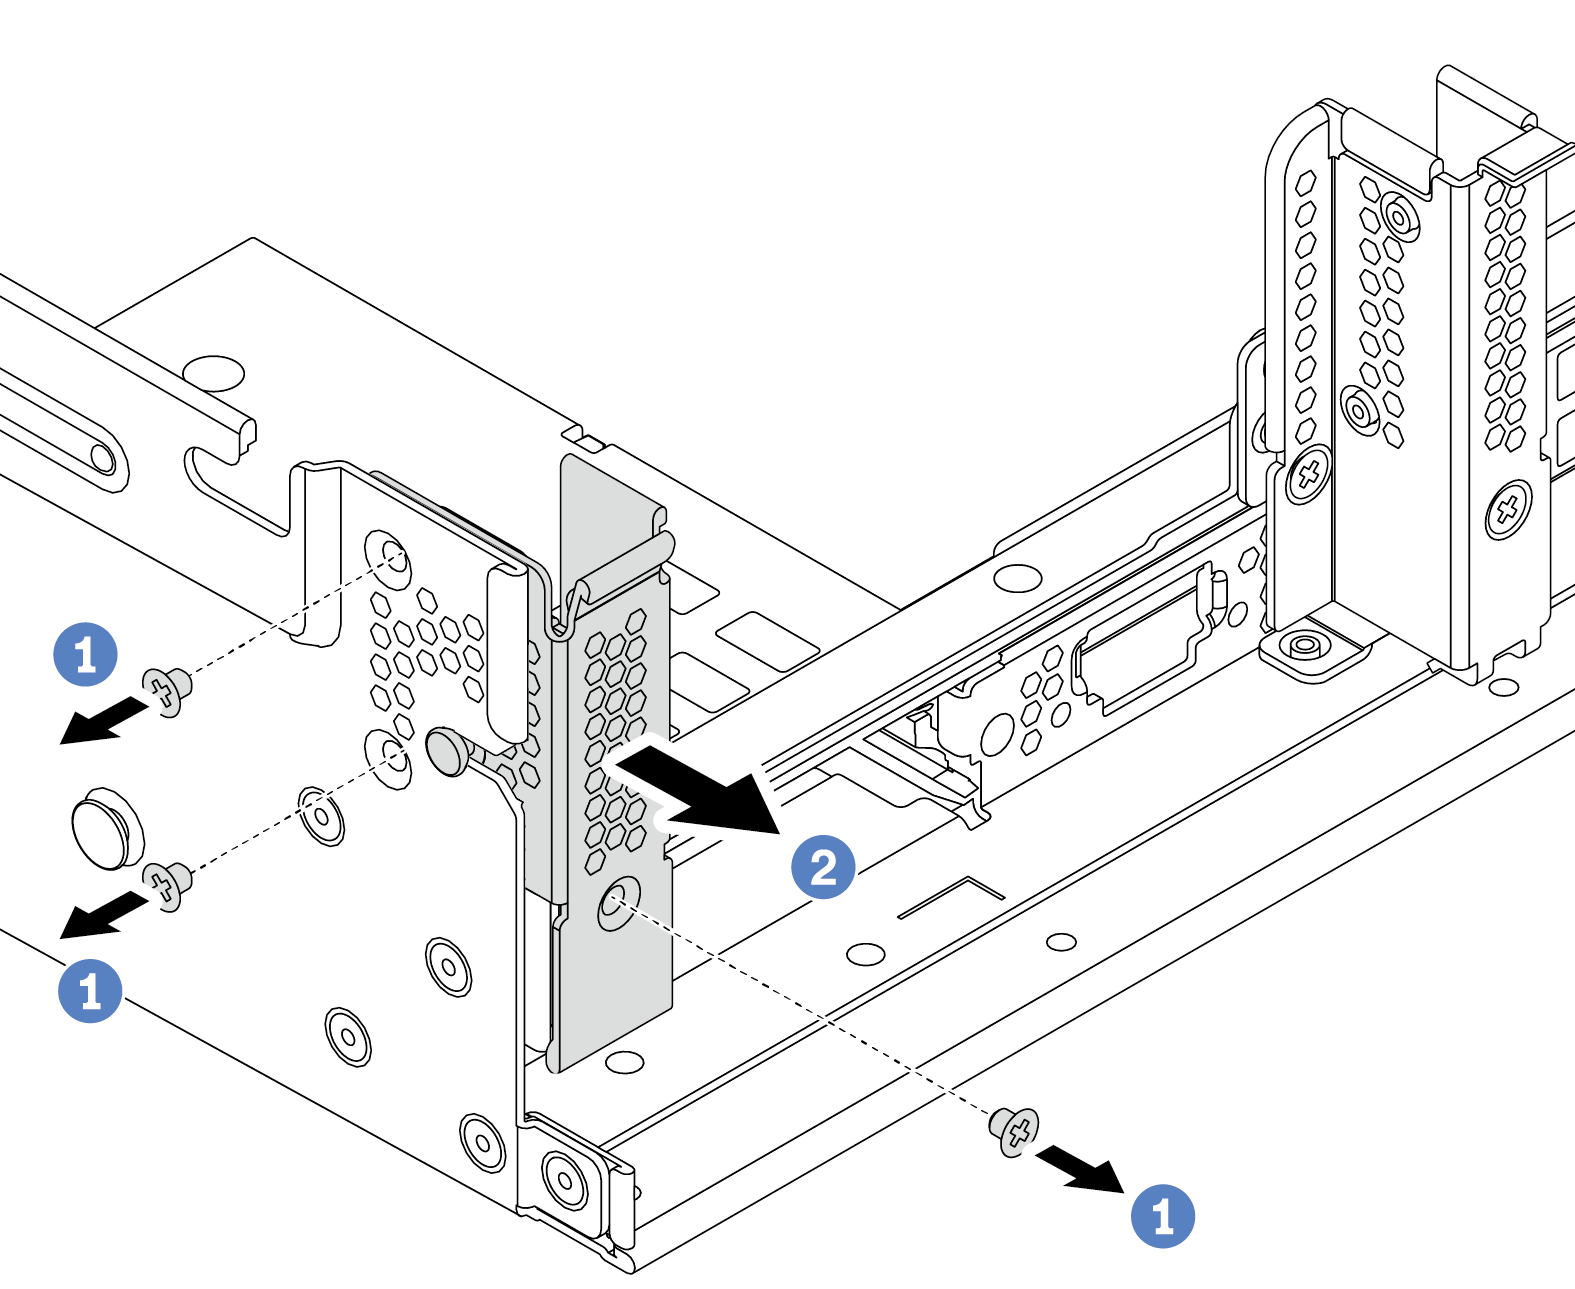 Figure 3. B1 rearwall bracket removal
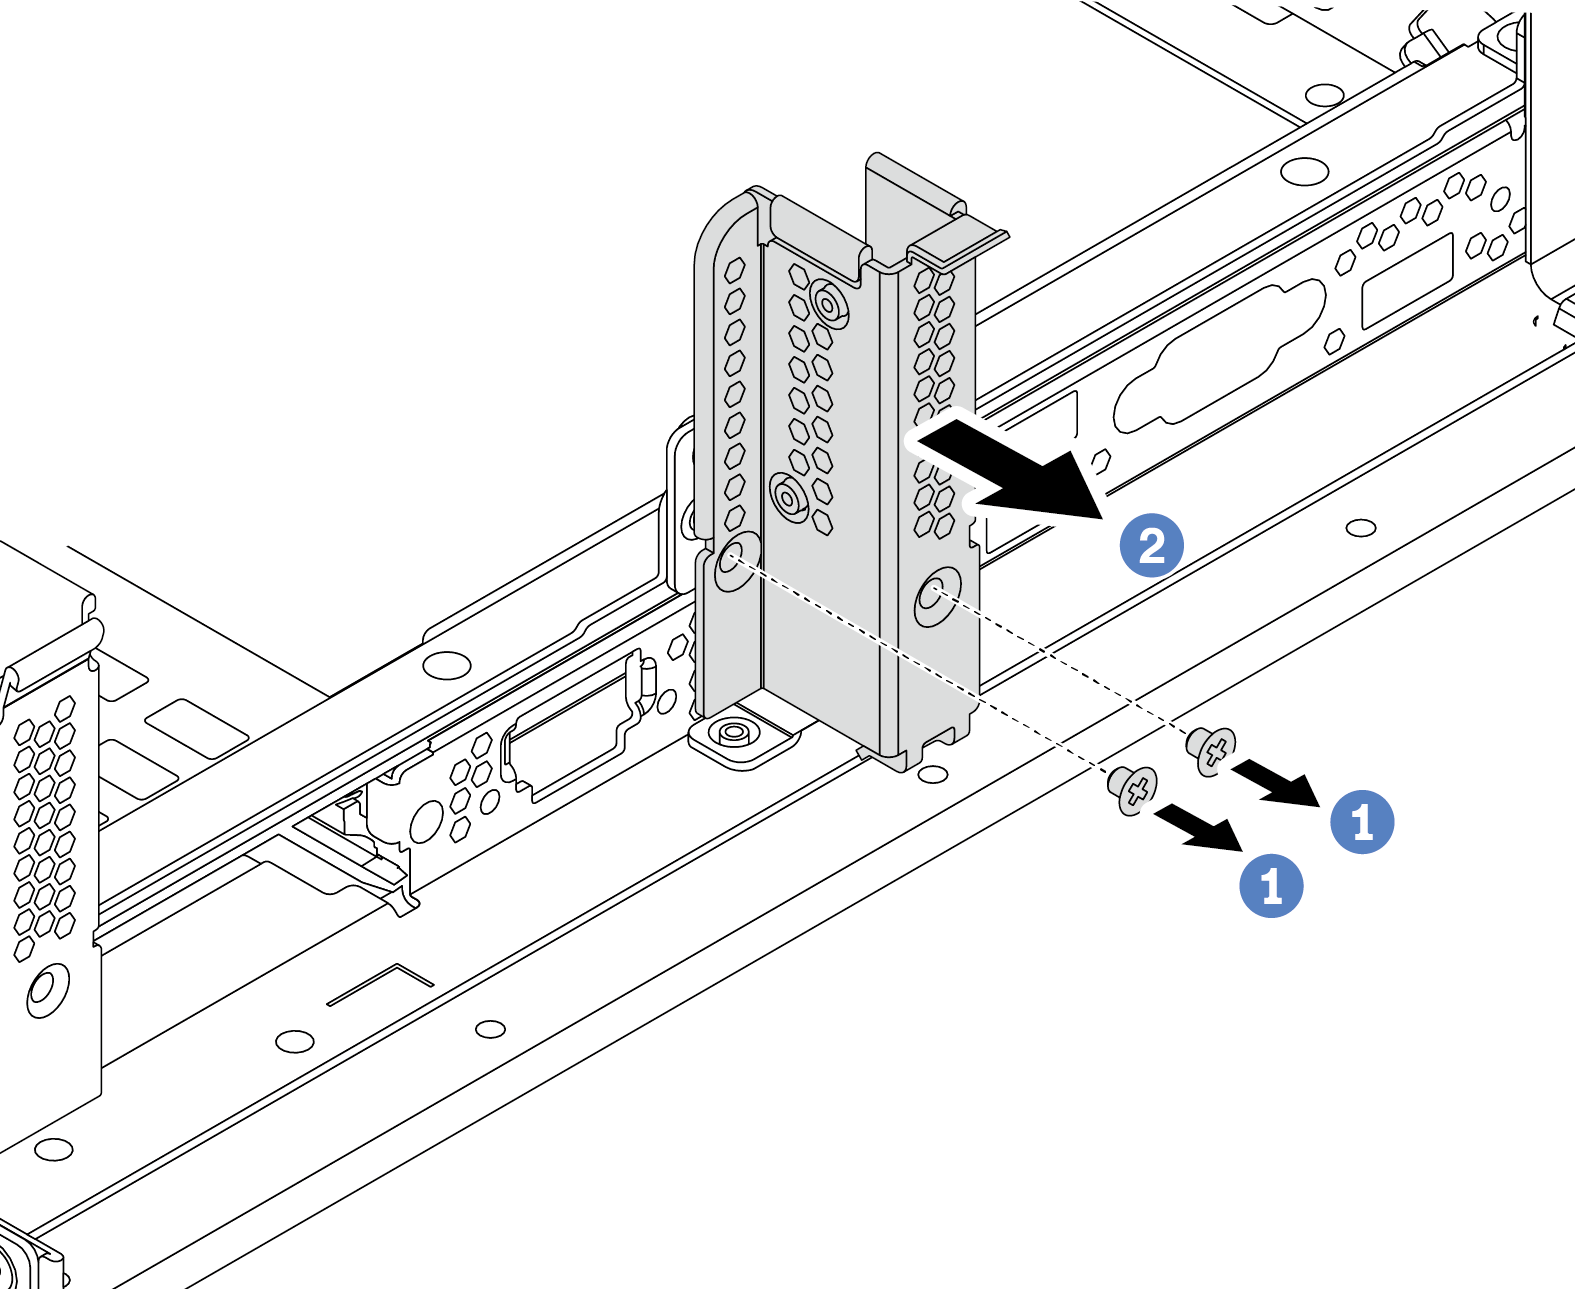 Figure 4. C1 rearwall bracket removal
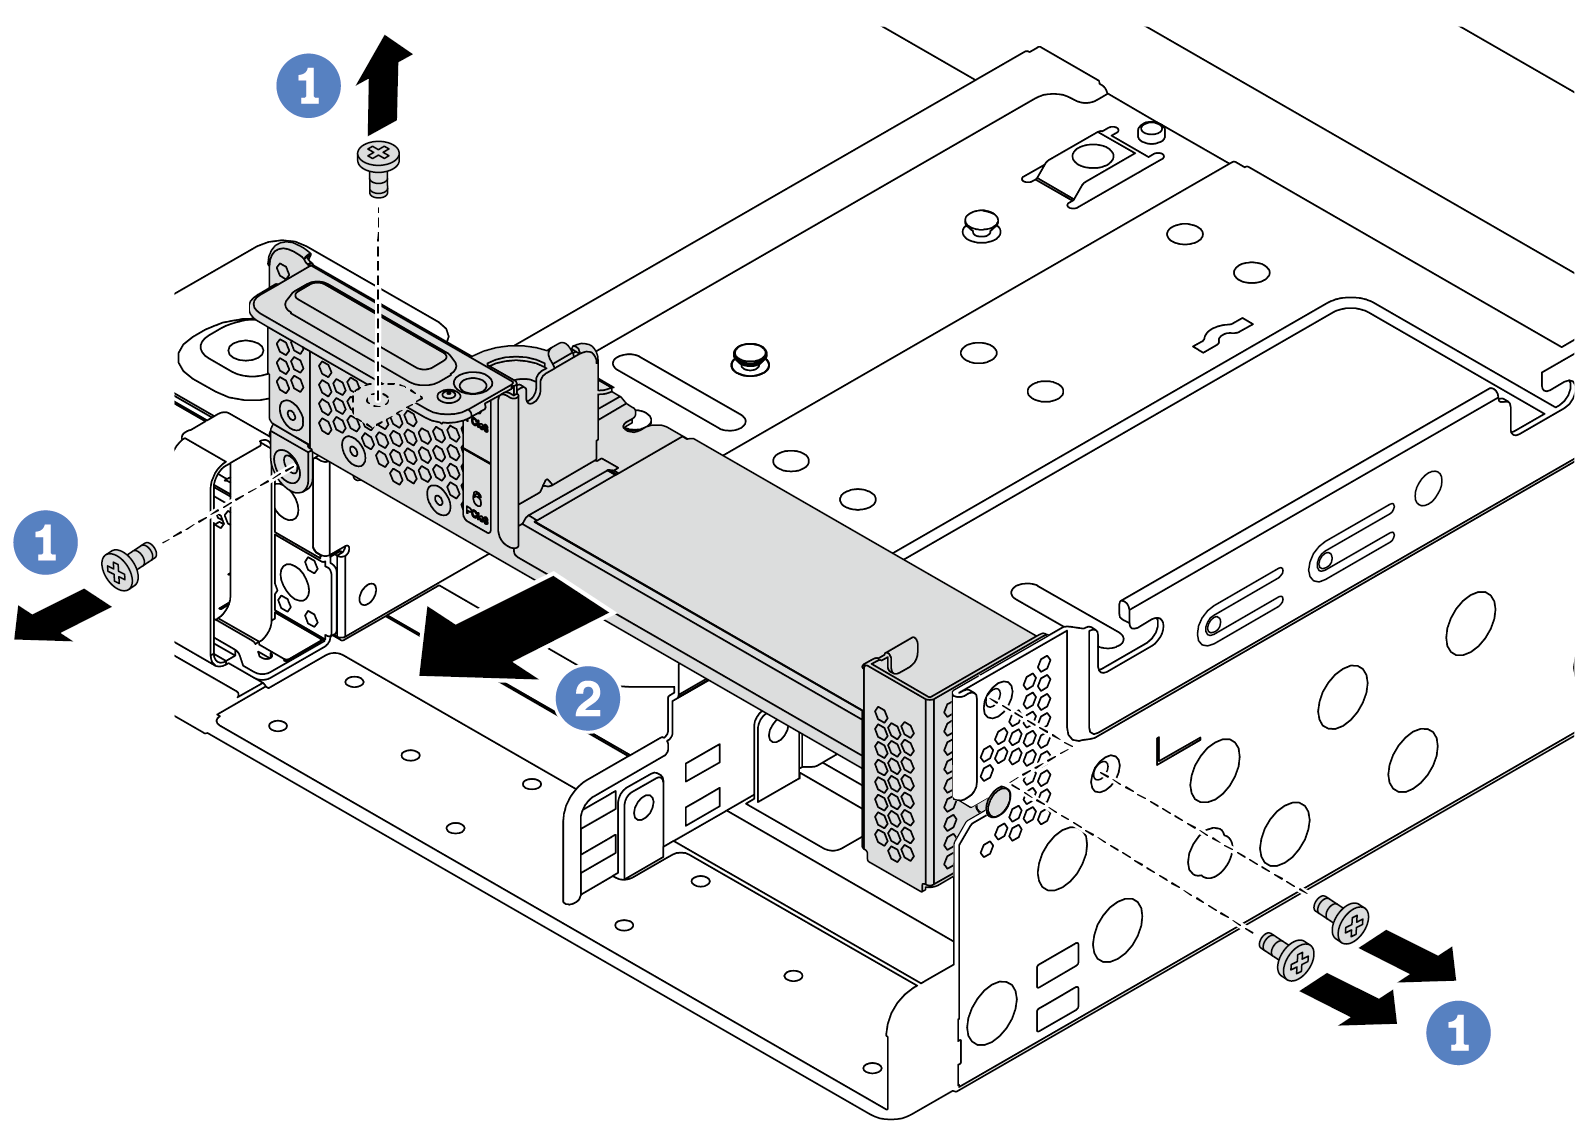
Demo video
- Install the rearwall bracket that comes with the rear drive cage. If you are installing the 4 x 3.5 rear drive cage, skip this step.Figure 5. B2 rearwall bracket installation
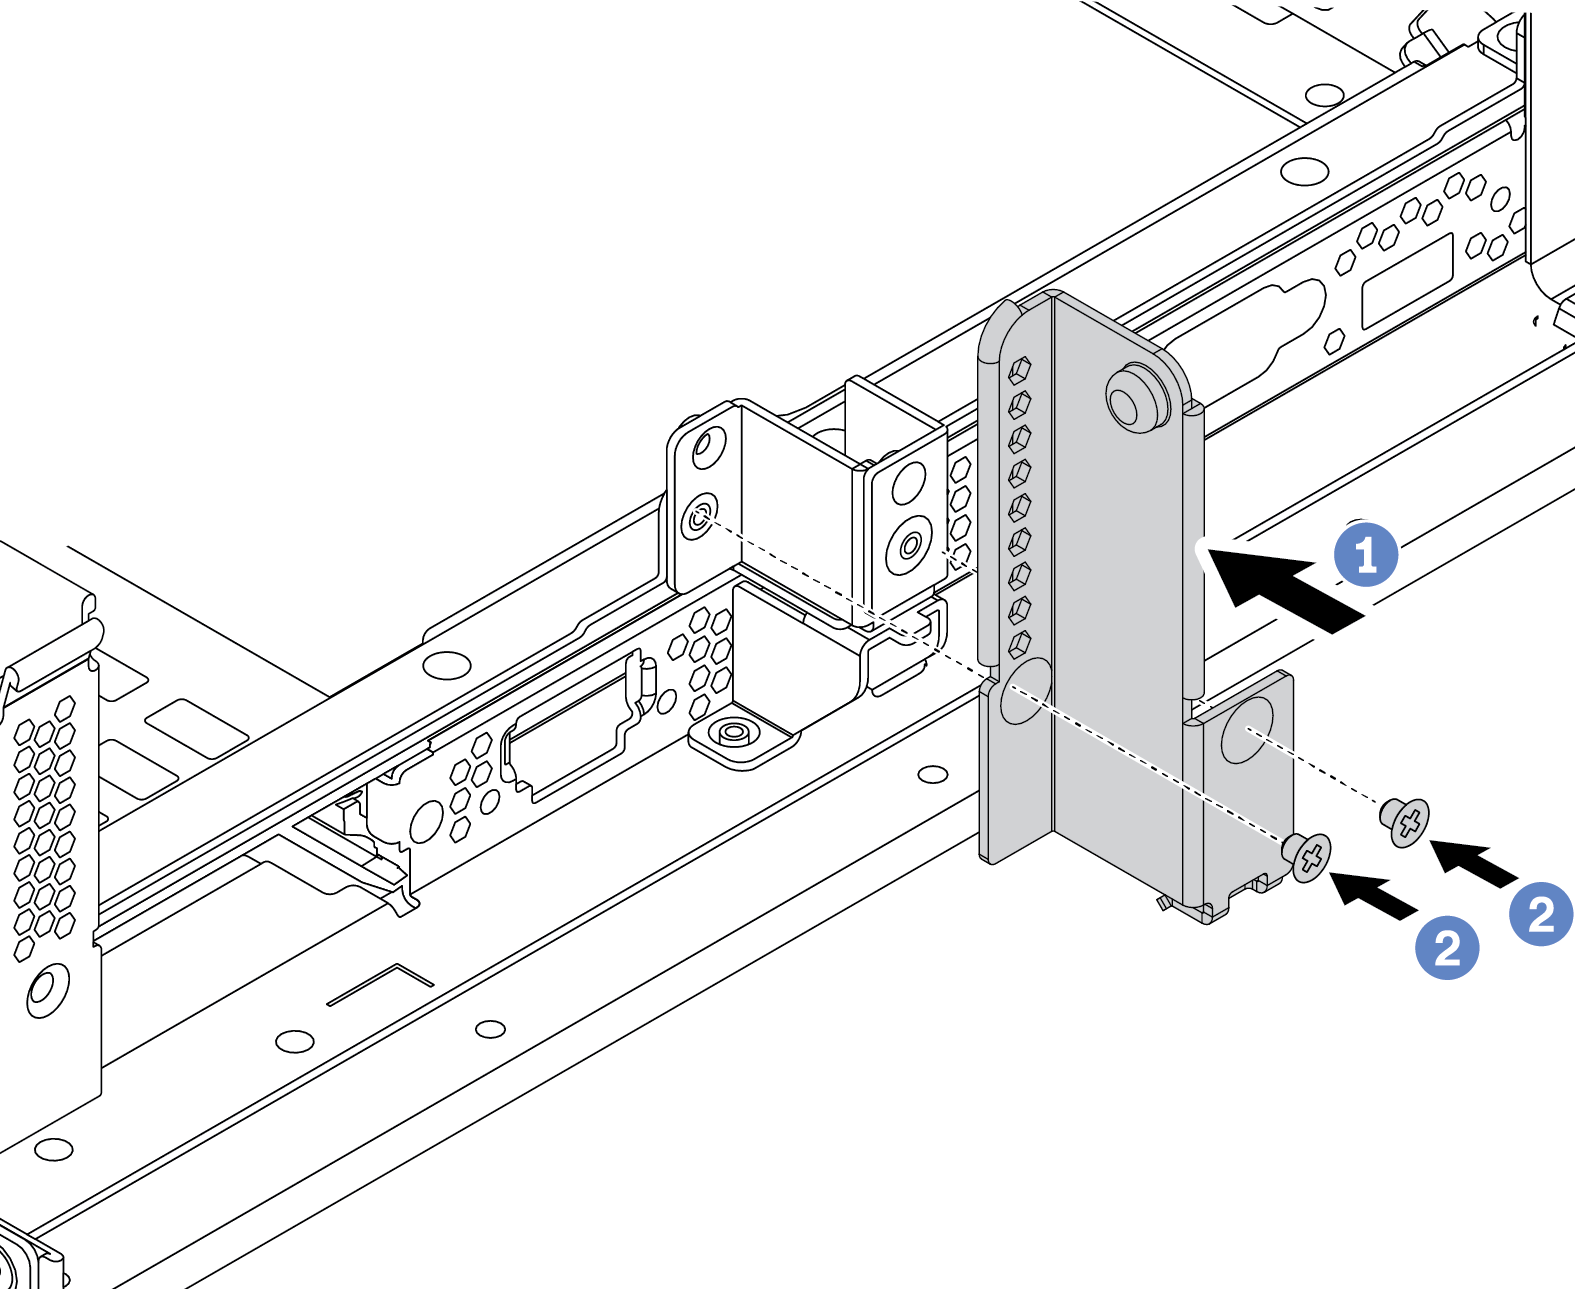 Figure 6. C2 rearwall bracket installation
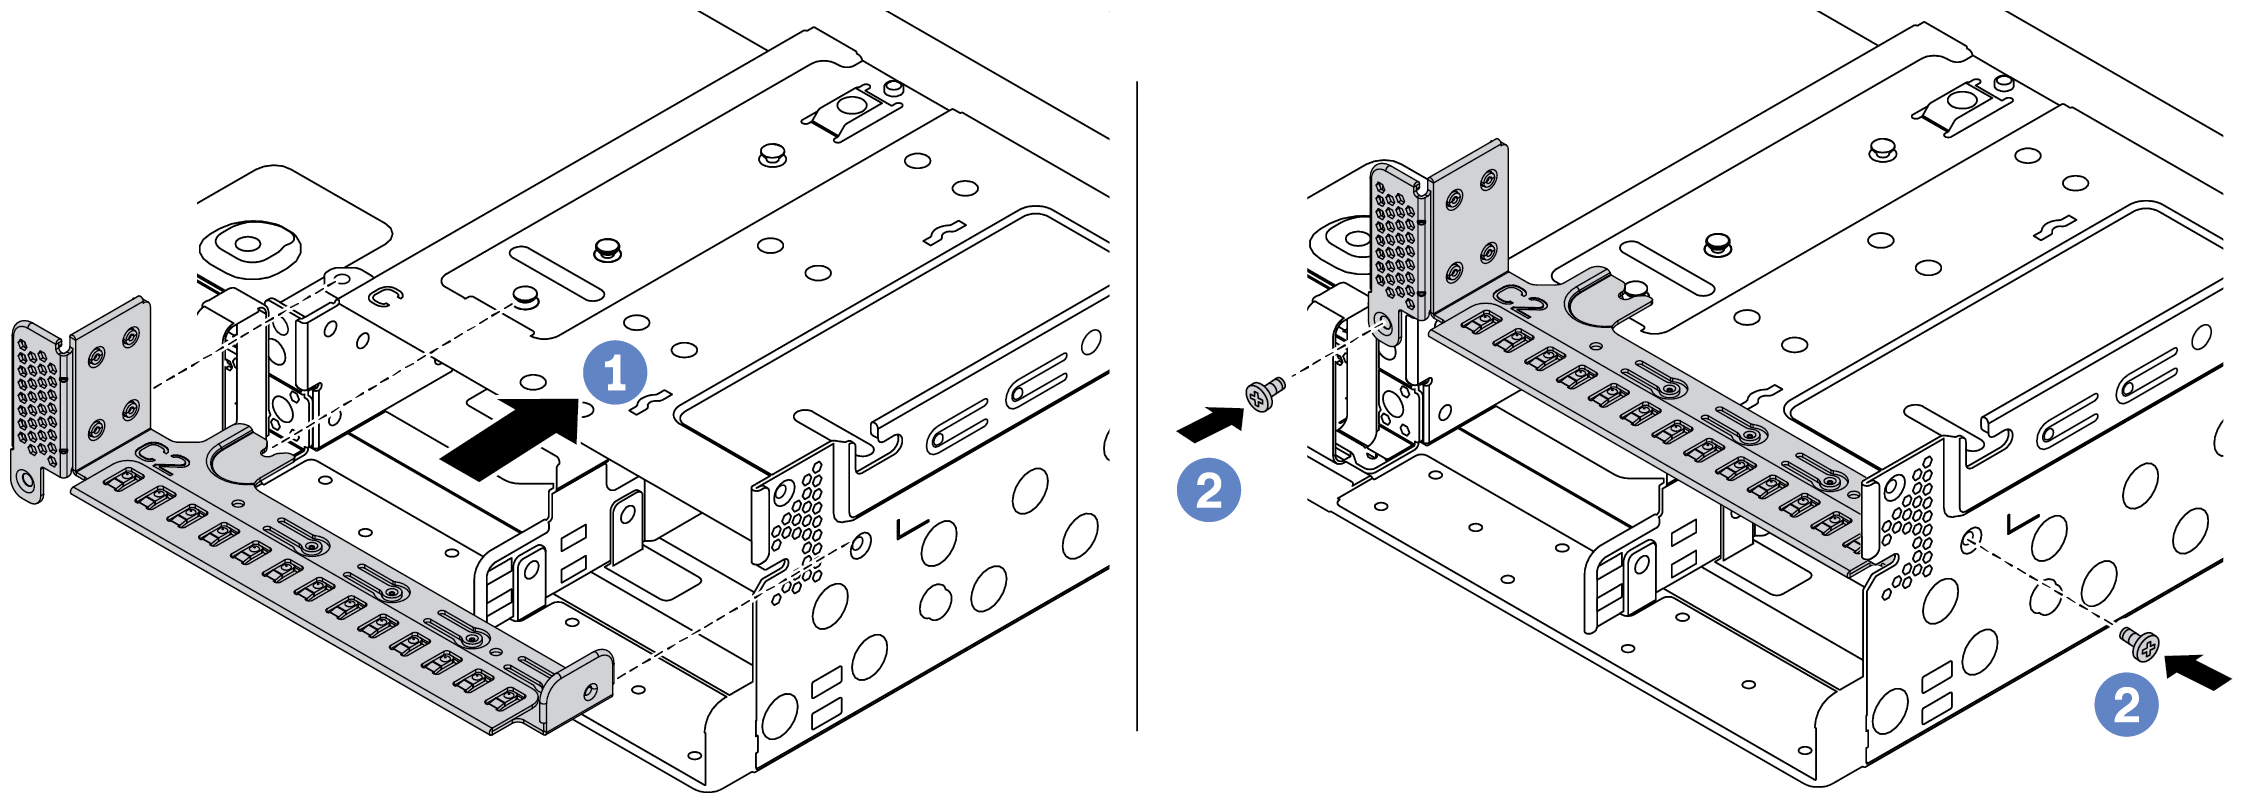
Demo video
Give documentation feedback