Install a PCIe adapter and riser assembly
Use this information to install a PCIe adapter and riser assembly. The PCIe adapter can be an Ethernet card, a host bus adapter, a RAID adapter, an add-in PCIe SSD adapter, or any other supported PCIe adapters. PCIe adapters vary by type, but the installation procedure is the same.
About this task
Riser cages vary by server rear configurations. This topic uses the riser 1 cage with three full-height (FH) slots as an example for installation illustration. The installation procedure is the same for other riser cages.
| Server rear configuration | Riser 1 cage | Riser 2 cage | Riser 3 cage |
|---|---|---|---|
| Configuration with 8 PCIe slots |
|
| Type 3: 2FH riser cage  |
| Configuration with a 4 x 2.5-inch rear drive cage |
|
| |
| Configuration with an 8 x 2.5-inch rear drive cage |
|
| |
| Configuration with a 2 x 3.5-inch rear drive cage |
|
| |
| Configuration with a 4 x 3.5-inch rear drive cage | Type 3: 1FH riser cage 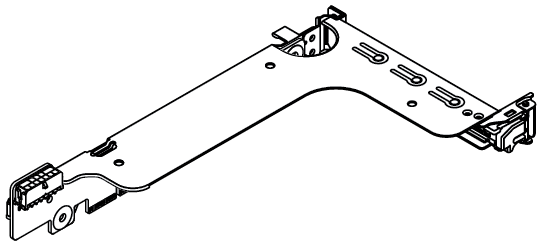 |
|
Read Installation Guidelines to ensure that you work safely.
Power off the server and disconnect all power cords for this task.
Prevent exposure to static electricity, which might lead to system halt and loss of data, by keeping static-sensitive components in their static-protective packages until installation, and handling these devices with an electrostatic-discharge wrist strap or other grounding system.
Read Technical rules for PCIe slots to select an appropriate PCIe slot for the PCIe adapter.
Procedure
- Remove the riser assembly. Figure 1. Riser assembly removal
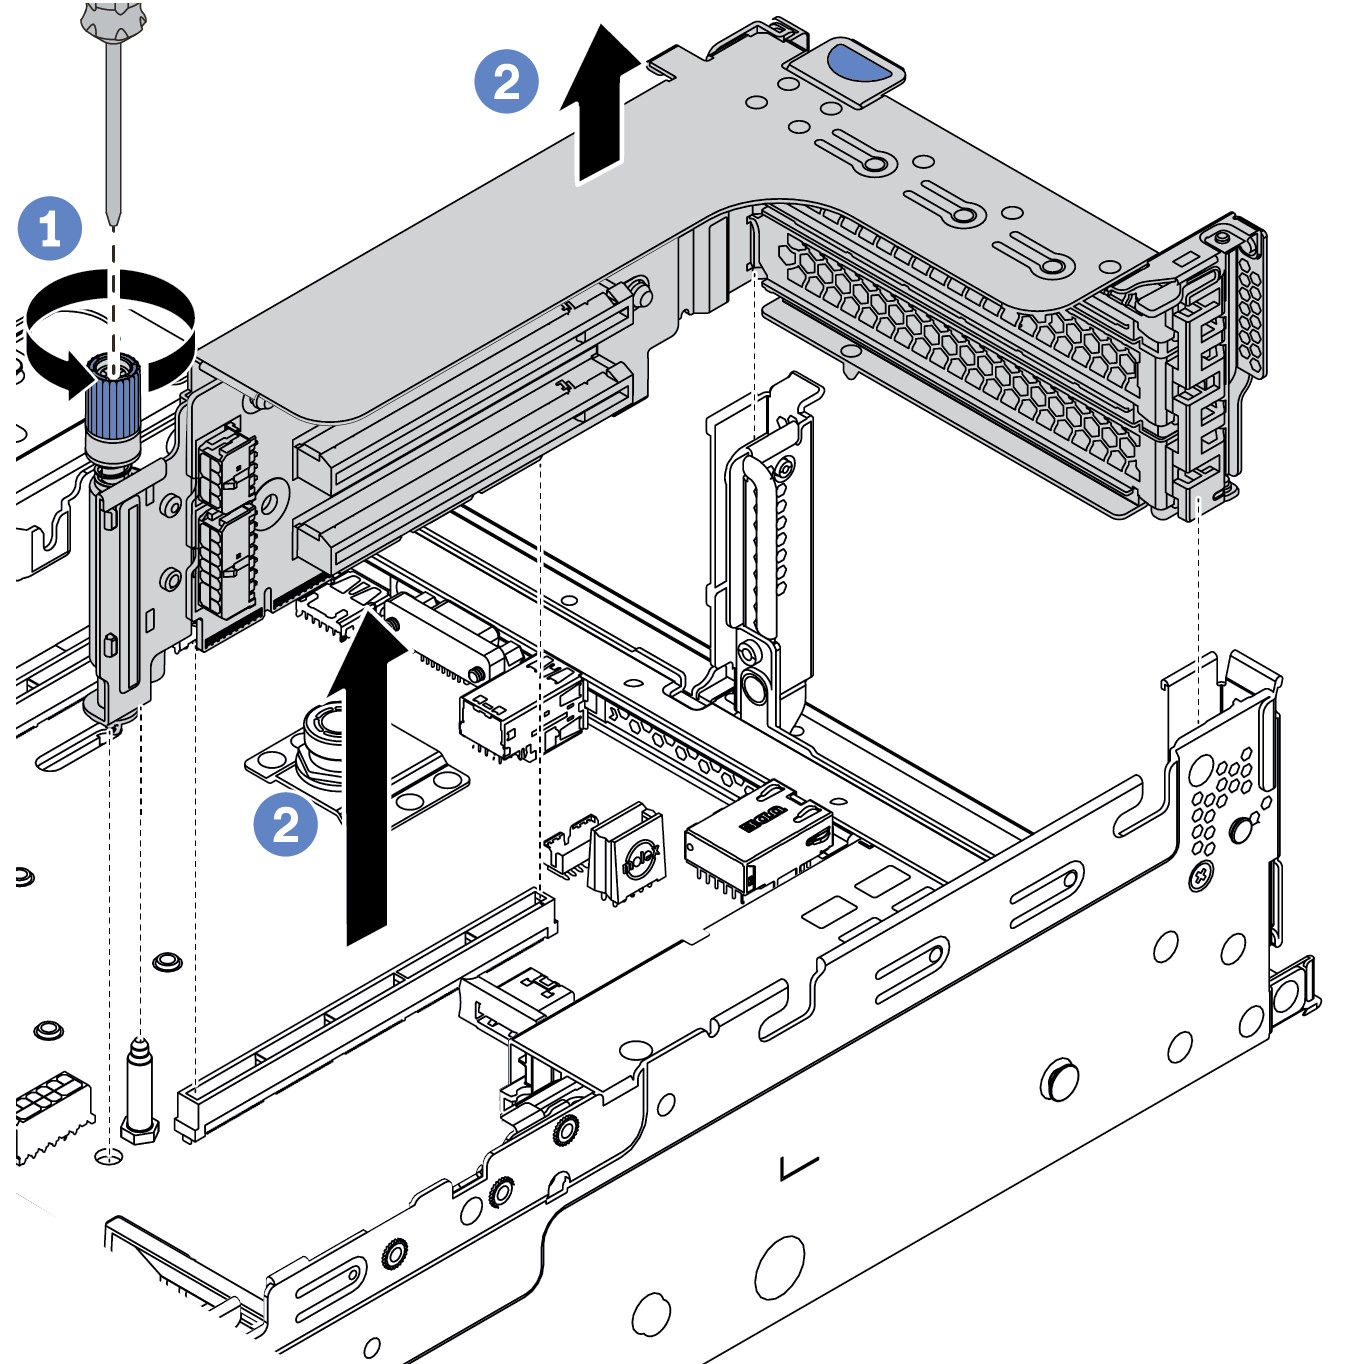
- Loosen the screw that secures the riser assembly.
- Grasp the riser assembly by its edges and carefully lift it straight up and off the chassis.
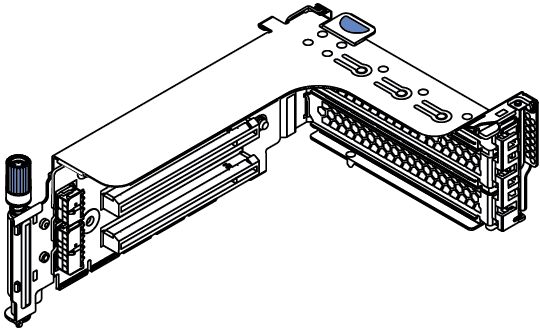
- Install a PCIe adapter.Note
Carefully handle the PCIe adapter by its edges.
For PCIe adapters in riser 1 and riser 2 and ThinkSystem AMD X3522 10/25GbE DSFP28 2-port PCIe Ethernet Adapter, install the screw to secure the adapter before closing the retention latch if the server needs to be shipped.
Figure 2. PCIe adapter installation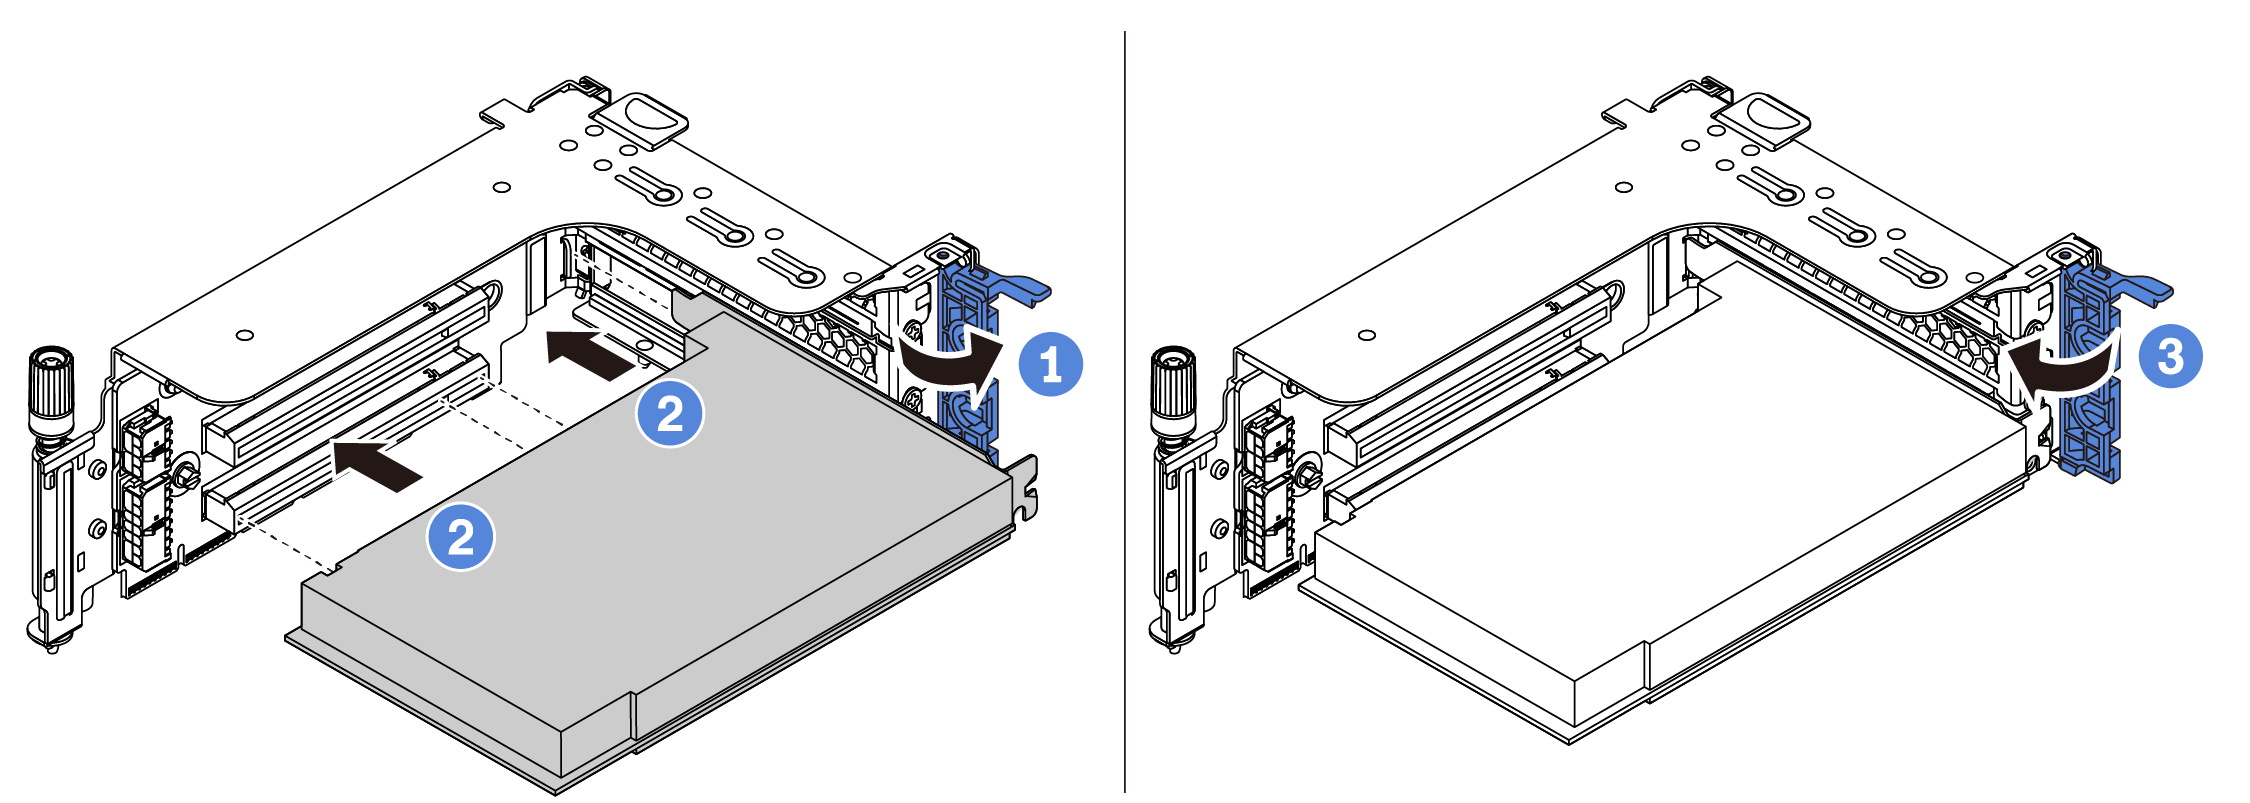
- Align the PCIe adapter with the PCIe slot on the riser card. Carefully press the PCIe adapter straight into the slot until it is securely seated and its bracket also is secured.
- Rotate the PCIe adapter retention latch to the closed position.
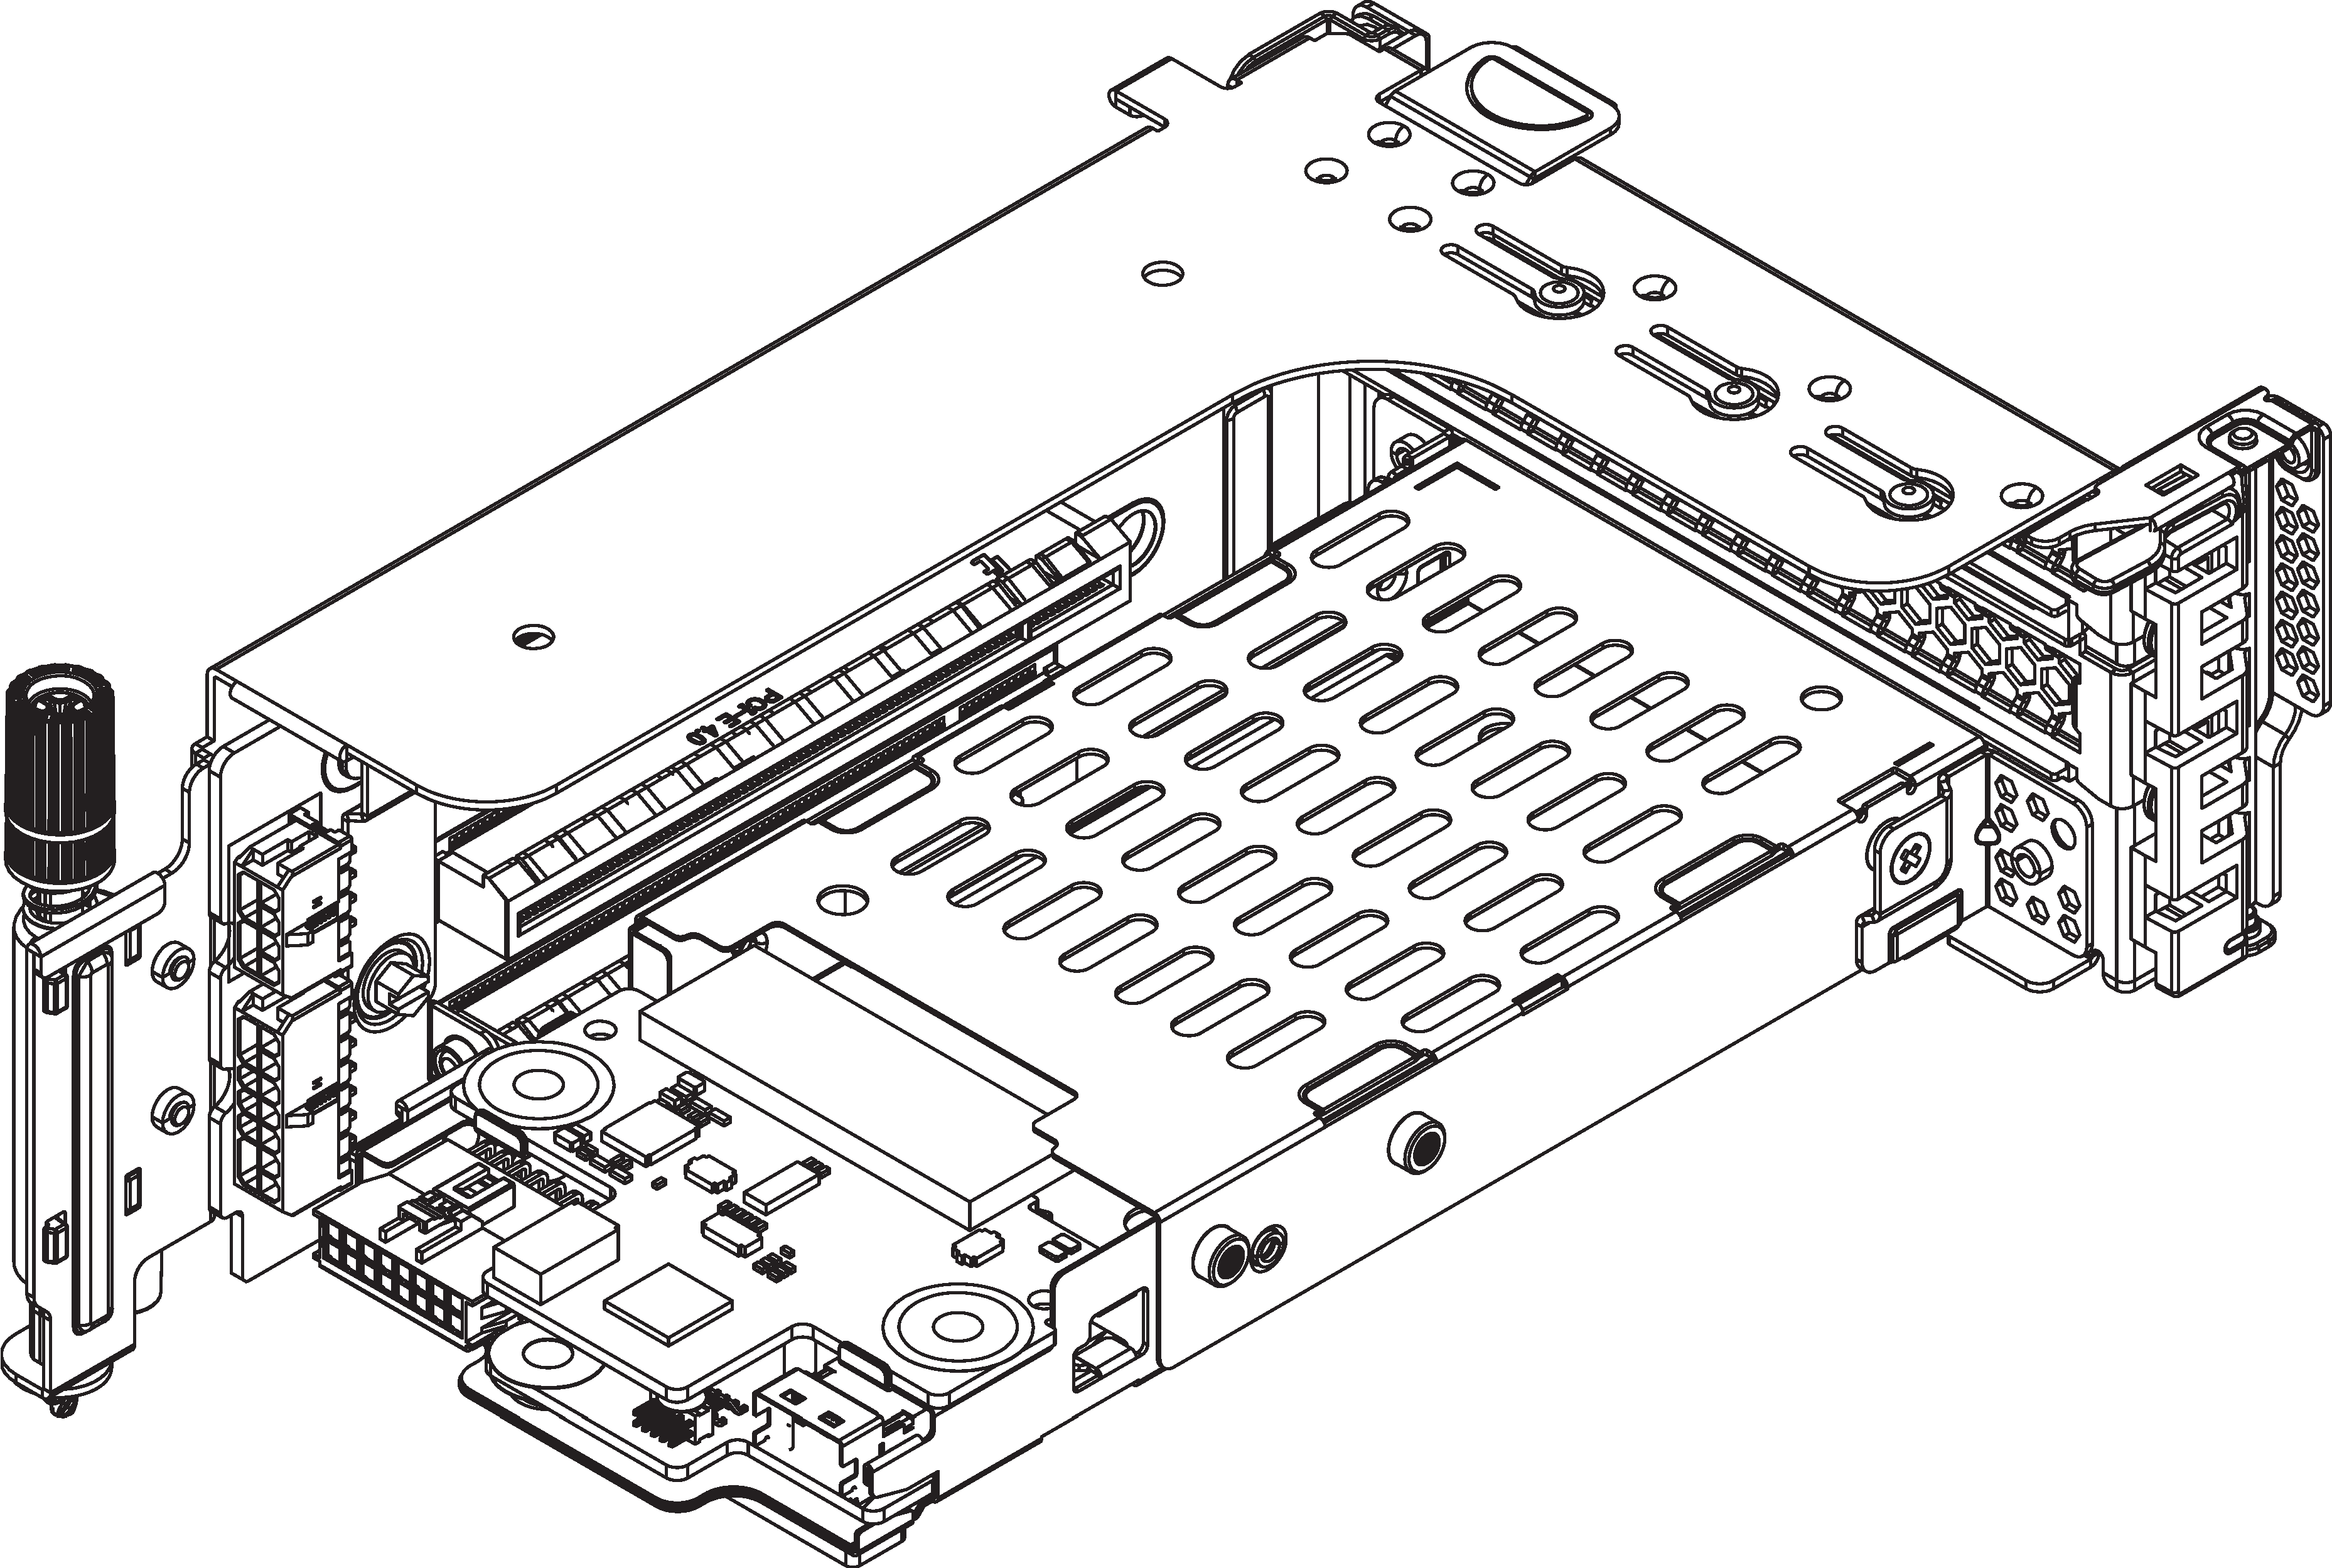
- Install the riser assembly into chassis. Figure 3. Riser assembly installation
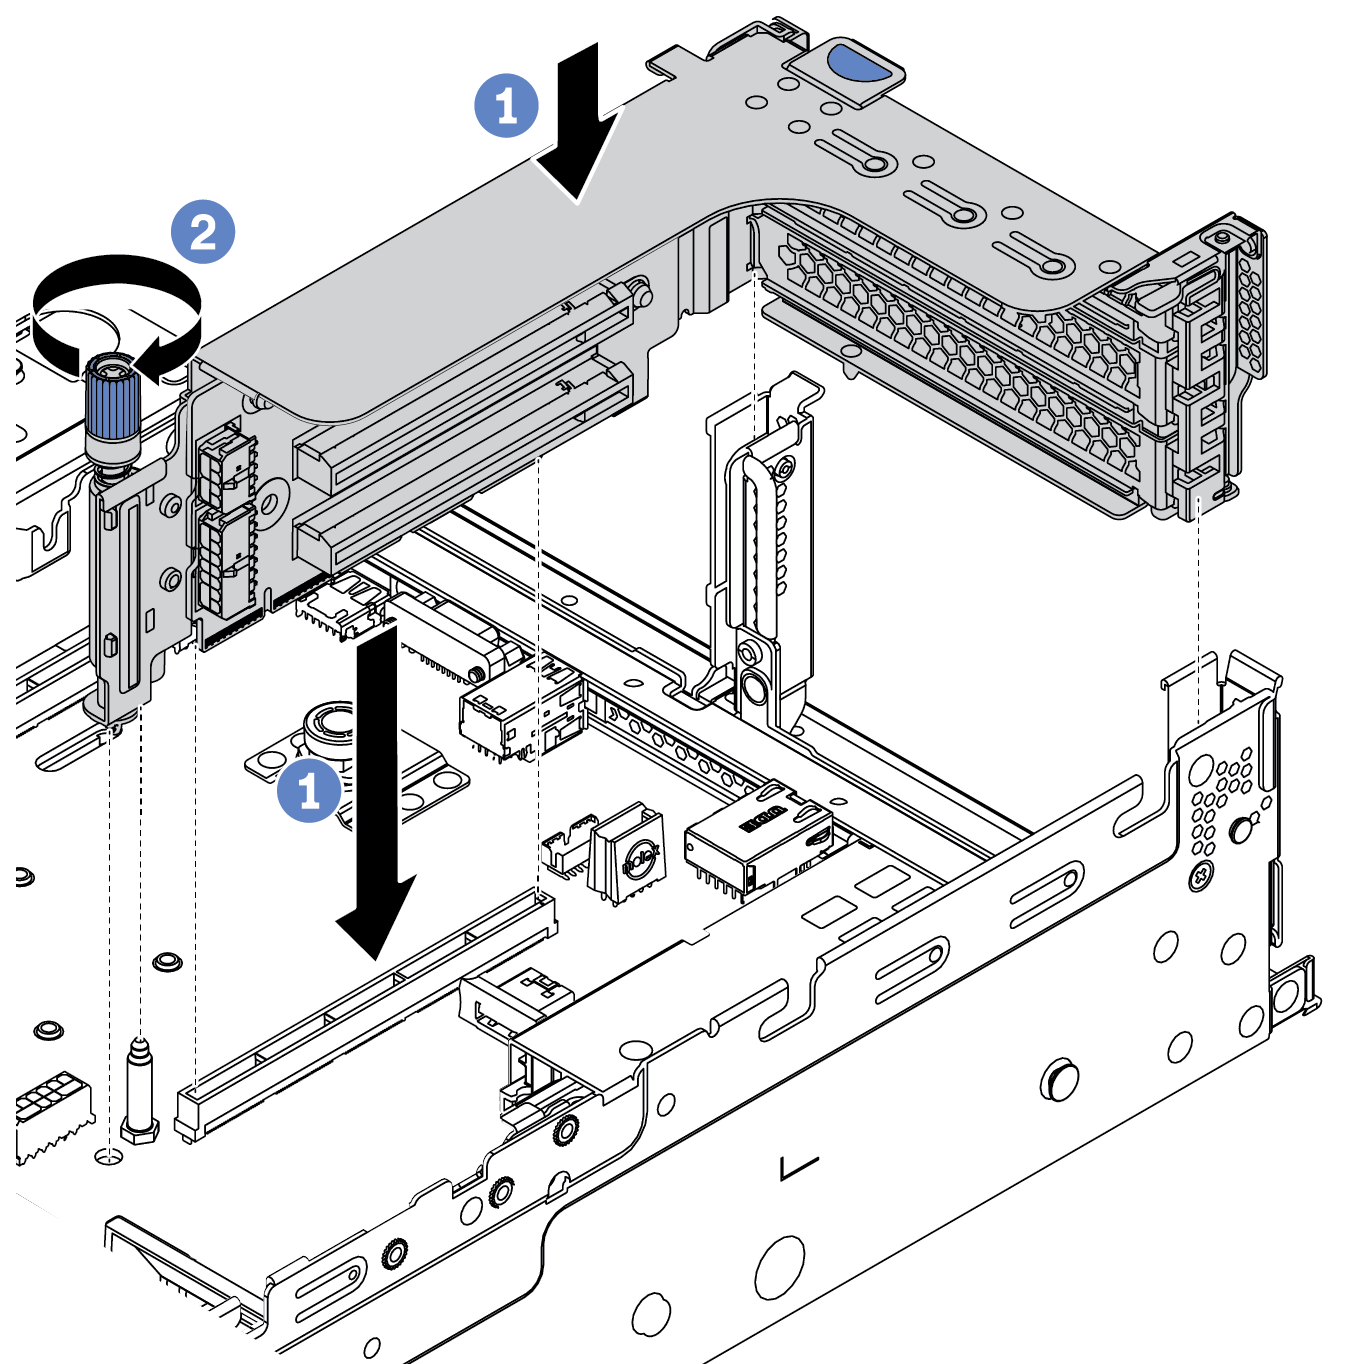
- Align the riser card with the riser slot on the system board. Carefully press the riser card straight into the slot until it is securely seated.
- Tighten the screw to secure the riser cage.
After you finish
Install a RAID flash power module if you have installed a RAID 930 or 940 adapter. See Install a RAID flash power module.
Use the Lenovo XClarity Provisioning Manager to configure the RAID if necessary. See Lenovo XClarity Provisioning Manager portal page.
Demo video