Install the rail kit to the rack
Follow the instructions in this section to install the rail kit to the rack.
Attention
- Read Installation Guidelines and Safety inspection checklist to ensure that you work safely.
- Power off the server and peripheral devices and disconnect the power cords and all external cables. See Power off the server.
- Prevent exposure to static electricity, which might lead to system halt and loss of data, by keeping static-sensitive components in their static-protective packages until installation, and handling these devices with an electrostatic-discharge wrist strap or other grounding system.
Important
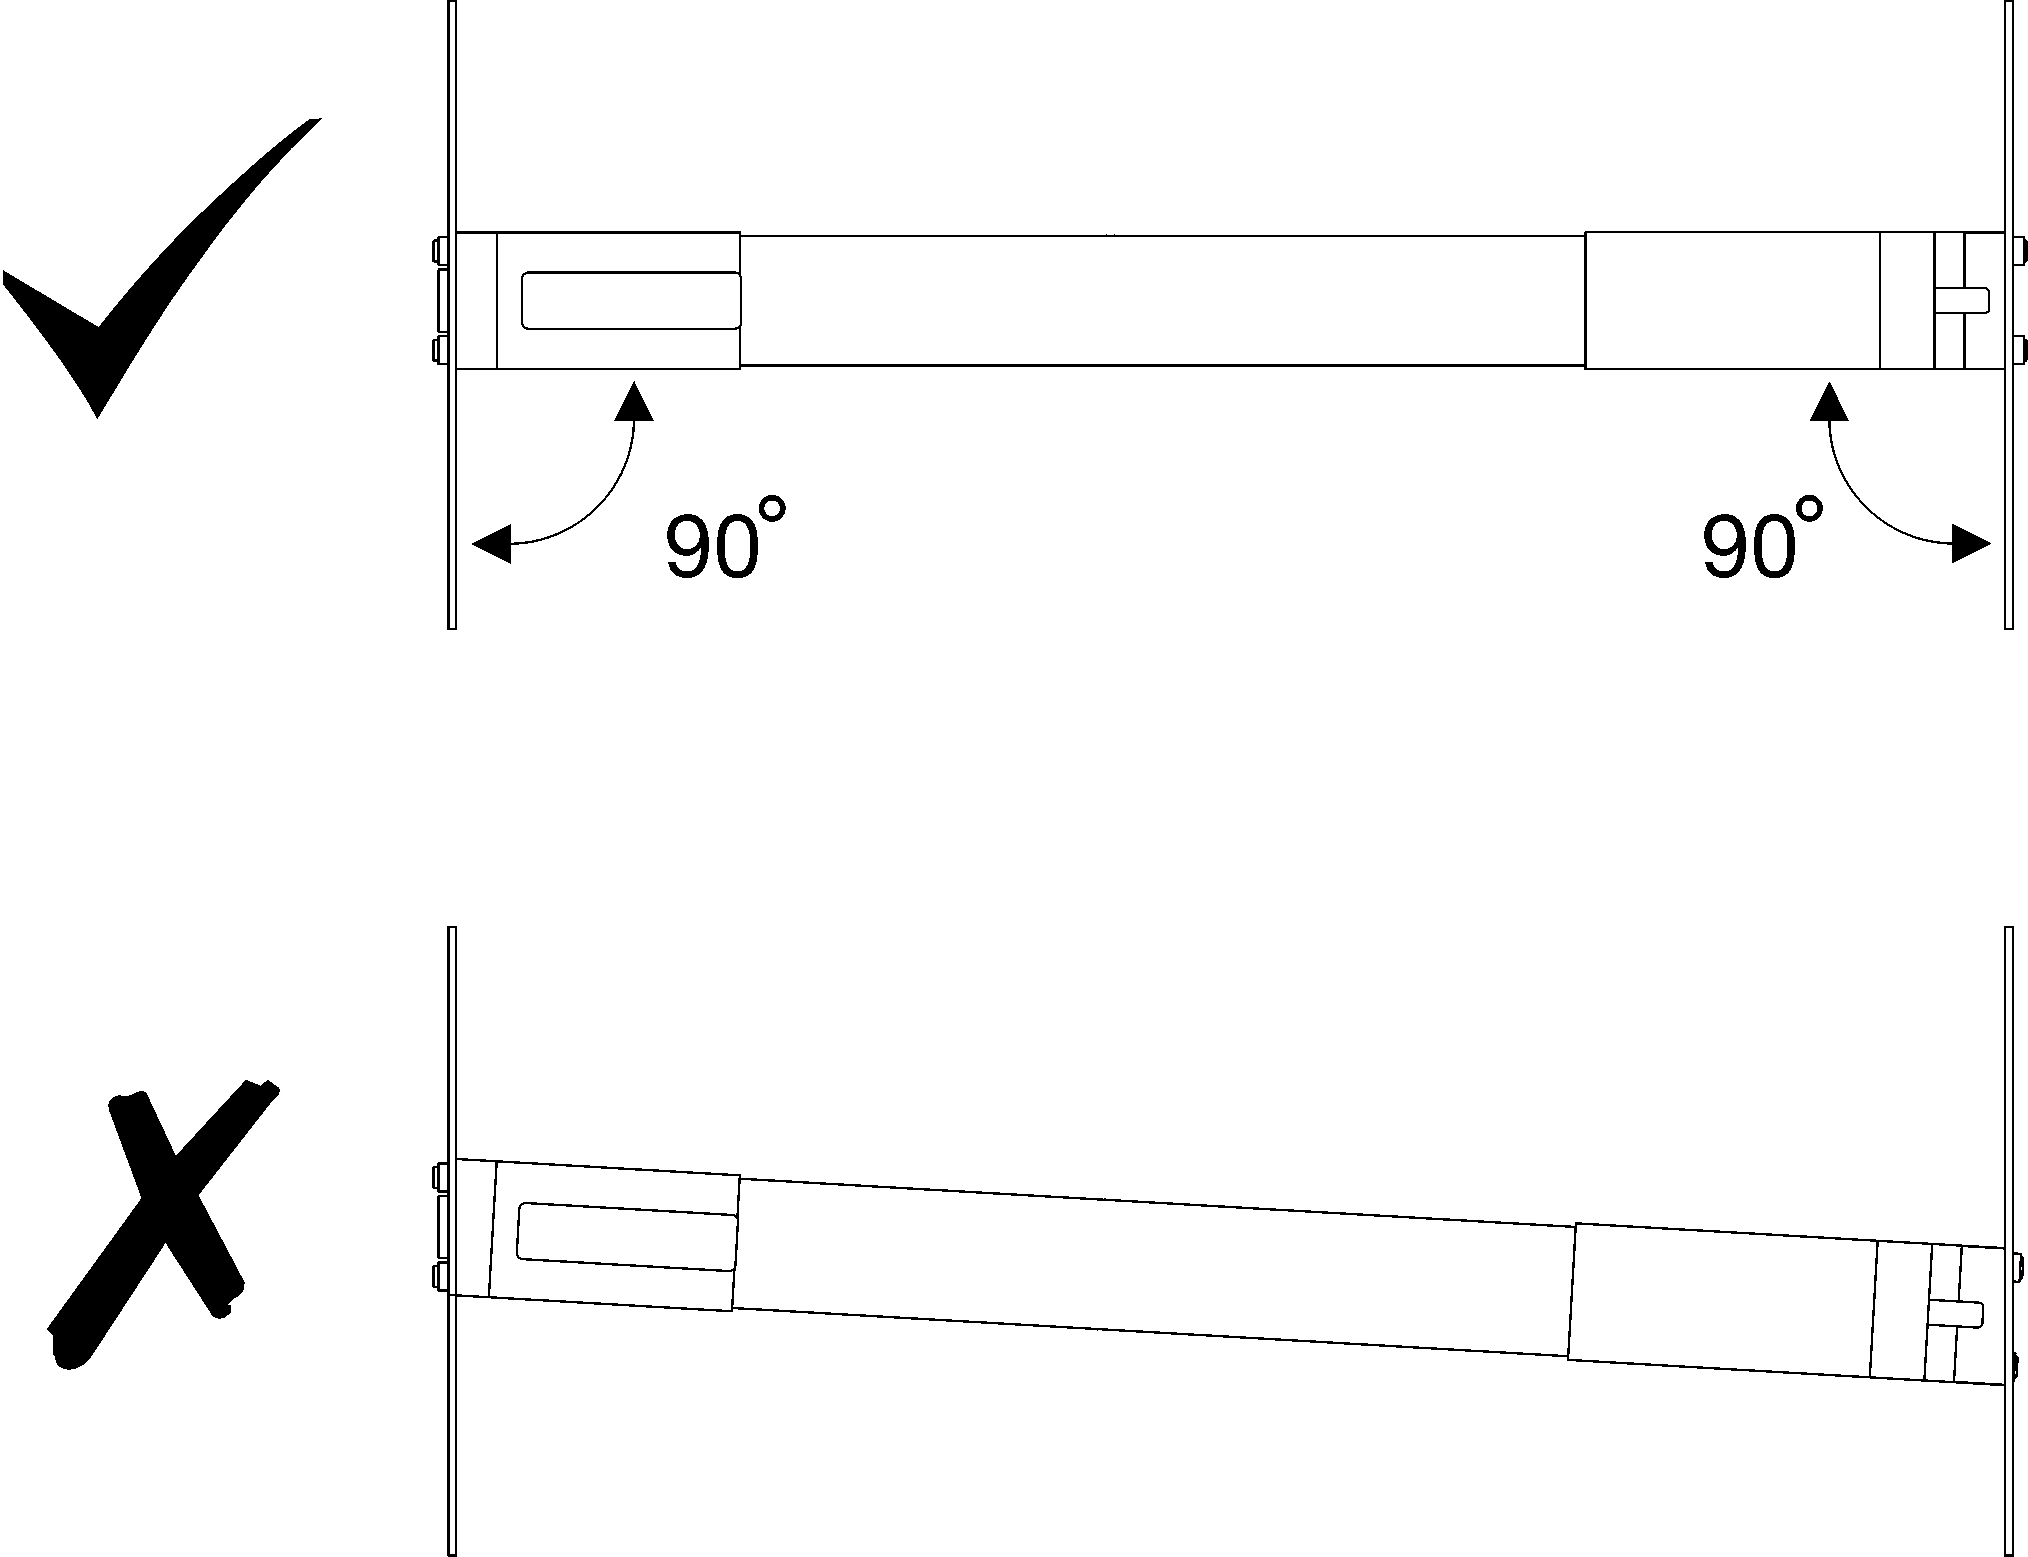
Make sure both ends of the rail are seated at the same height.
 | Note
|
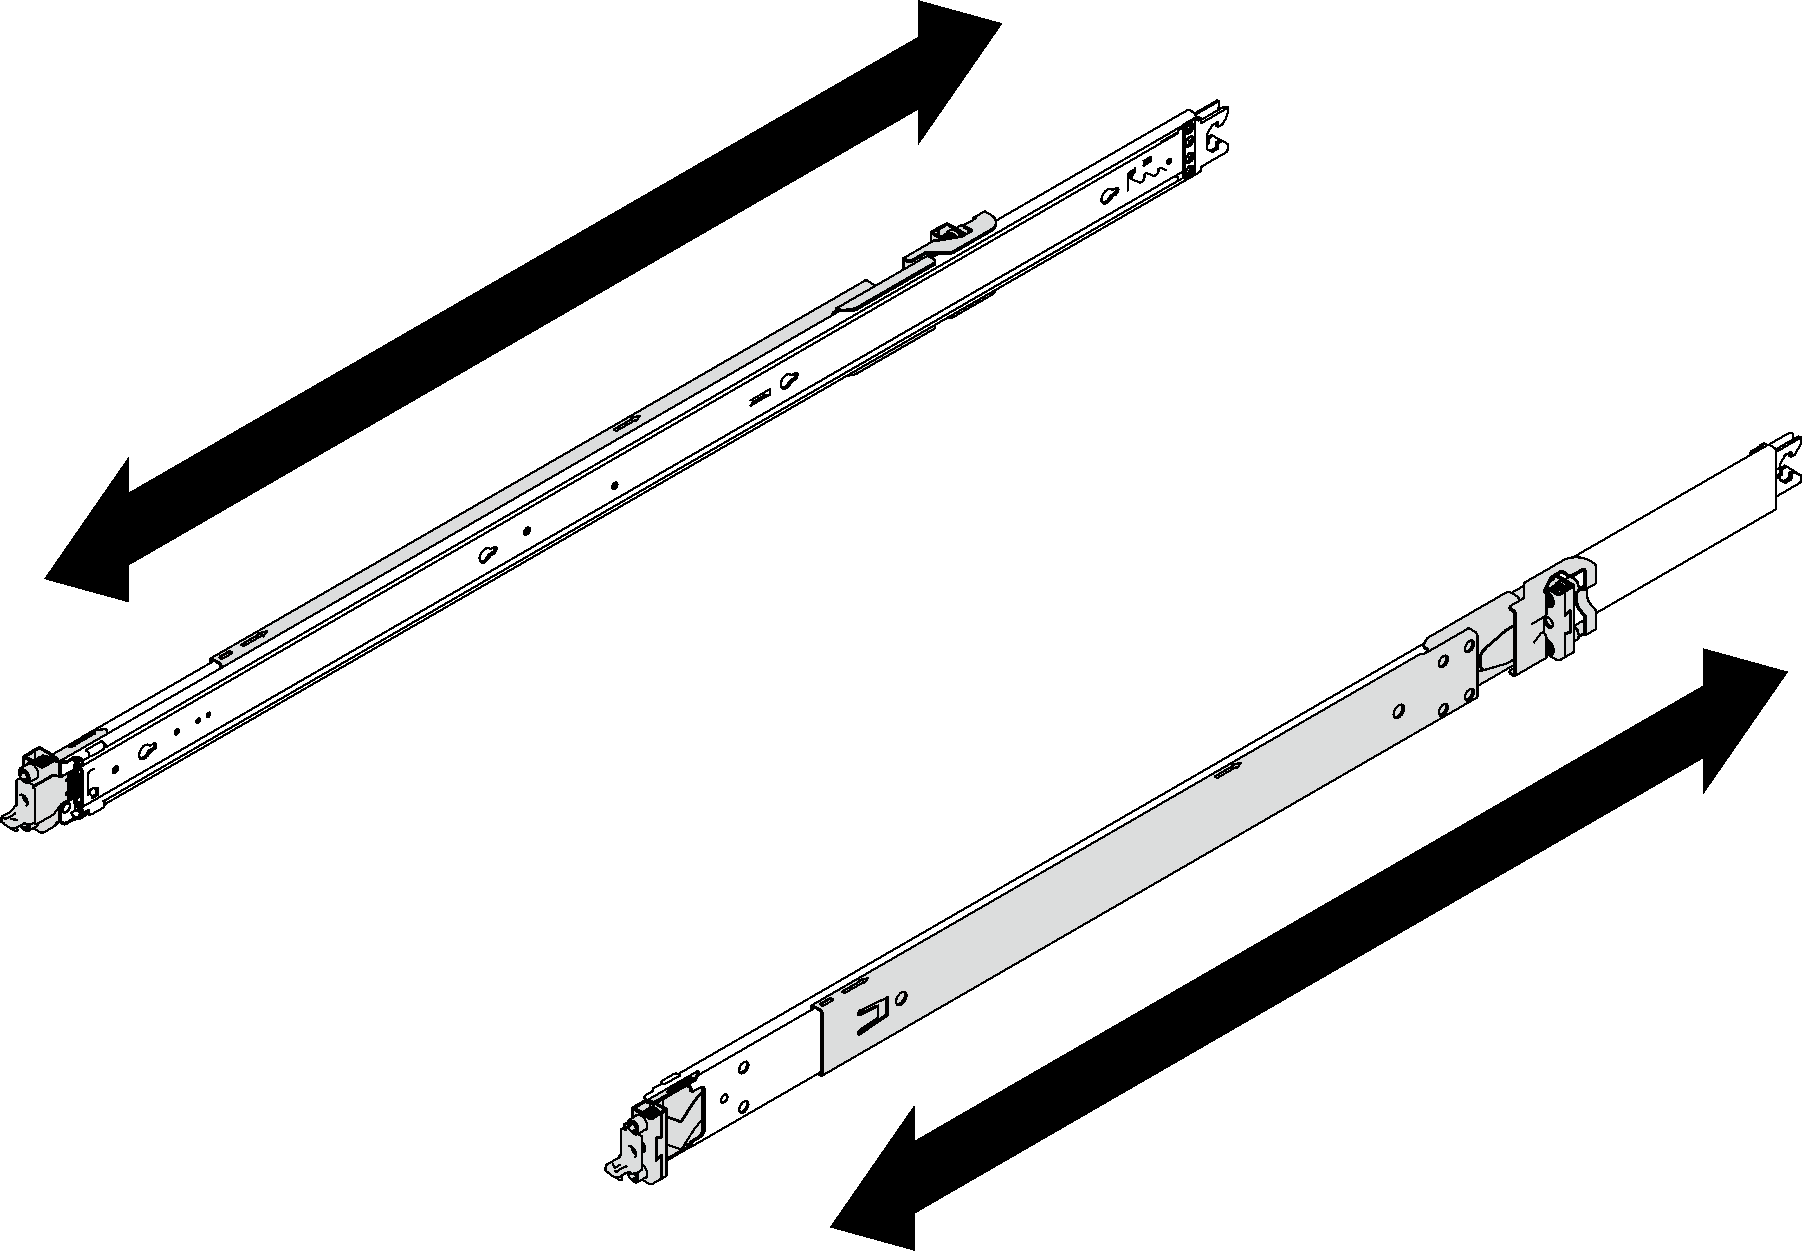
- Install the rear mounting pins to the rack.
Rear 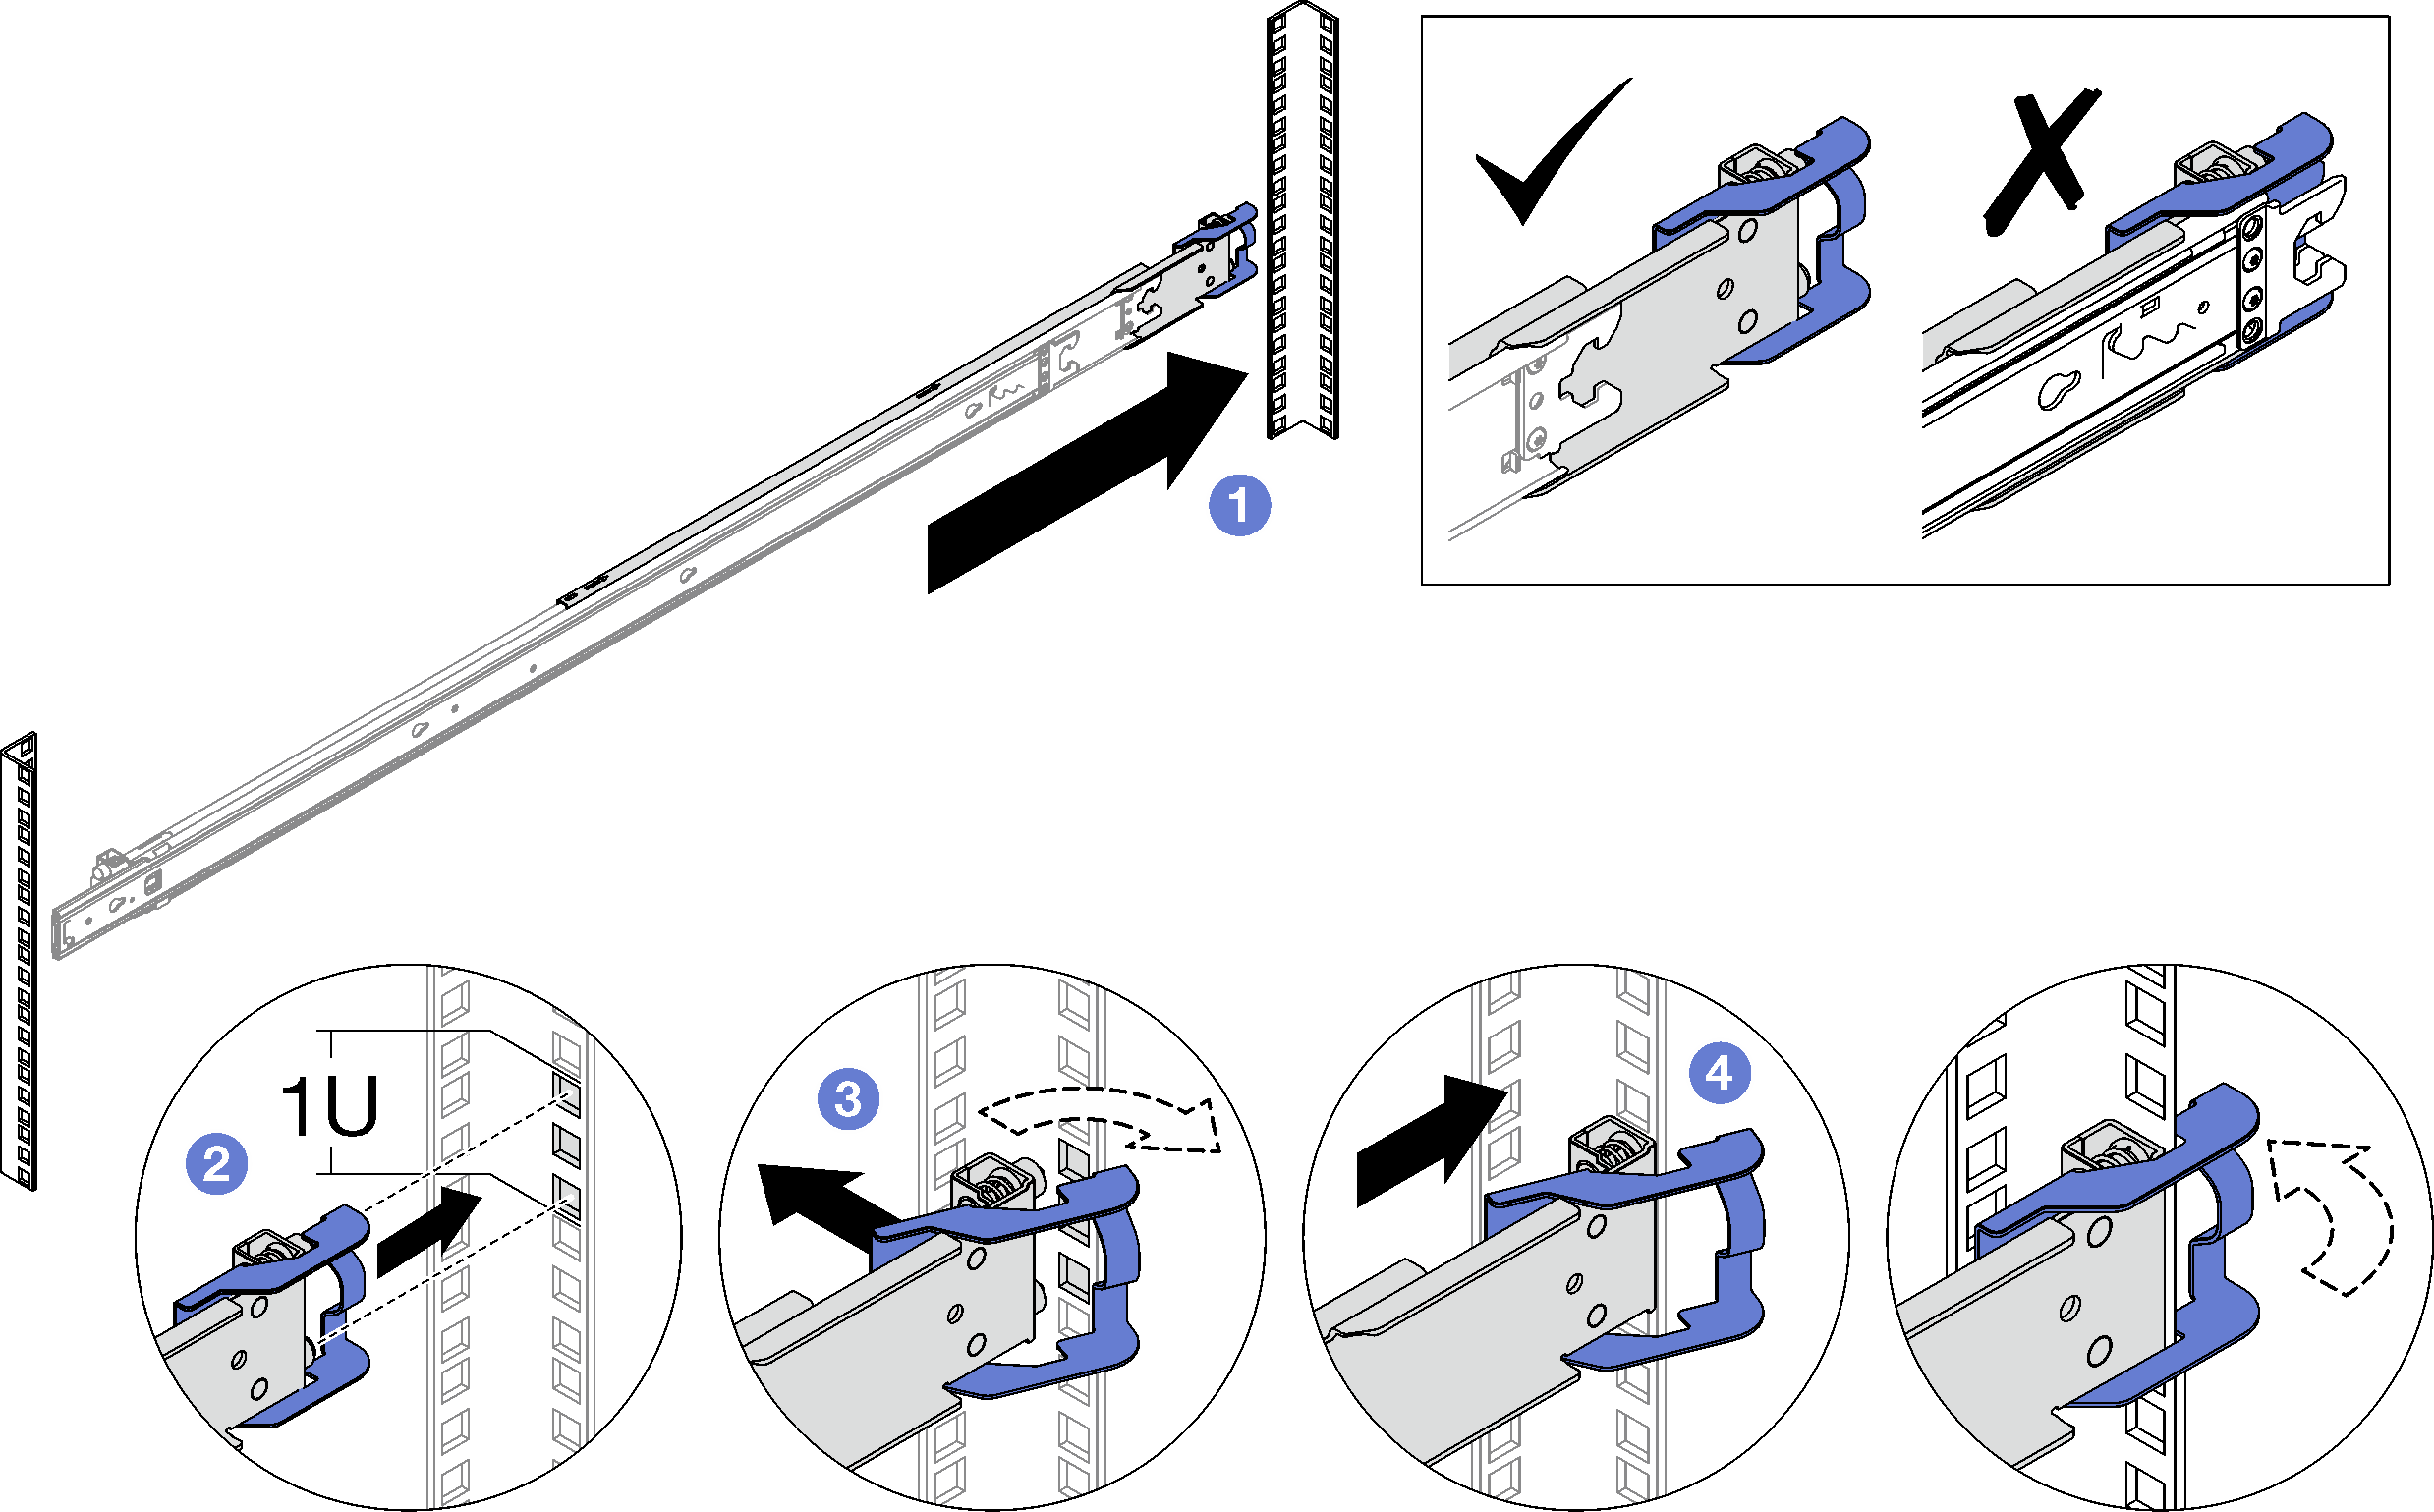
Square hole rack 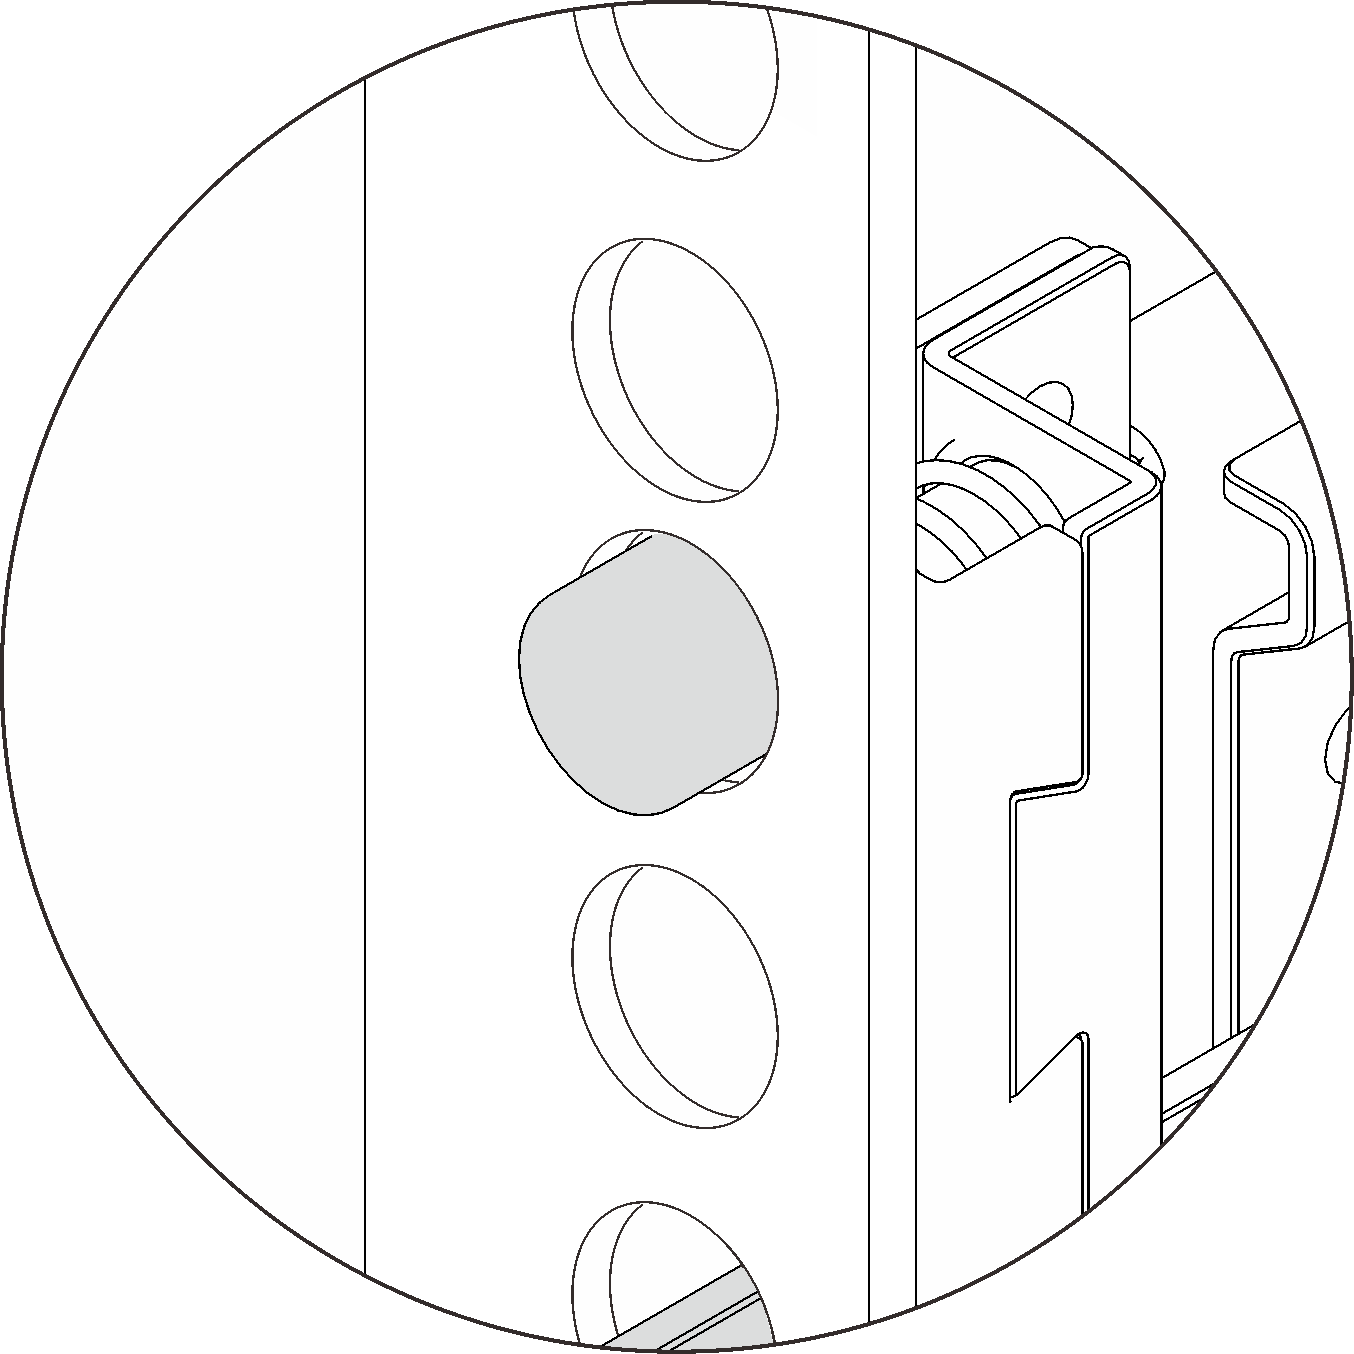
Round hole rack  Extend the outer rail toward the rear mounting flanges in the rack.
 Align the mounting pins with the rear mounting flanges and set the opening of the rear latch against the rack frame.
 Push the rail toward outside of the rack until the rear latch opens.
 Push the rail toward the rear mounting flanges until the rear latch rotates back to the closed position.
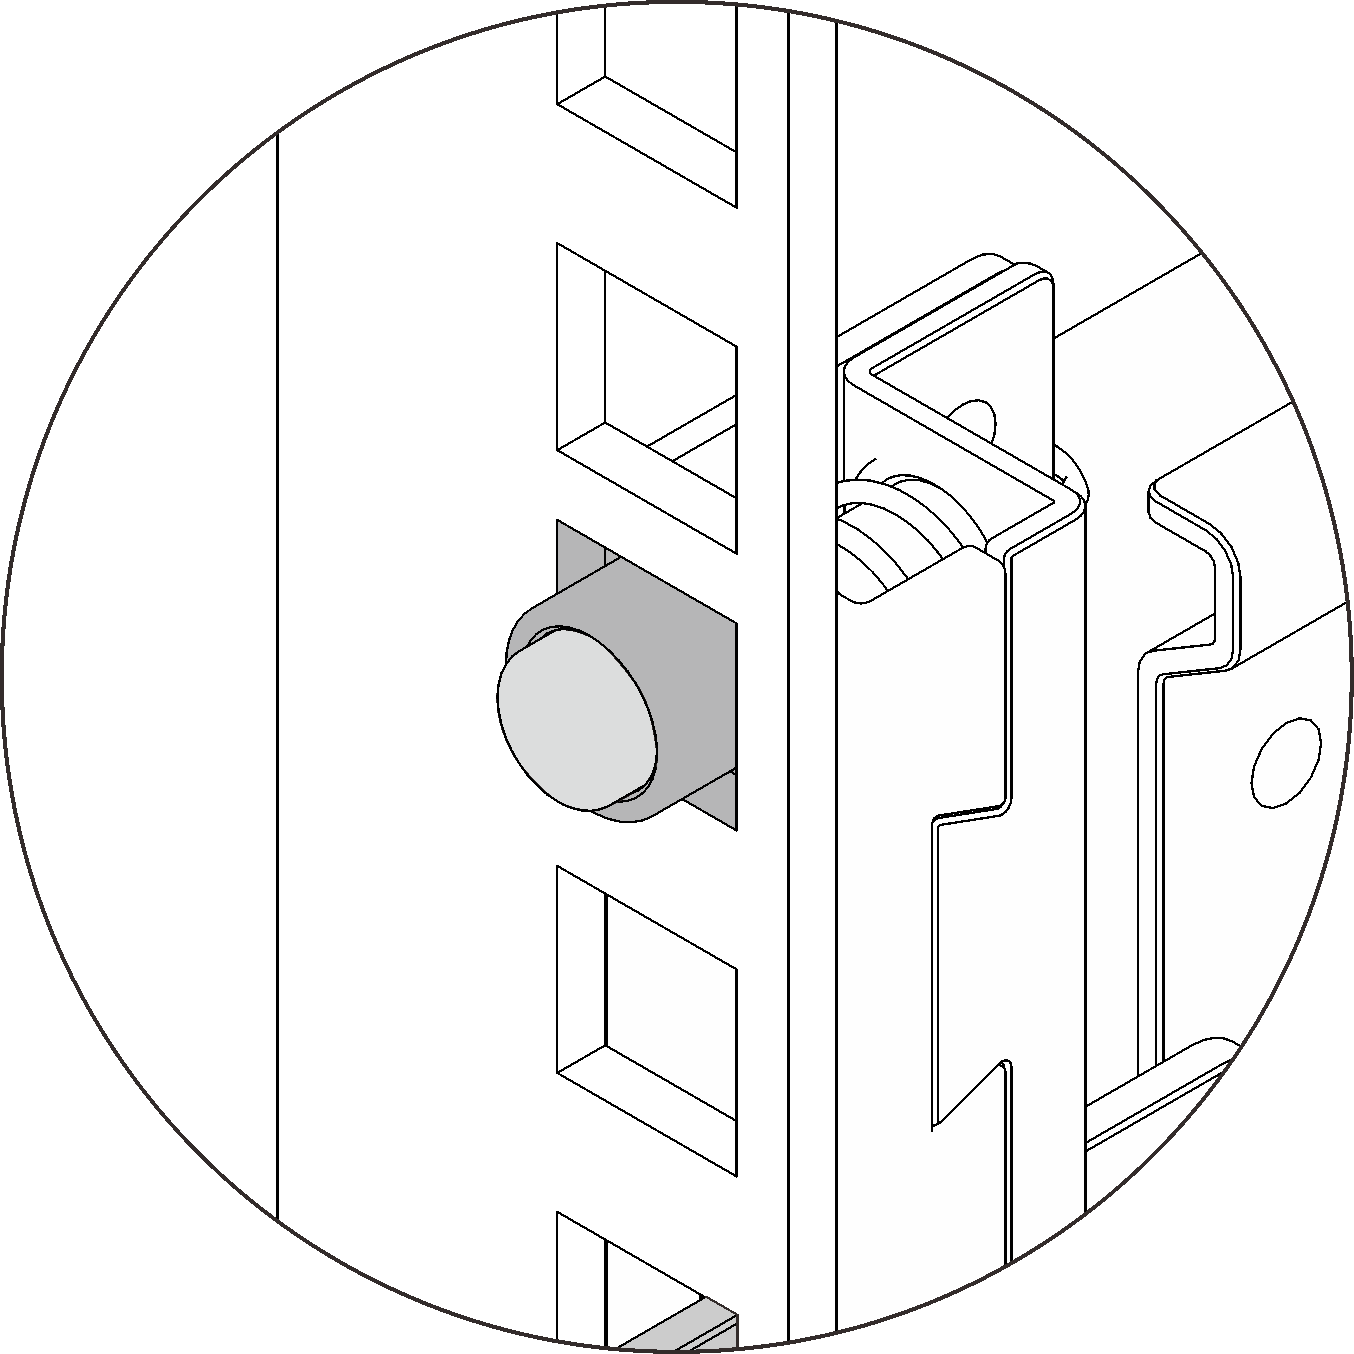
- Install the front mounting pins to the rack.
Front 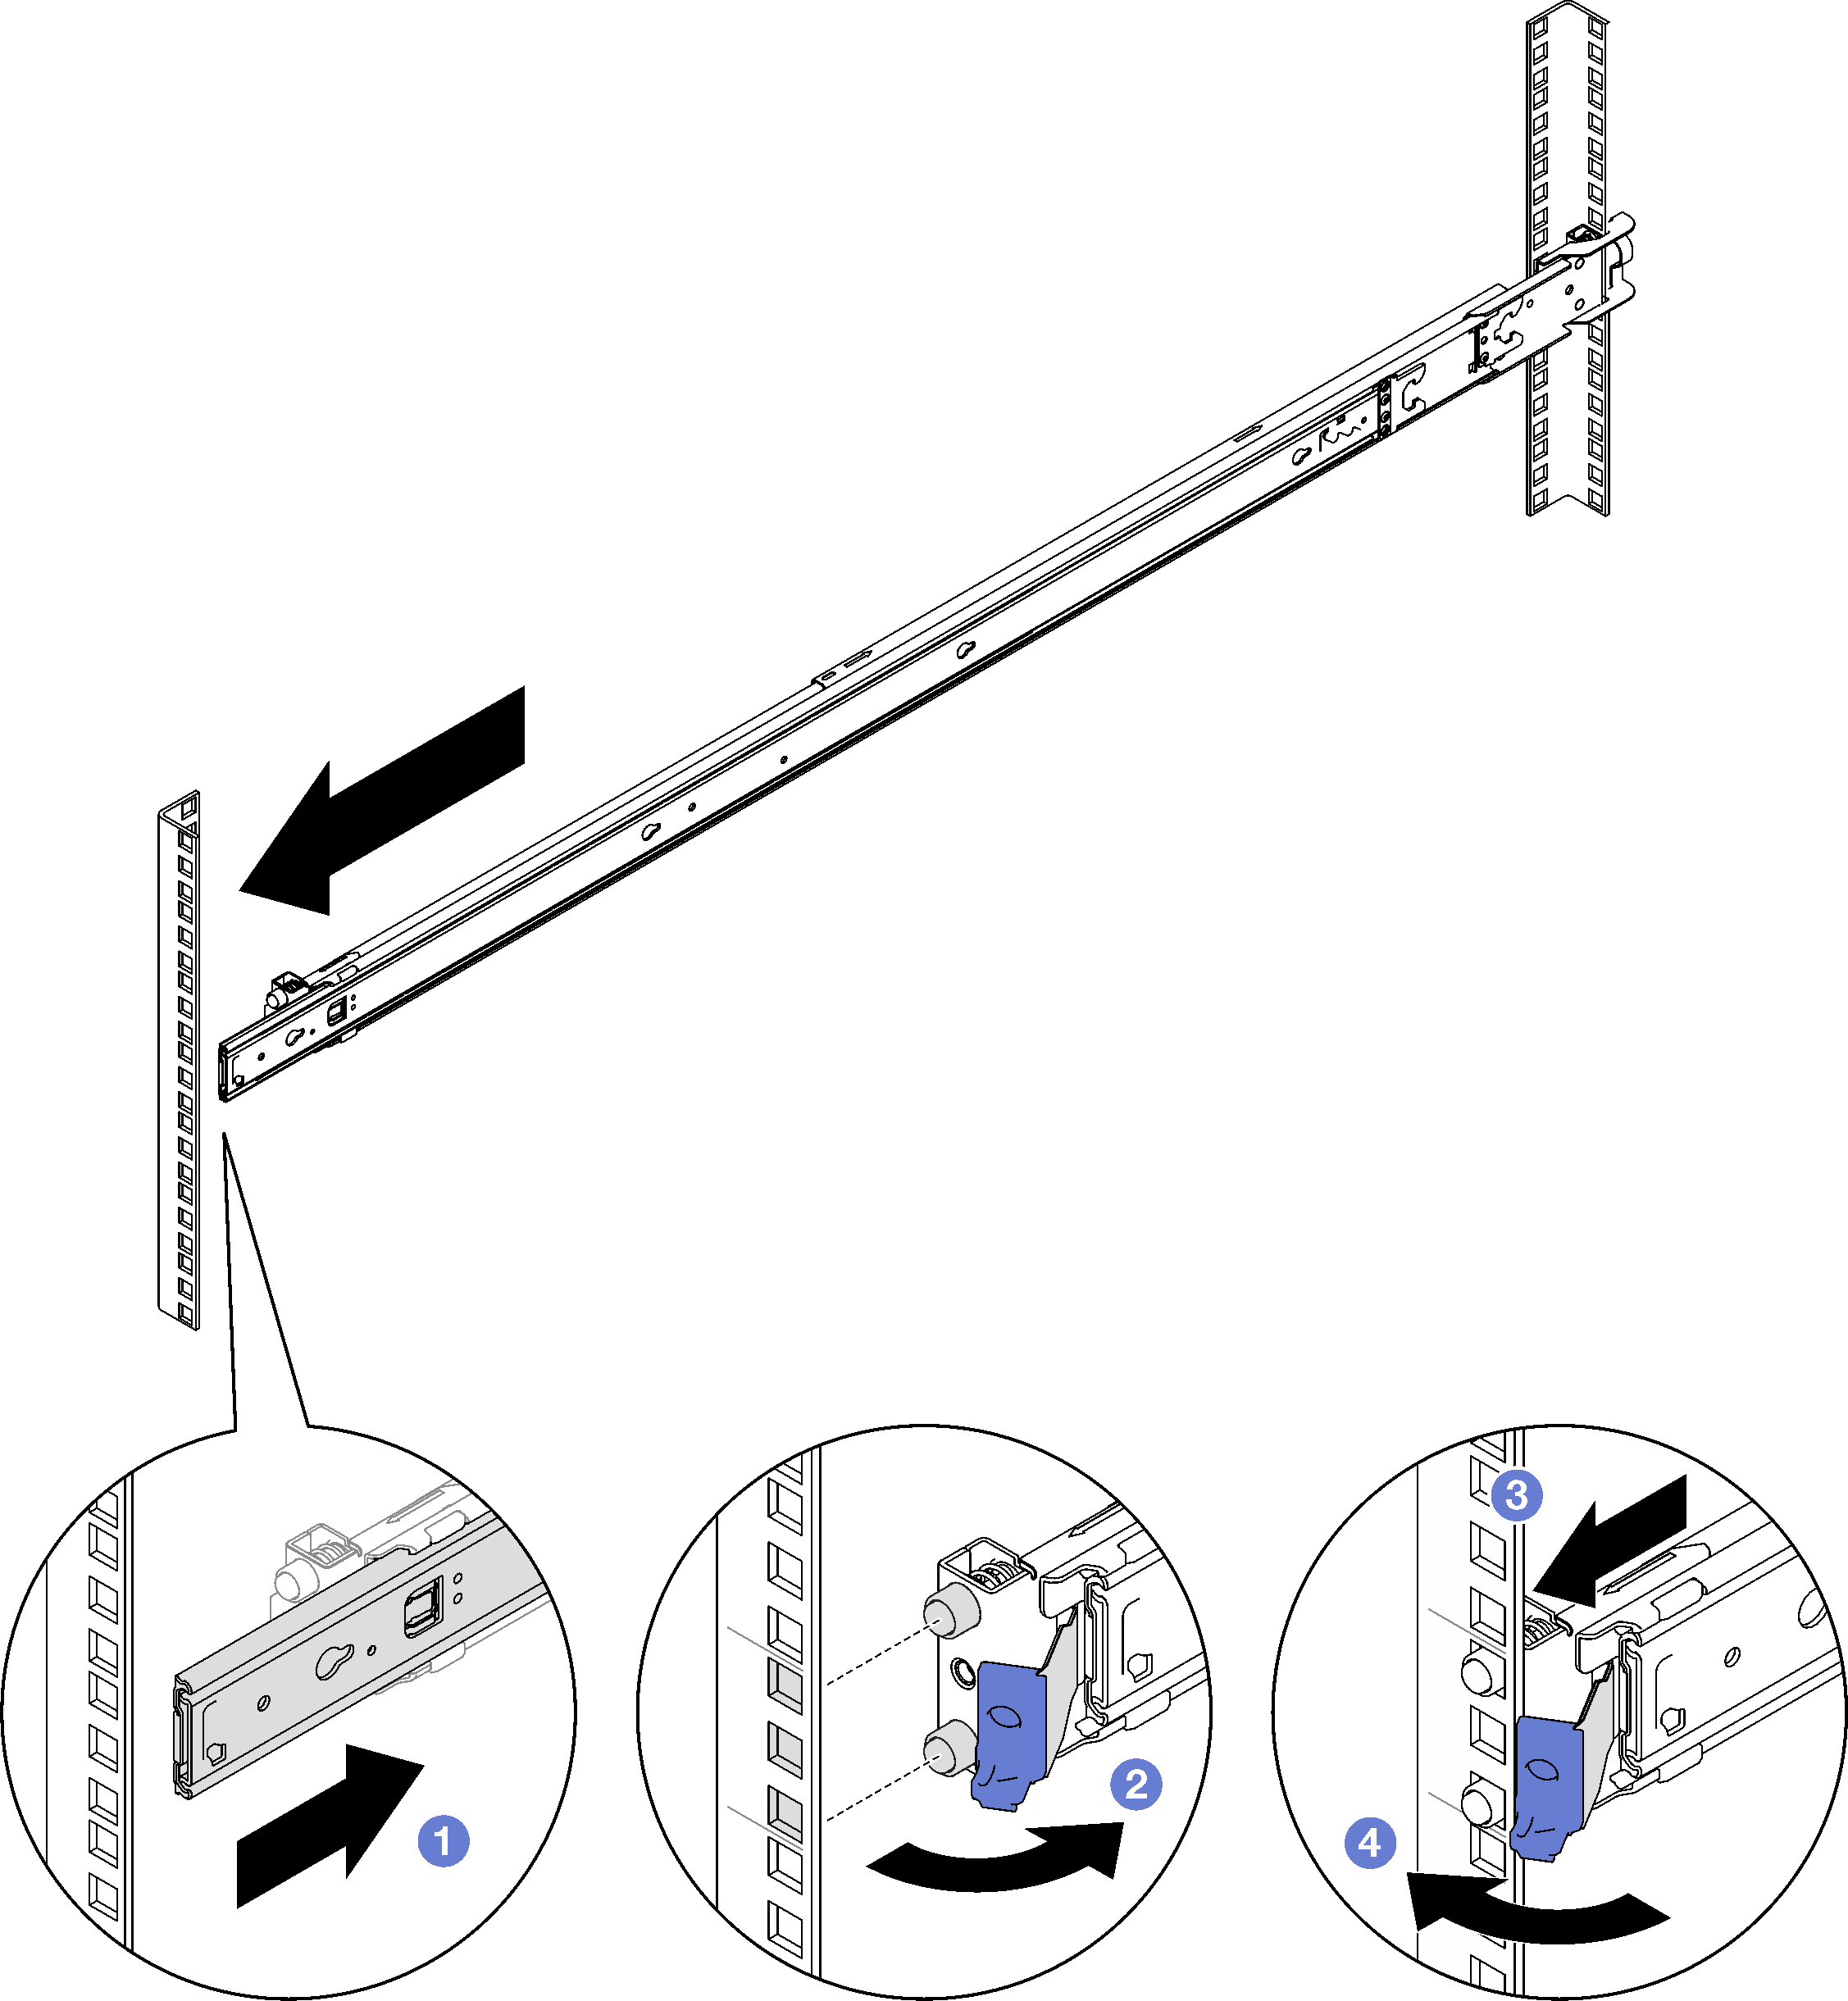
- Slide the inner rail all the way in to allow the front latch to open.
- Open the front latch and align the mounting pins with corresponding front mounting flanges.
- Pull the rail forward until the mounting pins go through the holes.
- Release the front latch to secure the rail to the rack.
After you finish
Complete the parts replacement. See Complete the parts replacement.
Give documentation feedback