Install the server cover
Use this information to install the server cover.
About this task
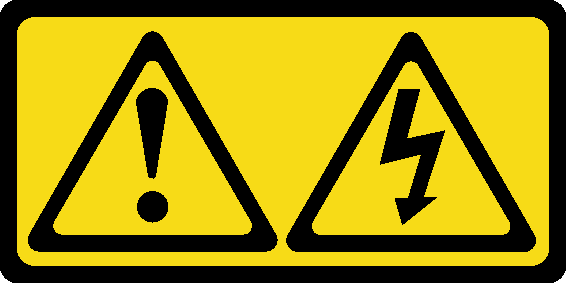
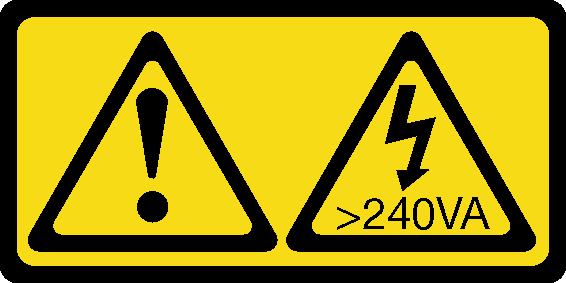
Hazardous energy present. Voltages with hazardous energy might cause heating when shorted with metal, which might result in spattered metal, burns, or both.
Read Installation guidelines to ensure that you work safely.
Prevent exposure to static electricity, which might lead to system halt and loss of data, by keeping static-sensitive components in their static-protective packages until installation, and handling these devices with an electrostatic-discharge wrist strap or other grounding system.
Ensure that all adapters and other components are installed and seated correctly and that you have not left loose tools or parts inside the server.
Ensure that all internal cables are correctly routed. See Internal cable routing.
If you are installing a new server cover, attach the service label to the inside of the new server cover first if necessary.
NoteA new server cover comes without a service label attached. If you need a service label, order it together with the new server cover. The service label is free of charge.
Procedure

 Lower the server cover onto the chassis until all tabs on both sides of the server cover engage the chassis. Then, slide the server cover towards the front of the chassis until the server cover stops and the front edge of the cover aligns with the edge of the front bezel.
 Use the key to turn the cover lock to the locked position.
Demo video