Create a VNET
Complete these steps to create a virtual network (VNET) in the ThinkAgile CP Cloud Controller.
- Click New Network and then select New VNET.
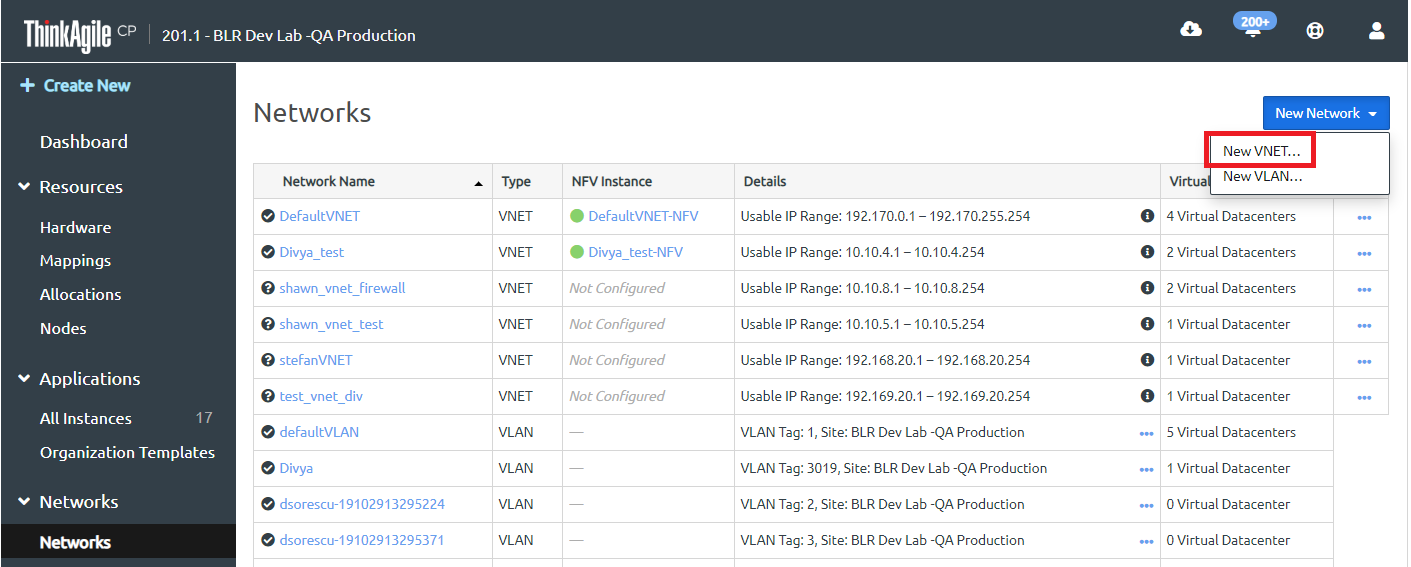
The New VNET page opens with the Properties section at the top of the page.
Figure 1. Defining VNET properties when creating a new VNET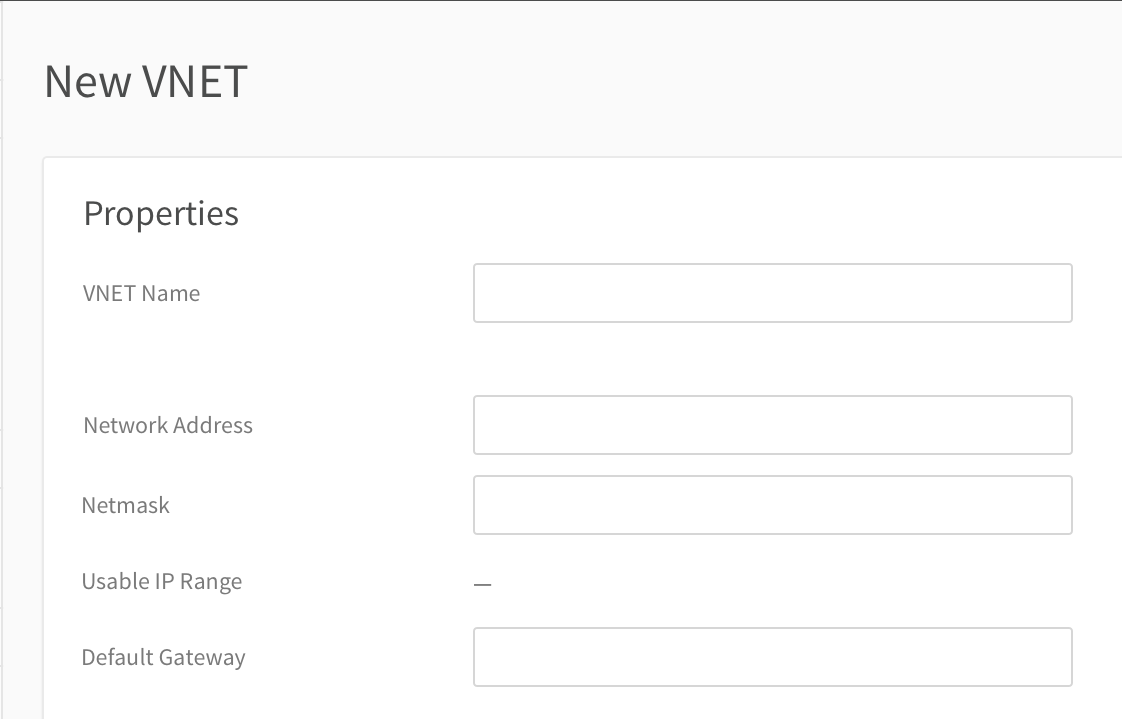
- In the DHCP Settings section, enter the following information. (Click Show Advanced Settings to configure advanced DHCP settings.)Note
You need to enter DHCP information if you will use an auto-deployed NFV instance.
Figure 2. Entering DHCP Settings for new VNET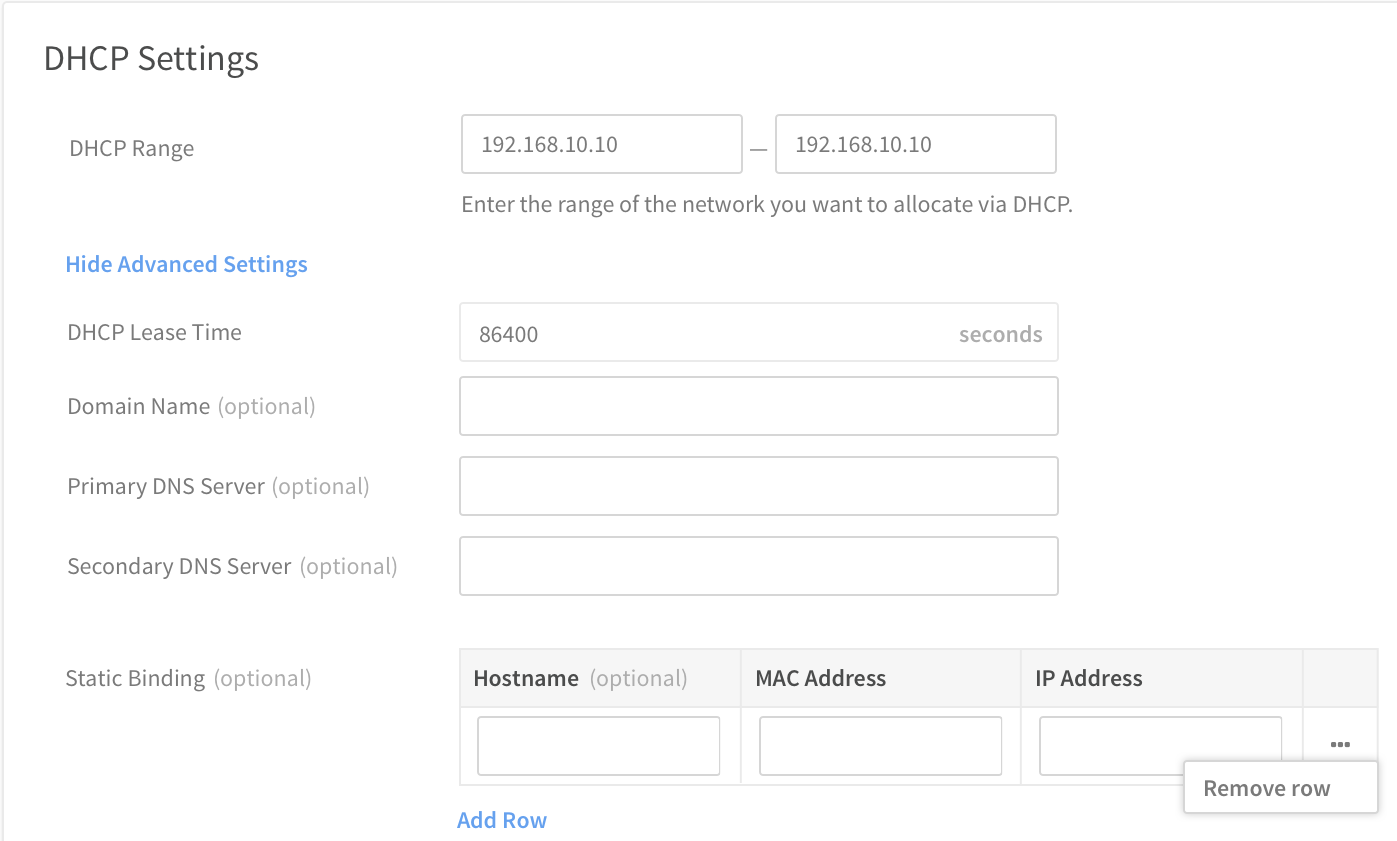
- DHCP Range - Enter the part of this VNET’s IP address range that should be served by DHCP. The DHCP range must be within the usable IP range but does not include your default gateway.
- DHCP Lease Time - Enter the amount of time in seconds for how long the DHCP lease is retained on your client. The default is set to one day (86400 seconds), but you can override it.
- Domain Name (optional) - Enter the domain name for DHCP as applicable.
- Primary DNS Server (optional) - Enter the primary DNS server for DHCP as applicable.
- Secondary DNS Server (optional) -Enter the secondary (redundant) DNS server for DHCP as applicable.
- Static Binding (optional) - To assign fixed IP addresses via DHCP, use Static Binding. Once instances using your VNET have been created, you can enter their MAC addresses and IP addresses in the Static Binding section. These IP addresses must be in your DHCP range. The specified instances will request the specified IP addresses from DHCP. You can click Add Row or click the ellipsis action menu and click Remove Row to add or remove rows as needed. To avoid issues with any outstanding DHCP leases, make sure you also set the IP address specified in this section as the static IP address within the instance's guest OS.
- In the Network Services section, select the type of network service to deploy for this VNET.Figure 3. Selecting Network Services Deployment for new VNET
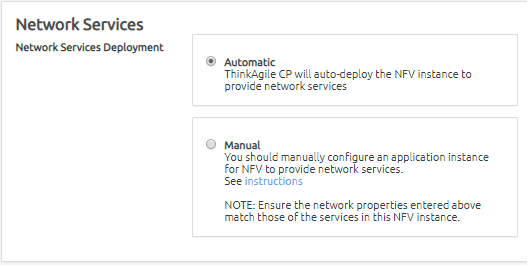
- Automatic - A network functional virtualization (NFV) instance for this VNET will be created for you. An auto-deployed NFV instance will act as a DHCP server and gateway for instances in the corresponding VNET. It will be assigned two IP addresses: the internal interface IP address specified as the VNET’s gateway, and the outside interface IP address that will be determined by the Routing Service settings. If you select Automatic, you need to define the DHCP settings for this VNET as described in the previous step. Also, see the topic, Define Settings for Auto-Deployed VNET, for defining other settings, including NFV settings and routing service settings.
- Manual - You will need to create and configure an NFV instance to provide network services for this VNET. For more information, see Create and deploy a custom NFV instance.
Give feedback