Opening a remote-control session for System x servers
You can open a remote-control session to managed System x servers as if you were at a local console. You can then use the remote-control session to perform power and reset operations, logically mount a local or network drive on the server, capture screen shots, and record video.
Before you begin
Review the security, performance, and keyboard considerations before opening a remote-control session. For more information about these considerations, see Remote control considerations.
You must be a member of a user group to which the predefined Supervisor or Hardware Administrator role is assigned.
The managed server must have a Normal health state and Online connectivity state. For more information about viewing the server status, see Viewing device details.
Use your Lenovo XClarity Orchestrator user account to log in to the remote-control session. The user account must have sufficient user authority to access and manage a server.
A Java Runtime Environment (JRE) with Java WebStart support (such as Adopt OpenJDK 8 with the IcedTea-Web v1.8 plugin) must be installed on the local server.
- Ensure that the server is in a Normal health status and Online connectivity state.
- Ensure that the XClarity Controller Enterprise level or MM Advanced Upgrade for is enabled for servers that do not come with these features already activated by default.
The remote-control session uses the locale and display language settings that are defined for the operating system on your local system.
About this task
You can start multiple remote-control sessions. Each session can manage multiple servers.
Procedure
To open a remote-control session for a System x server, complete the following steps.
After you finish
The remote-control session has a thumbnail (icon) for each server that is currently managed through the session.

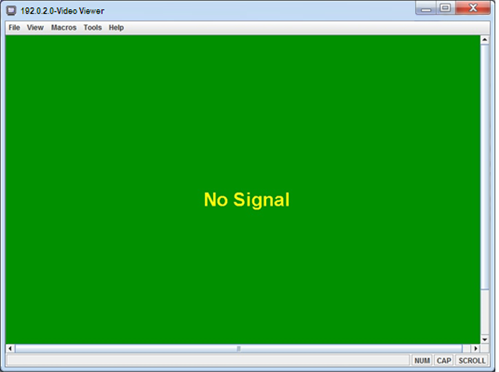
If the remote-control session does not open successfully, see Troubleshooting remote-control issues.
You can perform the following actions from the remote-control session.
- Display multiple server consoles and move between server consoles by clicking a thumbnail. The server console is displayed in the video session area. If you are accessing more servers than fit in the icon area, click the Scroll right icon (
 ) and Scroll left icon (
 ) to scroll to additional server thumbnails. Click the All sessions icon (
 ) to see a list of all open server sessions.
 - Add a server console to the current remote-control session by clicking Add server icon (
 ).
). - Hide or show the thumbnail area by clicking the Toggle Thumbnails icon (
 ).
). - Display the remote-control session as a window or full screen by clicking the Screen icon (
 ) and then clicking Toggle on full screen or Toggle off full screen.
 - Use the sticky key buttons Ctrl, Alt, and Shift to send keystrokes directly to the server. When click a sticky key, the key remains active until you press a keyboard key or click the button again.
To send a Ctrl or Alt key combinations, click Ctrl or Alt in the toolbar, place the cursor in the video session area, and press a key on the keyboard.
NoteIf mouse-capture mode is enabled, press the left Alt key to move the cursor outside of the video session area. Although mouse-capture mode is disabled by default, you can enable it from the Toolbar page (seeSetting remote-control preferences). - Define custom key sequences, known as softkeys, by clicking he Keyboard icon (
 ).
).Softkey definitions are stored on the system from which you started the remote-control session. Therefore, if you launch the remote-control session from another system, you have to define the softkeys again. You can export user settings, including softkeys, by clicking the Preference icon (
 ), clicking the User Settings tab, and then clicking Import.
 - Take a screen capture of the currently selected server session and save that screen capture in a variety of formats by clicking the Screen icon (
 ), and then clicking Screenshot.
 - Mount remote media (such as CD, DVD, or USB device, disk image, or CD (ISO) image) to the selected server or move a mounted device to another server by clicking the Remote Media icon (
 ).
). - Upload images to a server from remote media by clicking the Remote Media icon (
 ), clicking Mount remote media., and then clicking Upload the image to the IMM.
 - Power the server on or off from a remote console by clicking the Power icon (
 ).
). - Change remote-control preferences, including how often the server icon are refreshed (see Setting remote-control preferences).