Install a node to the DIN rail
Follow instructions in this section to install a node to the DIN rail.
About this task
S002
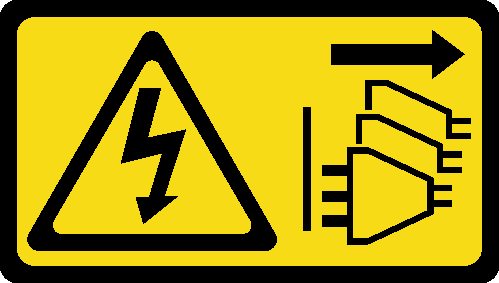
CAUTION
The power-control button on the device and the power switch on the power supply do not turn off the electrical current supplied to the device. The device also might have more than one power cord. To remove all electrical current from the device, ensure that all power cords are disconnected from the power source.
Attention
Read Installation Guidelines and Safety inspection checklist to ensure that you work safely.
Power off the server and peripheral devices and disconnect the power cords and all external cables. See Power off the server.
Reserve 500 mm of clearance in front of the node for installation/removal procedure.
Note
If the node sleeve is already installed on the DIN rail, start from Install the node into node sleeve.
Install the node sleeve assembly to the DIN-rail
Procedure
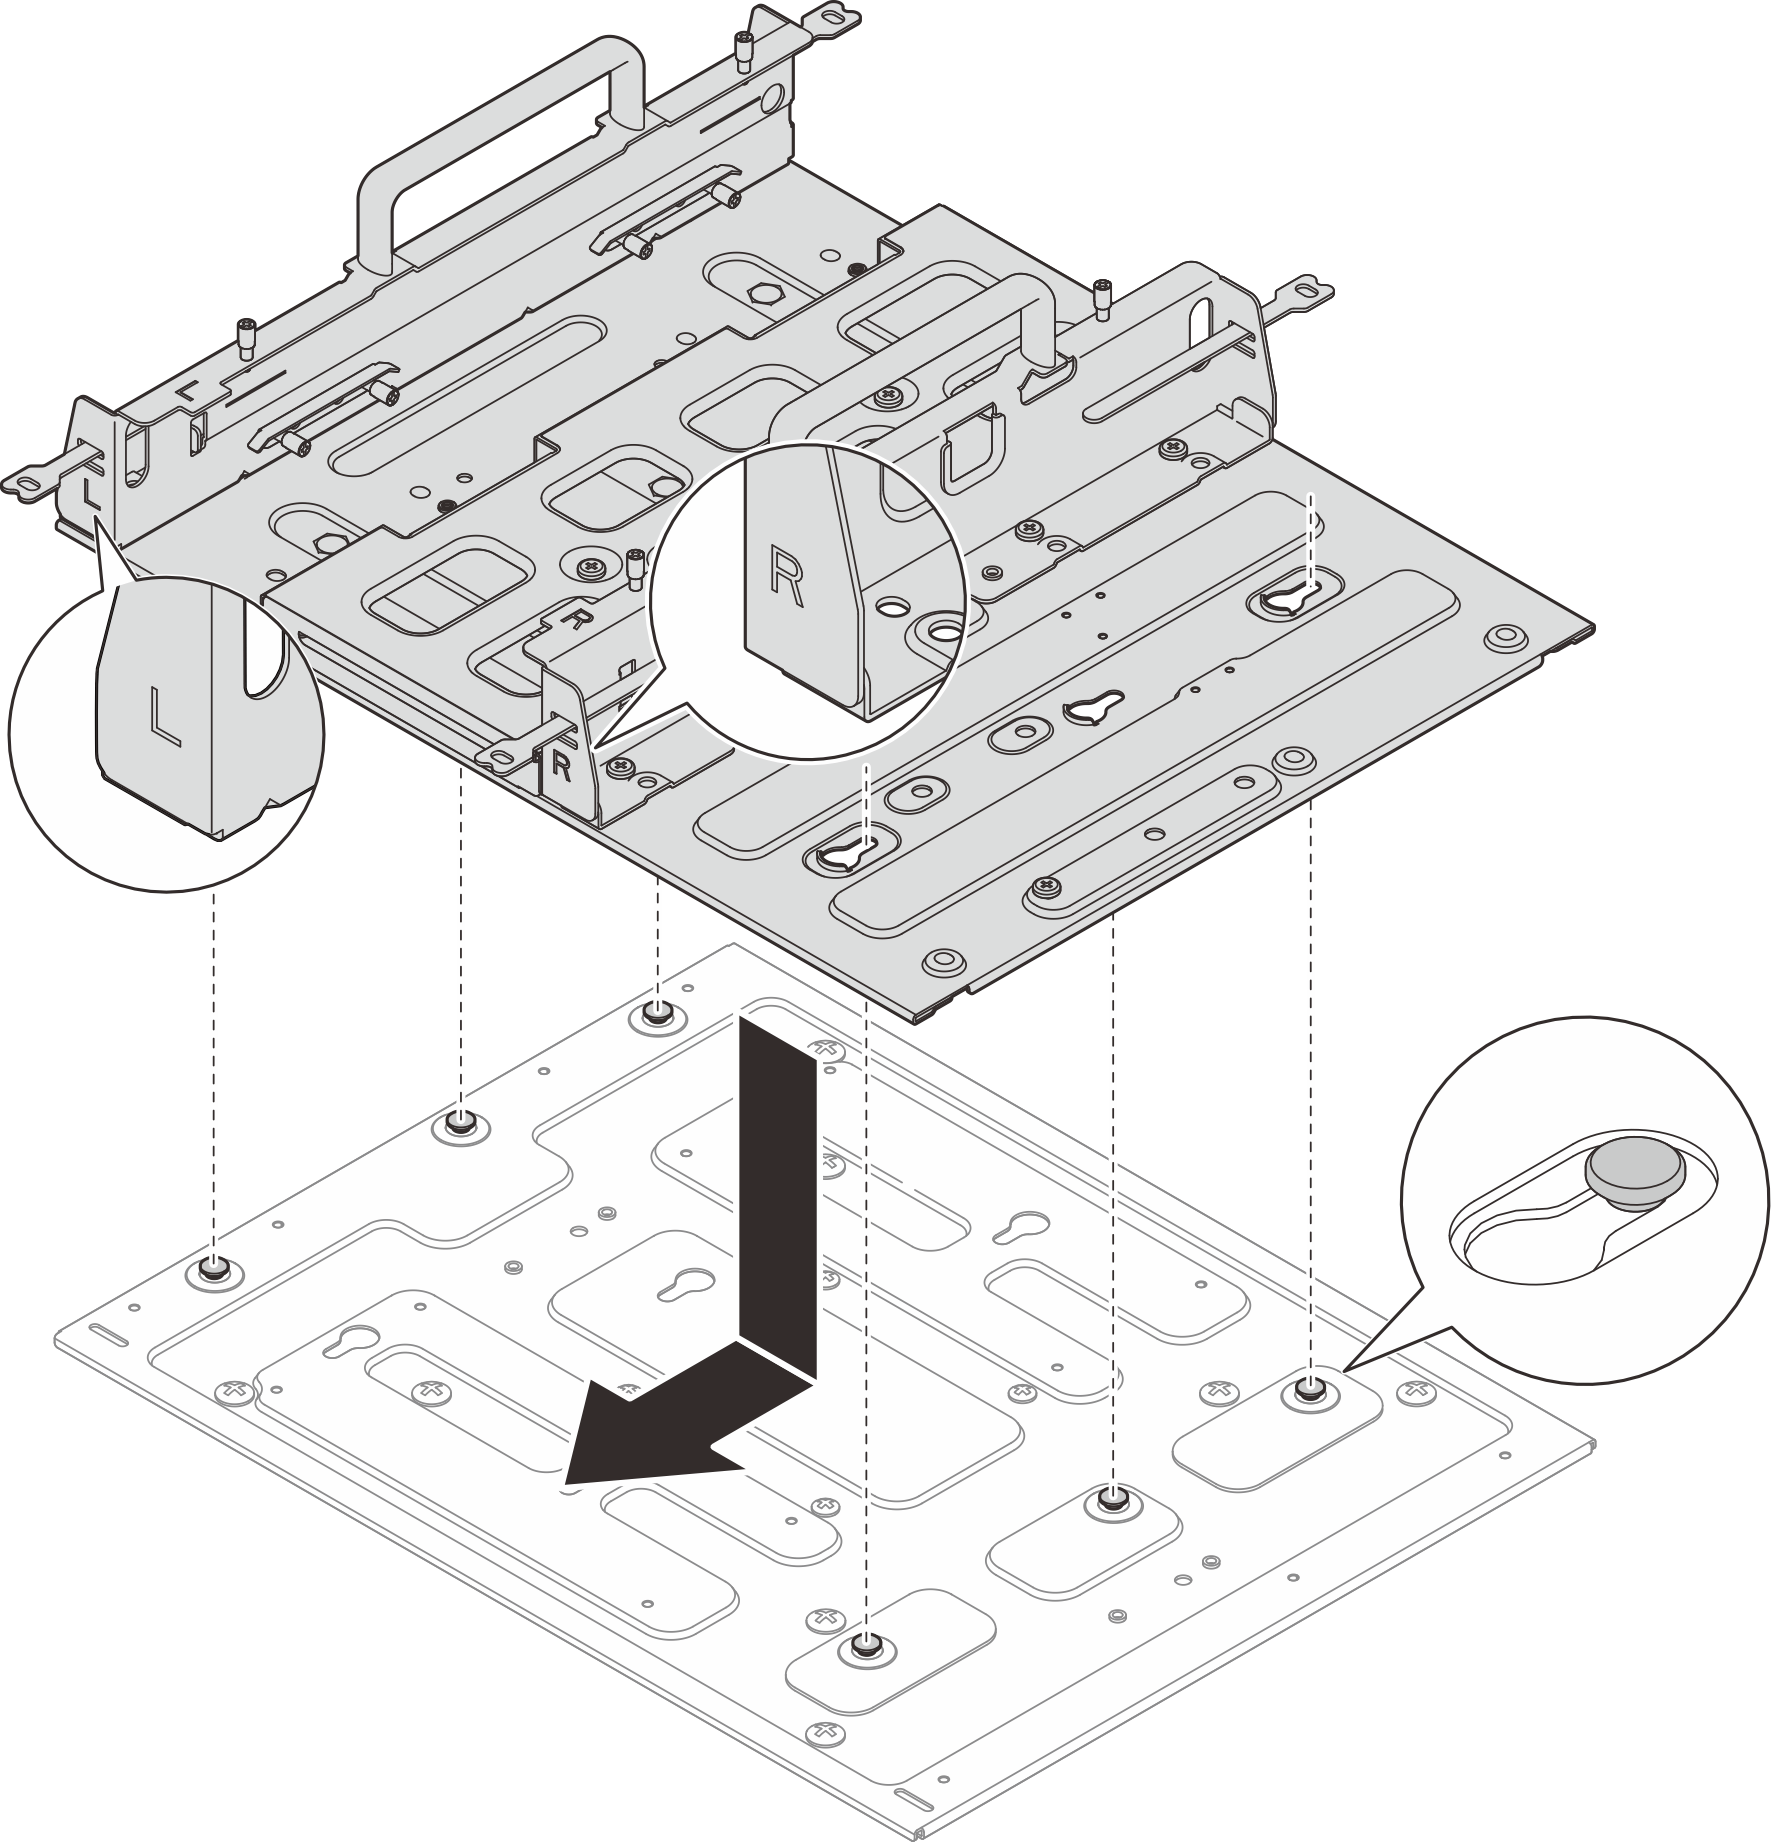
- Remove the node sleeve from the mount plate.
- Remove the eleven screws that secure the node sleeve.Figure 1. Removing the node sleeve with expansion kit
 Figure 2. Removing the node sleeve without expansion kit
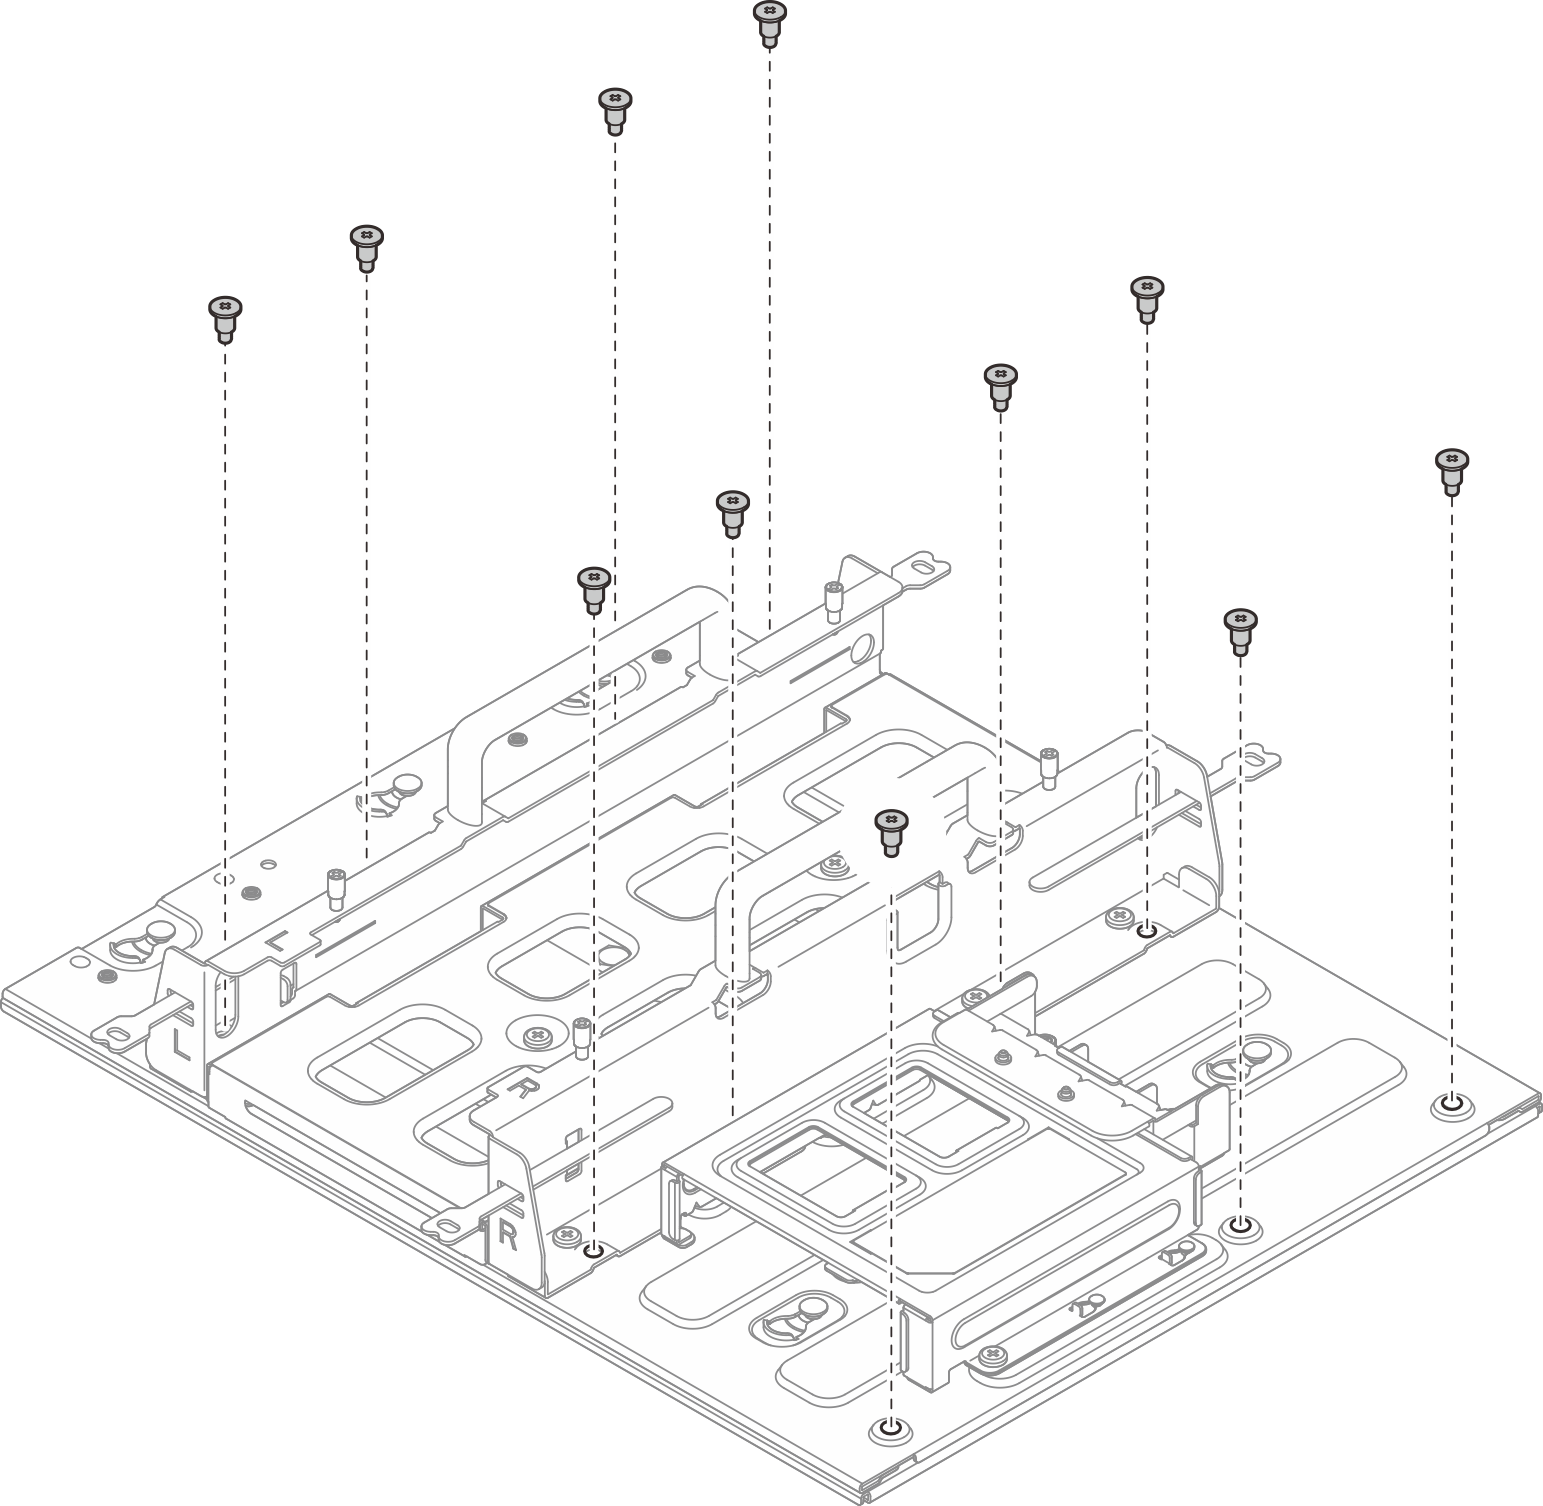
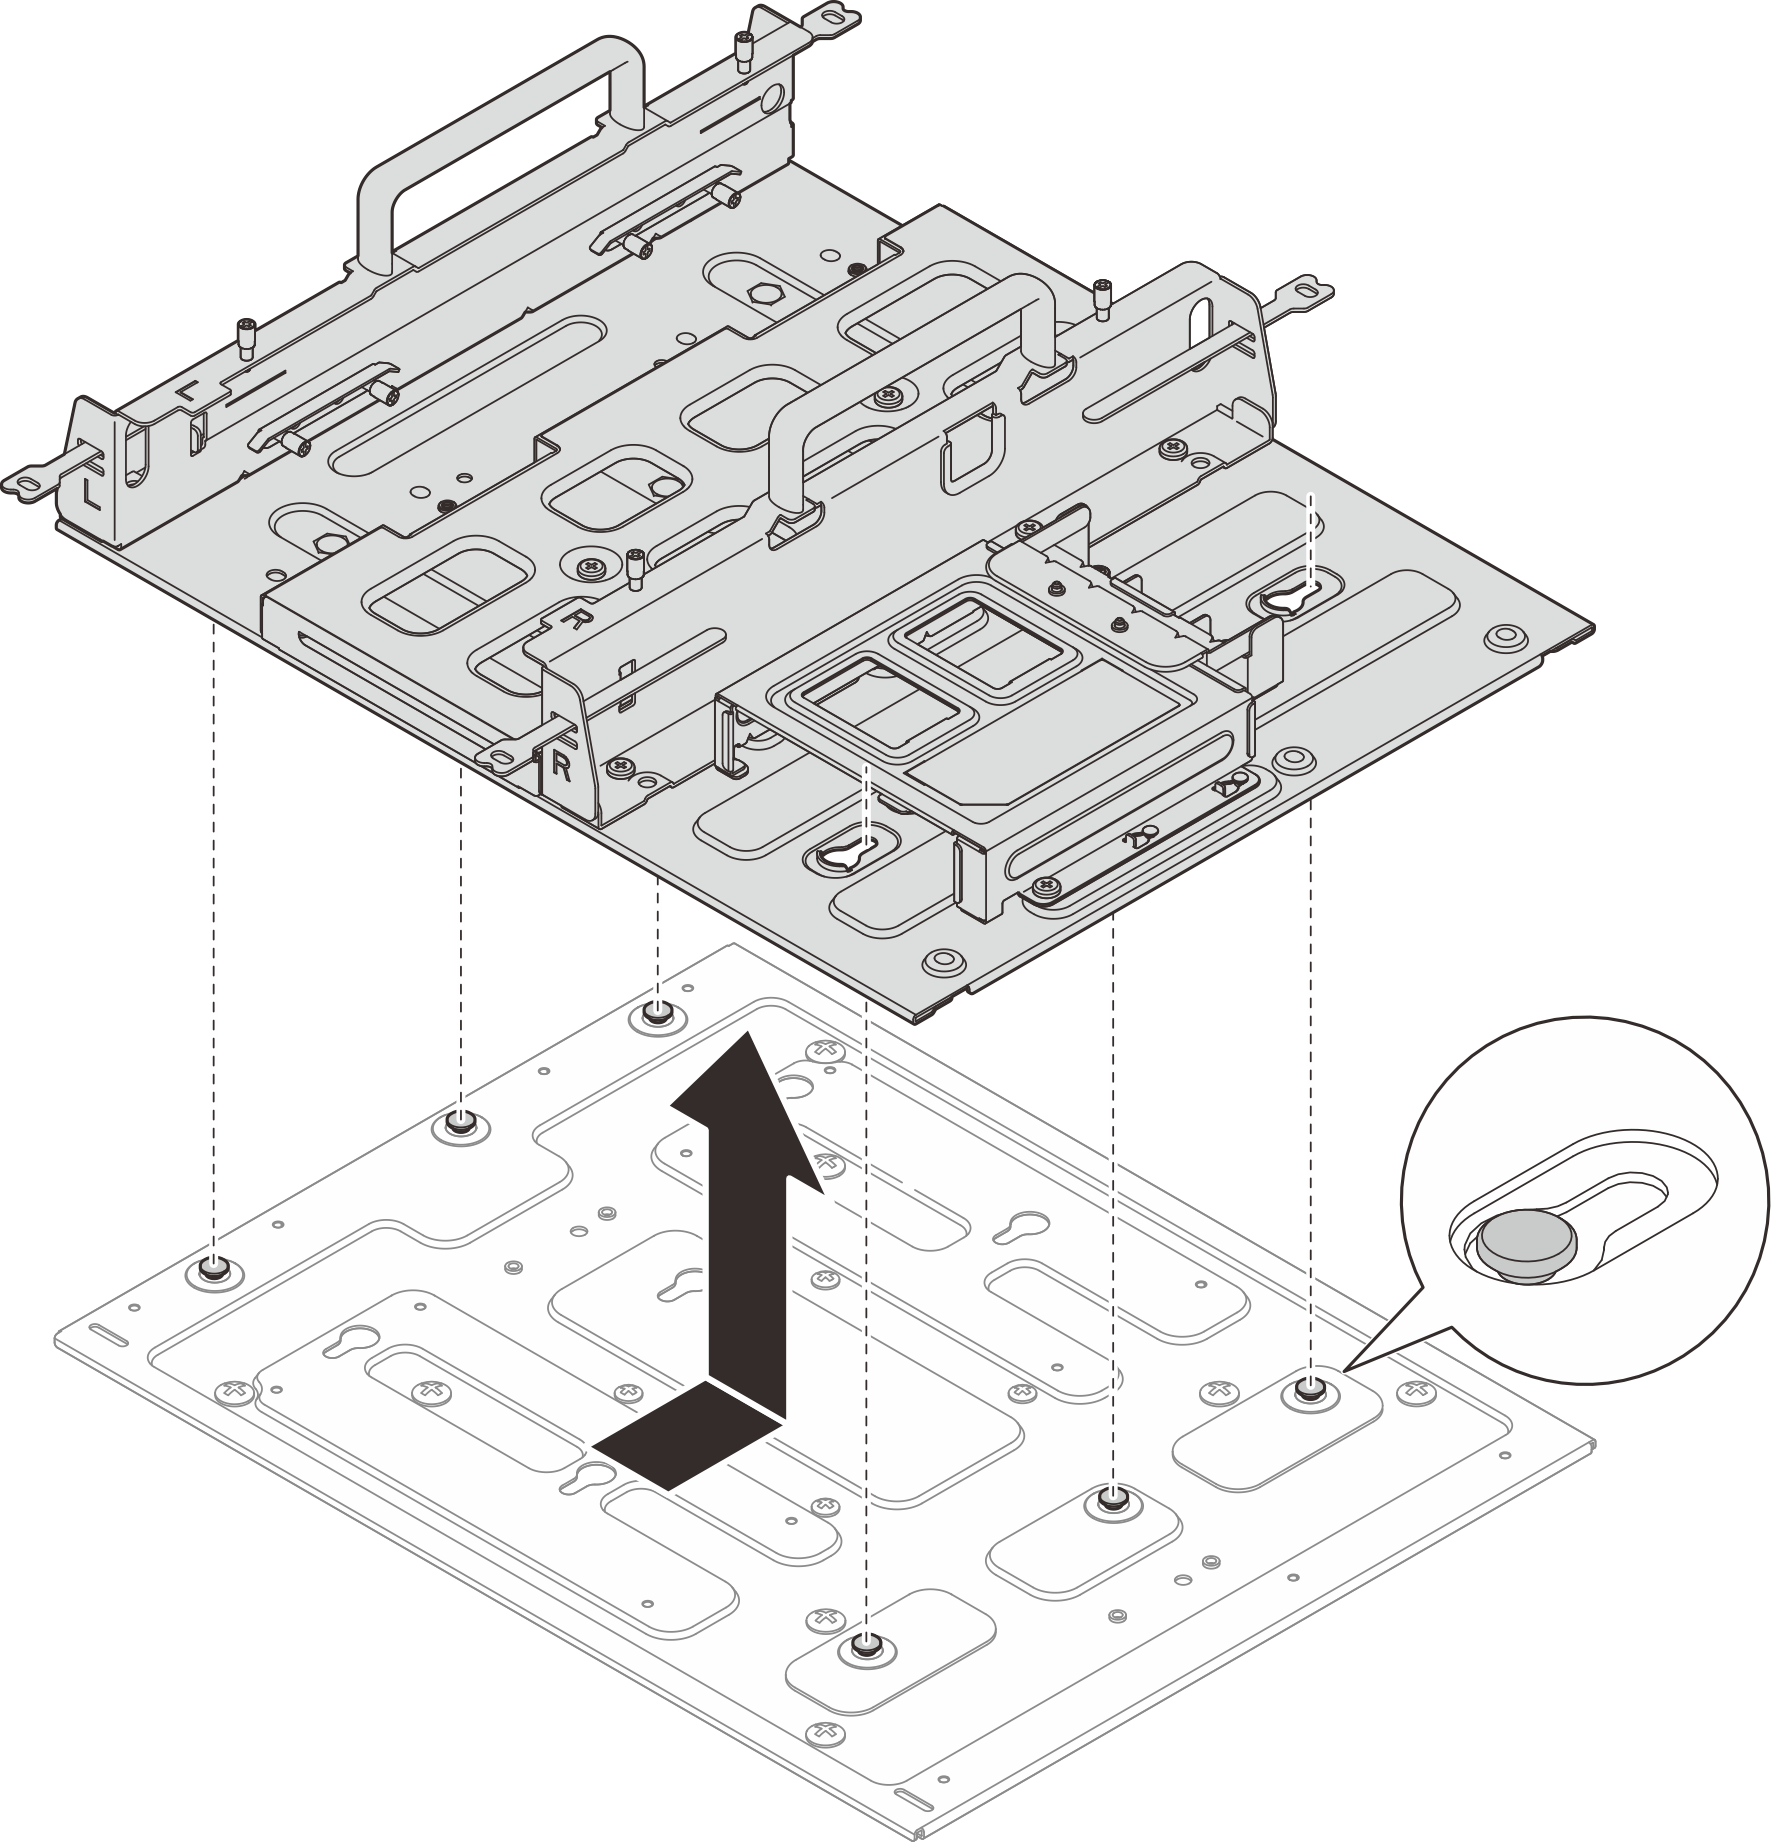
- Slide the node sleeve until the guide pins on the mount plate are seated in the large opening of the keyhole; then, remove the node sleeve from the mount plate.Figure 3. Removing the node sleeve
- Remove the eleven screws that secure the node sleeve.
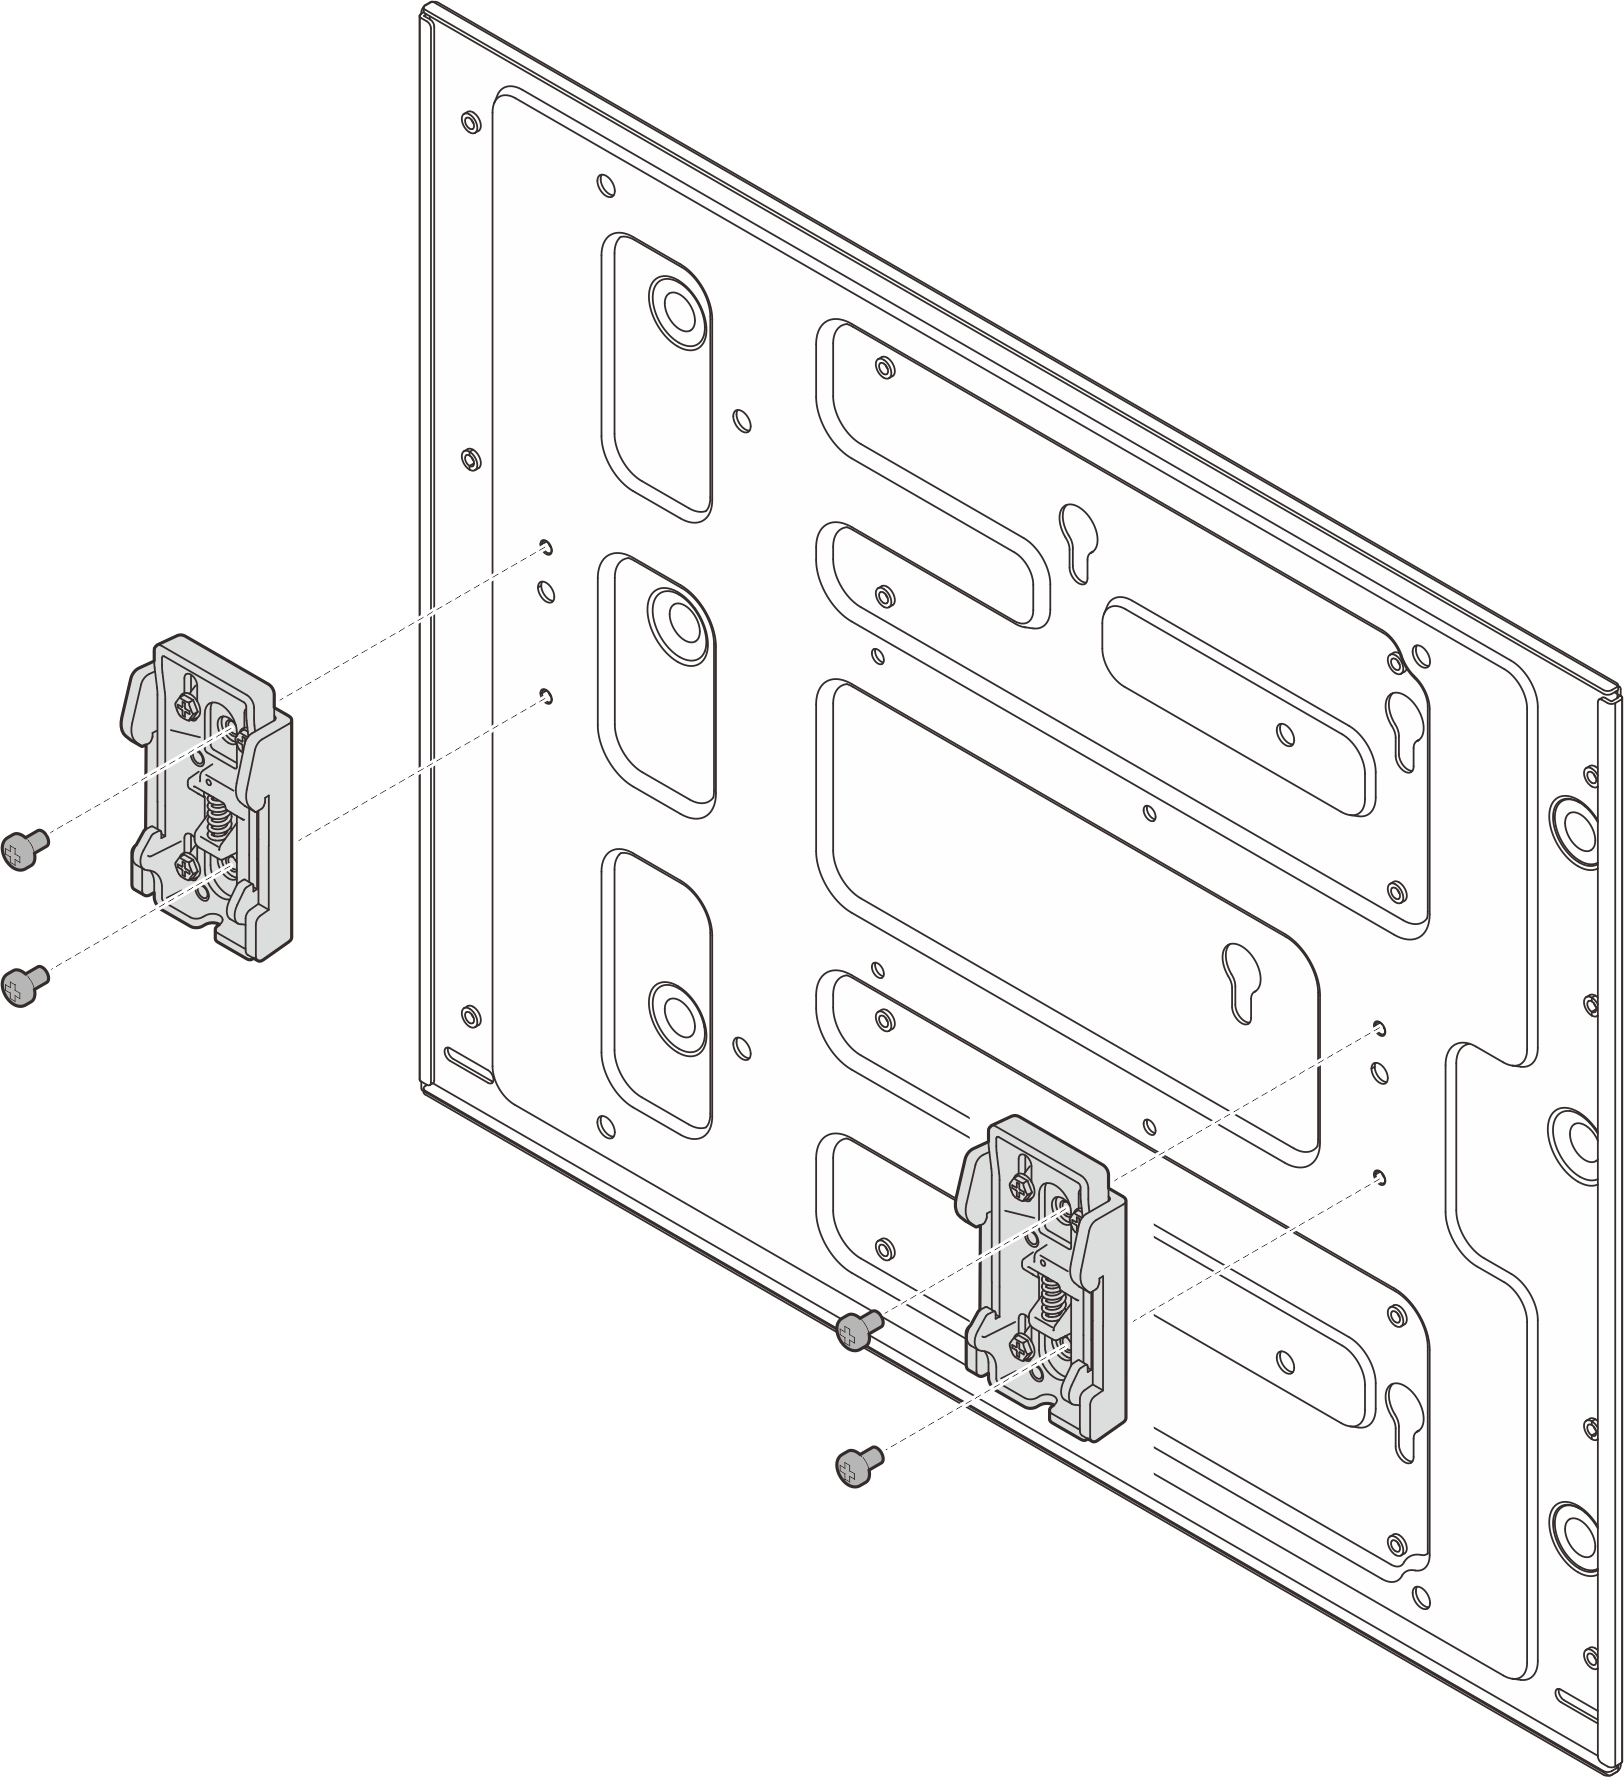
- Secure the DIN rail clips to the mount plate with two screws for each clip.Figure 4. Installing the DIN rail clips
- Mount the mount plate to the DIN rail.
 Hook the top side of DIN rail clips onto the rail at an angle.
 Pivot the mount plate toward the DIN rail, and ensure the DIN rail clips are securely seated.
 Tighten two M3.5 screws to fully secure the mount plate.Figure 5. Installing the mount plate
- Install the node sleeve to the mount plate.
- Push the node sleeve onto the mount plate; then, slide the node sleeve until the guide pins are seated in the small opening of keyholes.NoteThere are “L” and “R” logos marked on the front of node sleeve holder which represents the left hand and right hand of the user. Make sure to install the node sleeve with correct orientation shown in the illustration.Figure 6. Installing the node sleeve
- Secure the node sleeve with eleven screws.Figure 7. Installing the node sleeve with expansion kit
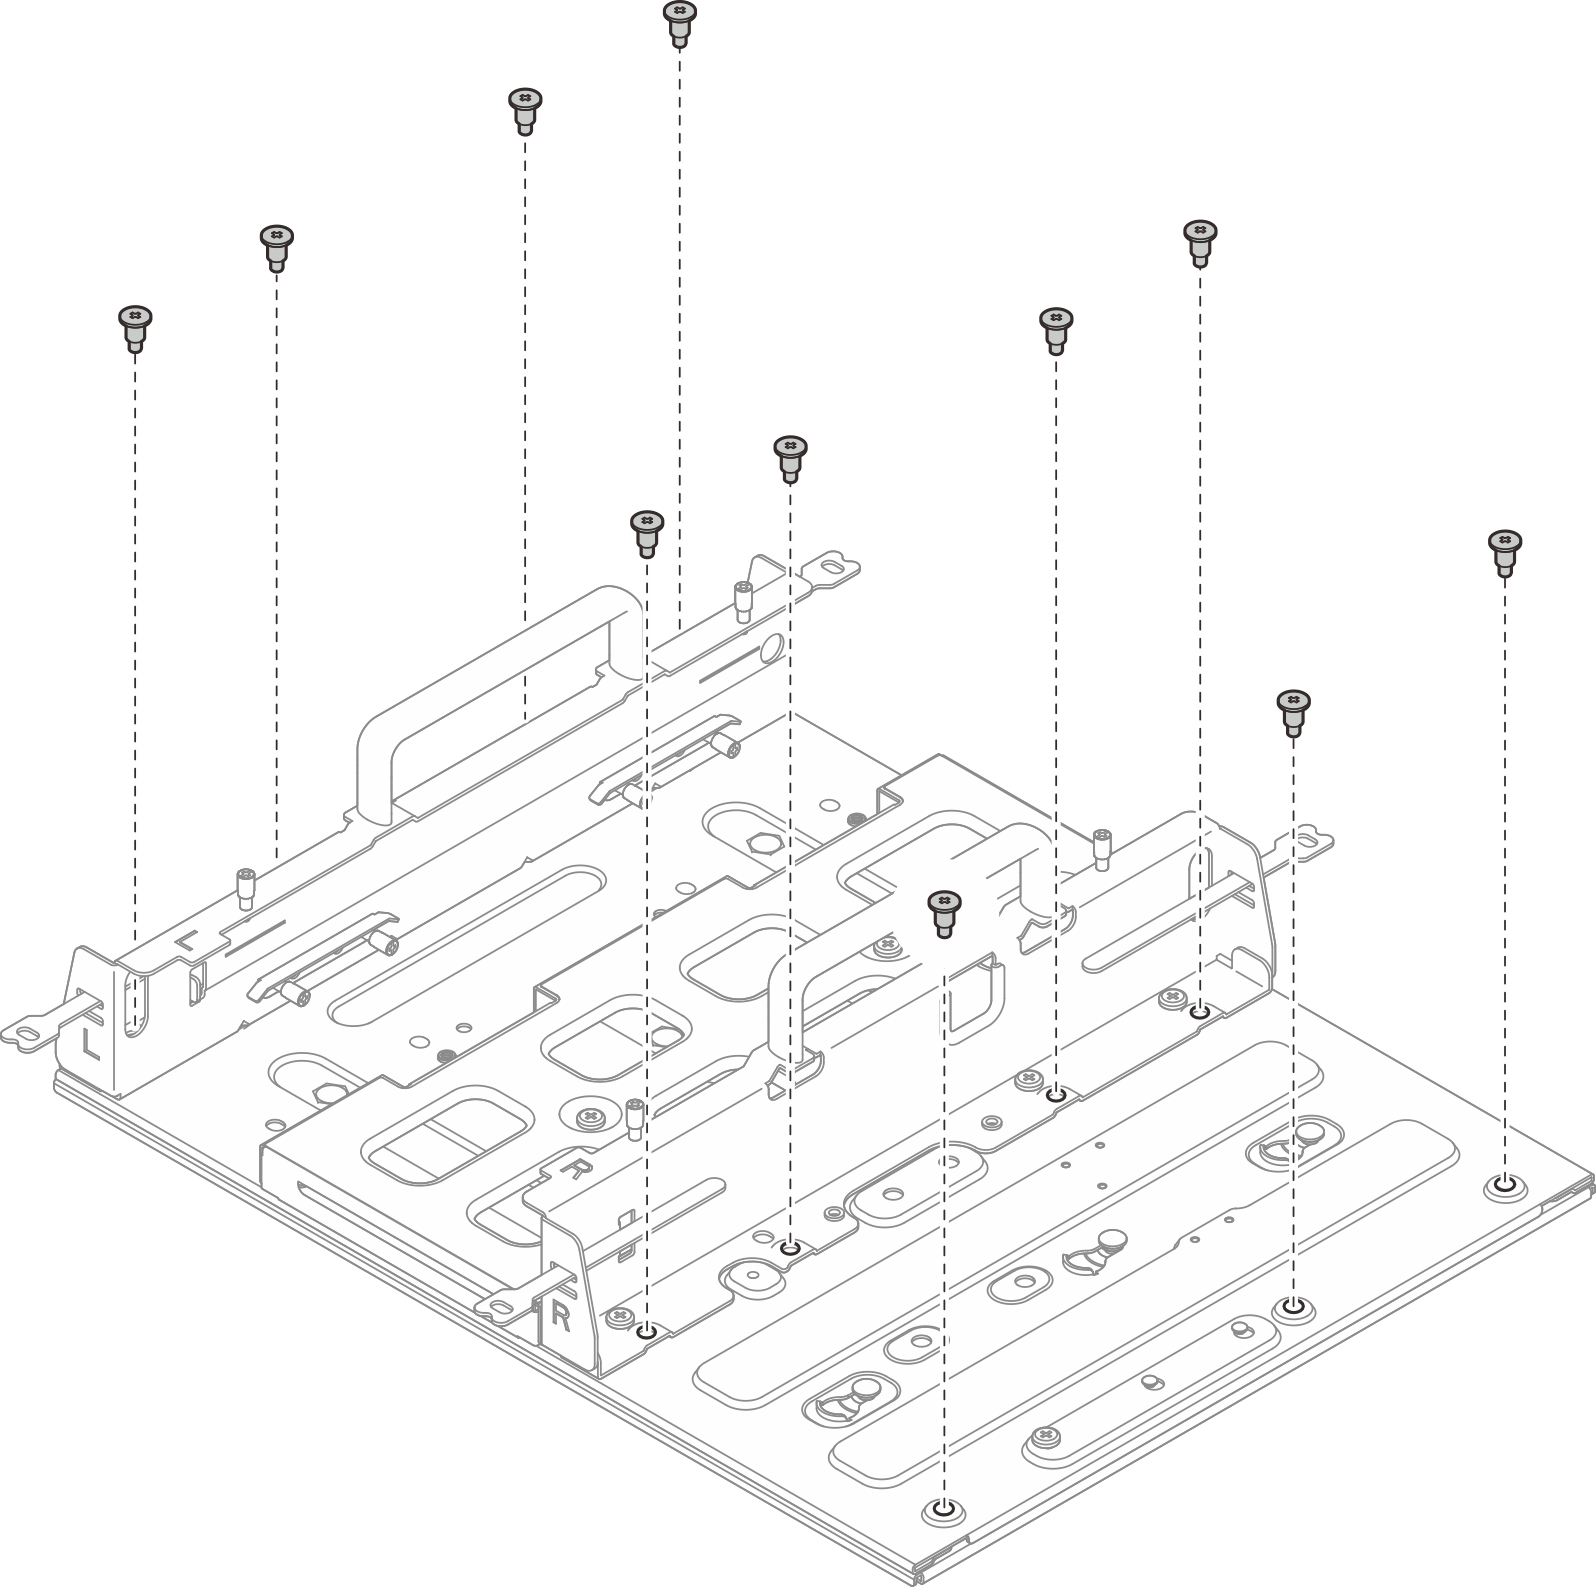 Figure 8. Installing the node sleeve without expansion kit
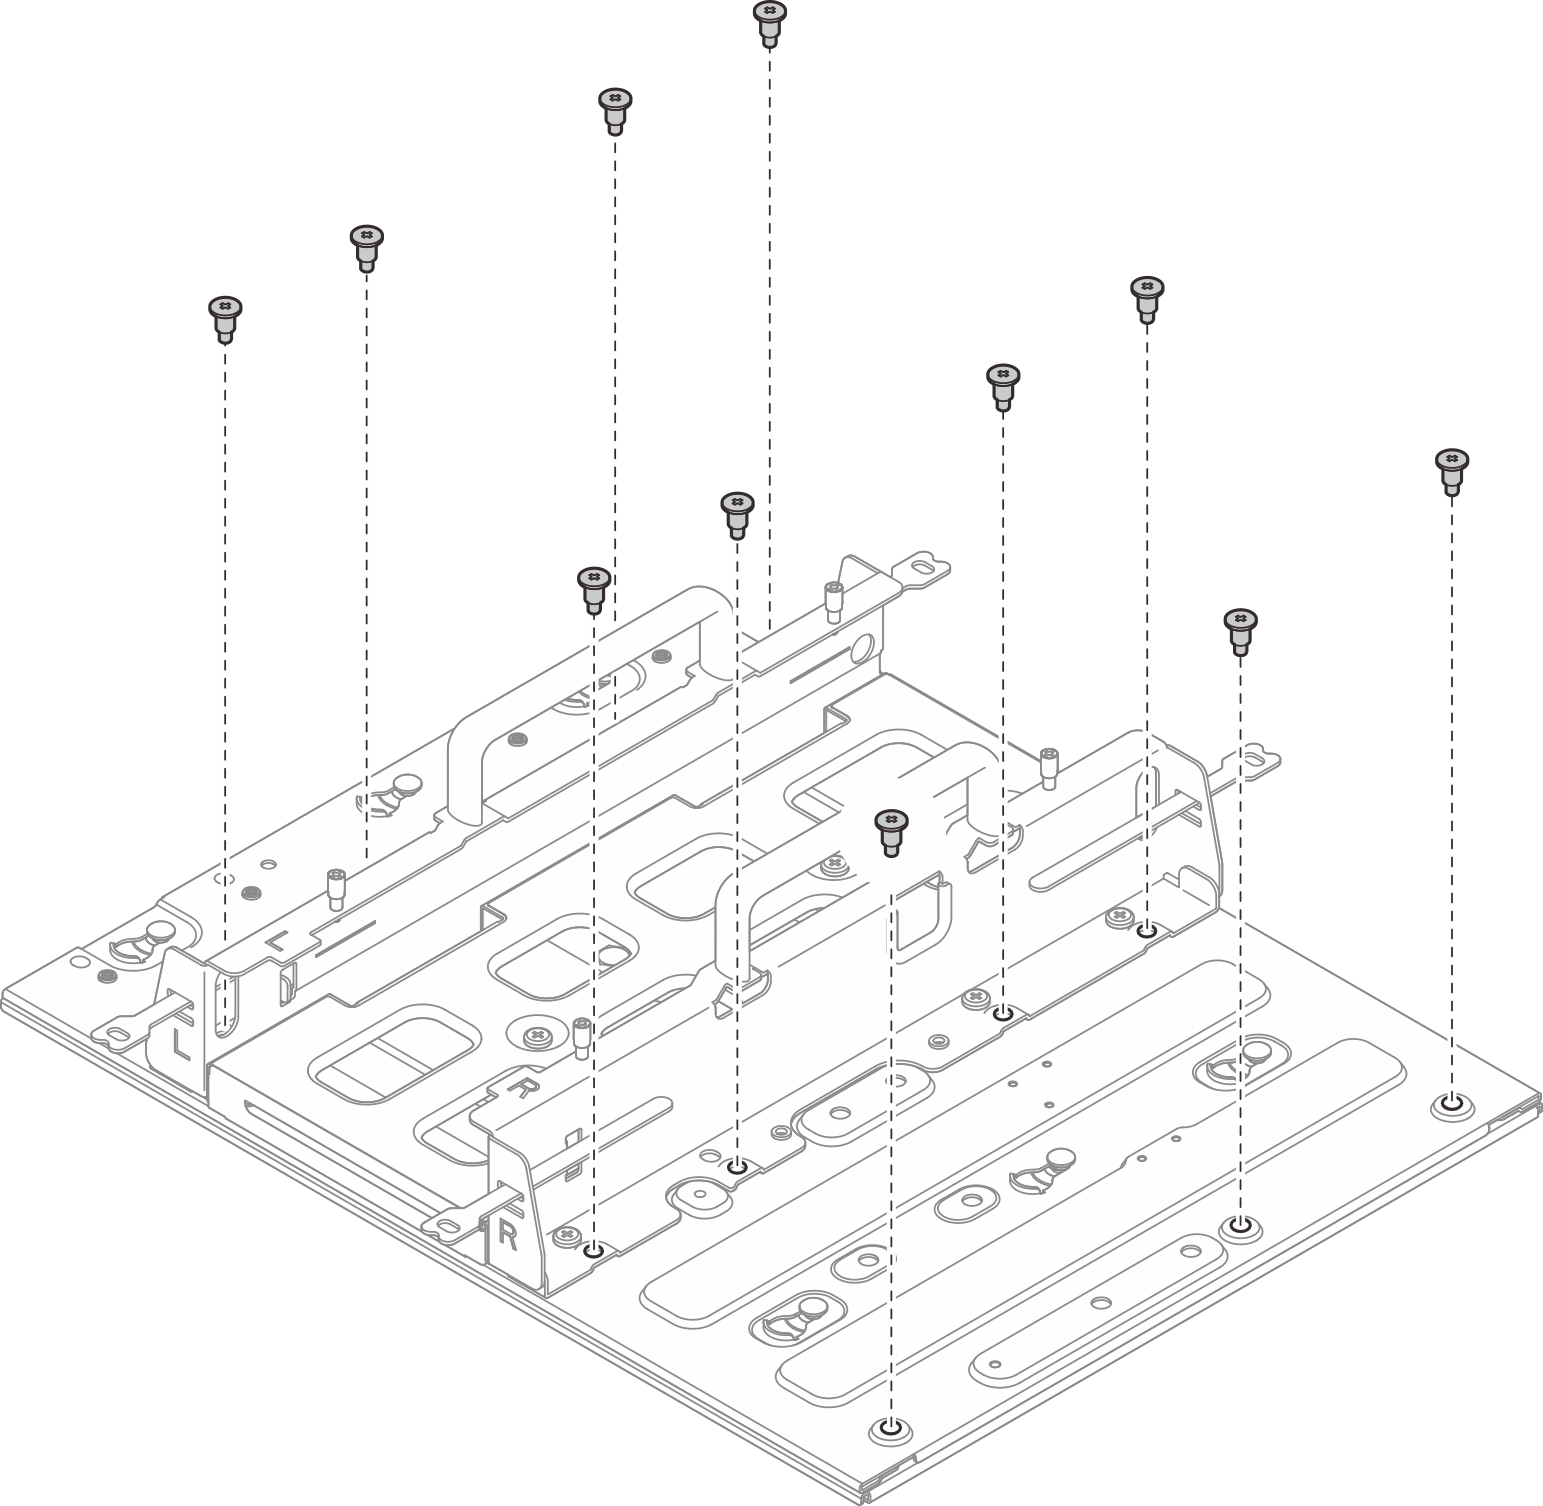
- Push the node sleeve onto the mount plate; then, slide the node sleeve until the guide pins are seated in the small opening of keyholes.
Install the node into the node sleeve
Procedure
Install the node into the node sleeve.
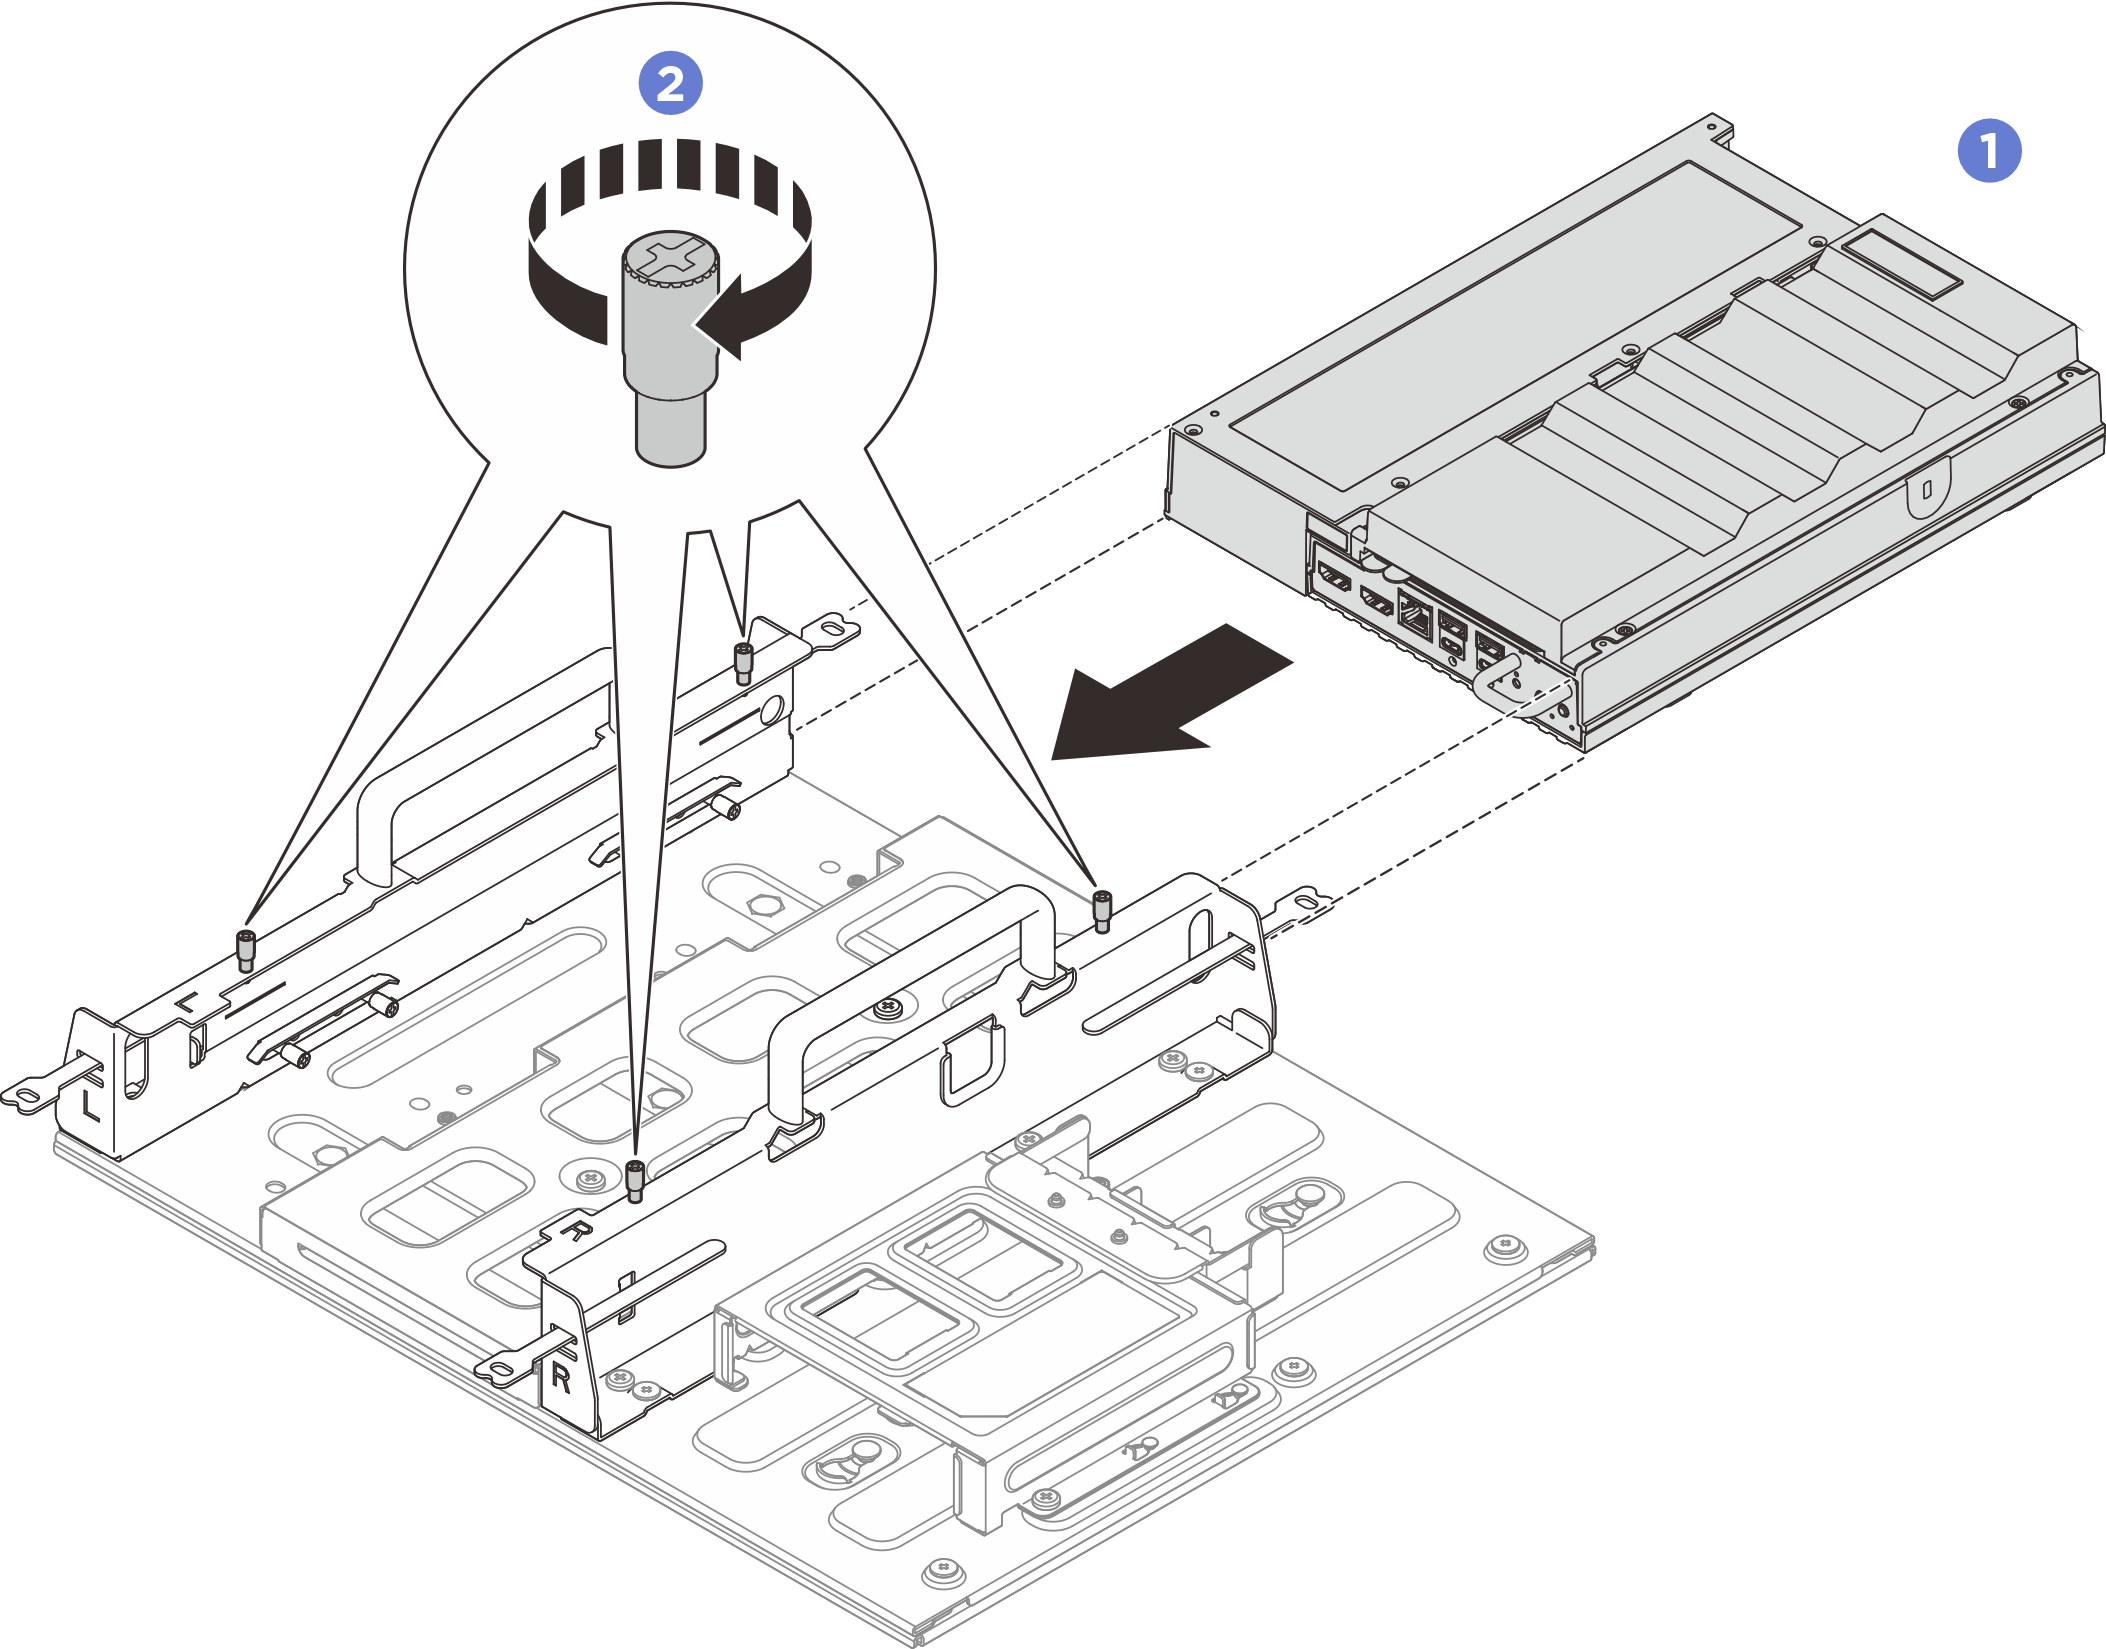
- Align the node with the node sleeve; then, insert and slide the node into the node sleeve until it stops.
- Tighten the four thumbscrews on the side of the node sleeve.
Figure 9. Installing a node into a node sleeve
After you finish
Install the power adapter and power adapter cage. See Install a power adapter (wall/ceiling/DIN rail mount).
If you are instructed to return the component or optional device, follow all packaging instructions, and use any packaging materials for shipping that are supplied to you.
Give documentation feedback