Install the intrusion switch
Use this information to install the intrusion switch.


Before installing the intrusion switch, touch the static-protective package that contains the new intrusion switch to any unpainted surface on the outside of the server. Then, take the new intrusion switch out of the package and place them on a static-protective surface.
To install the intrusion switch, complete the following steps:
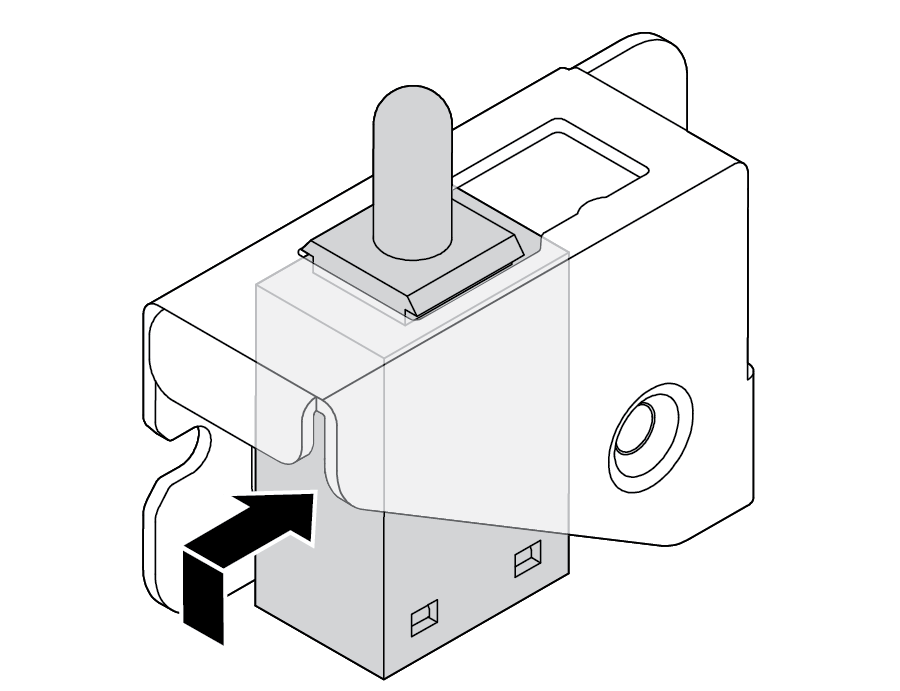
- Insert the intrusion switch into the intrusion switch bracket and push it in the direction as shown until it is fully seated.Figure 1. Intrusion switch installation
- Install the intrusion switch assembly onto the riser bracket as illustrated:
Slide the intrusion switch assembly in the direction as shown until it is fully seated.
Tighten the screw.
Figure 2. Intrusion switch assembly installation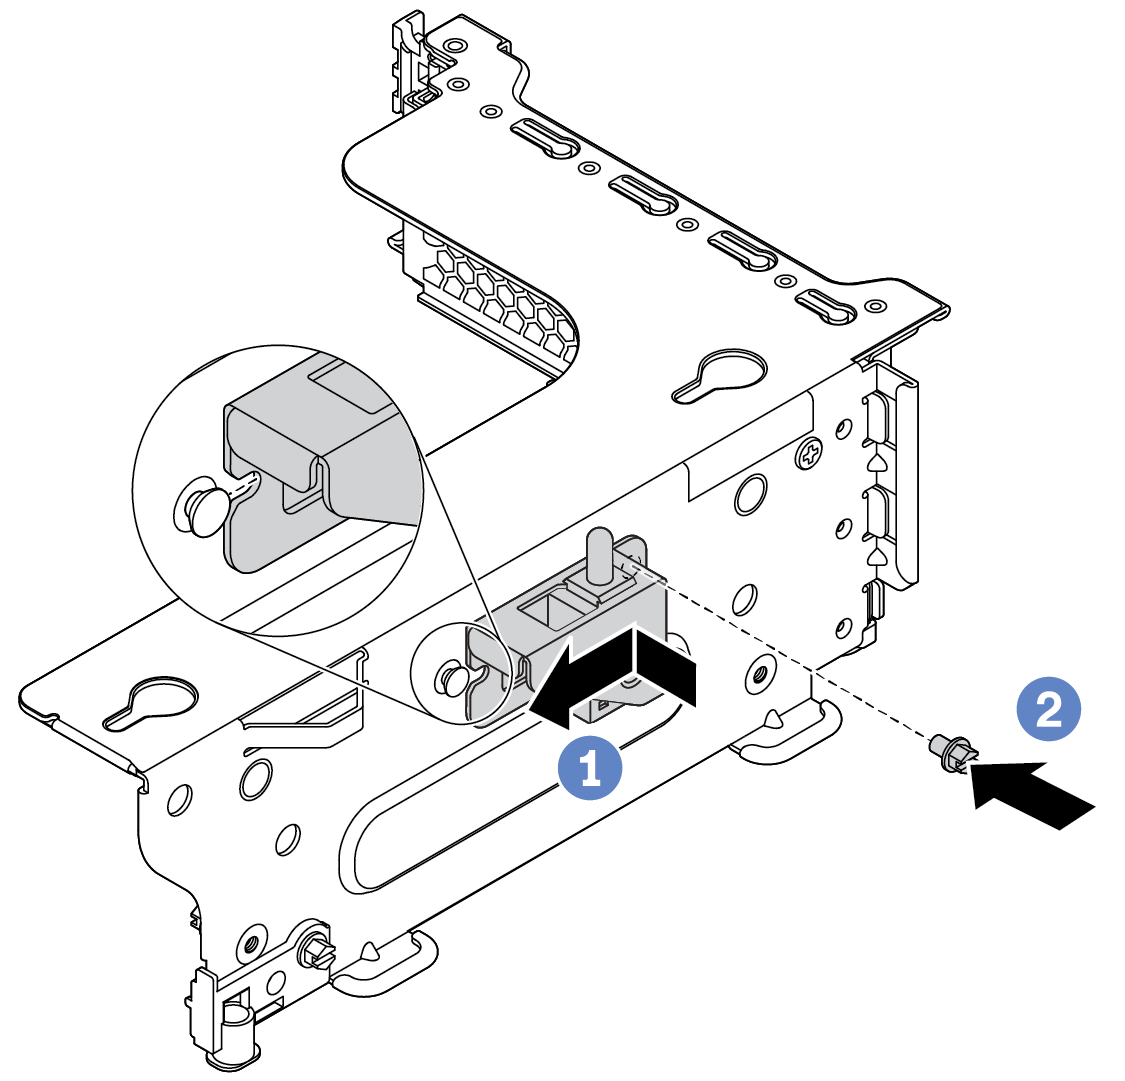
Install the riser 2 assembly. See Install a riser card (8 PCIe slots) or Install a riser card (rear 2.5-inch drive cage).
Connect the intrusion switch cable to the system board. See Intrusion switch
Complete the parts replacement. See Complete the parts replacement.
Demo video