Install the OCP 3.0 Ethernet adapter
Use this information to install the OCP 3.0 Ethernet adapter.


CAUTION
Make sure that all server power cords are disconnected from their power sources before performing this procedure.
Before installing the OCP 3.0 Ethernet adapter:
Touch the static-protective package that contains the new OCP 3.0 Ethernet adapter to any unpainted surface on the outside of the server. Then, take the new OCP 3.0 Ethernet adapter out of the package and place it on a static-protective surface.
Remove the OCP 3.0 Ethernet adapter filler if there is.
To install the OCP 3.0 Ethernet adapter, complete the following steps:
Figure 1. OCP 3.0 Ethernet adapter installation
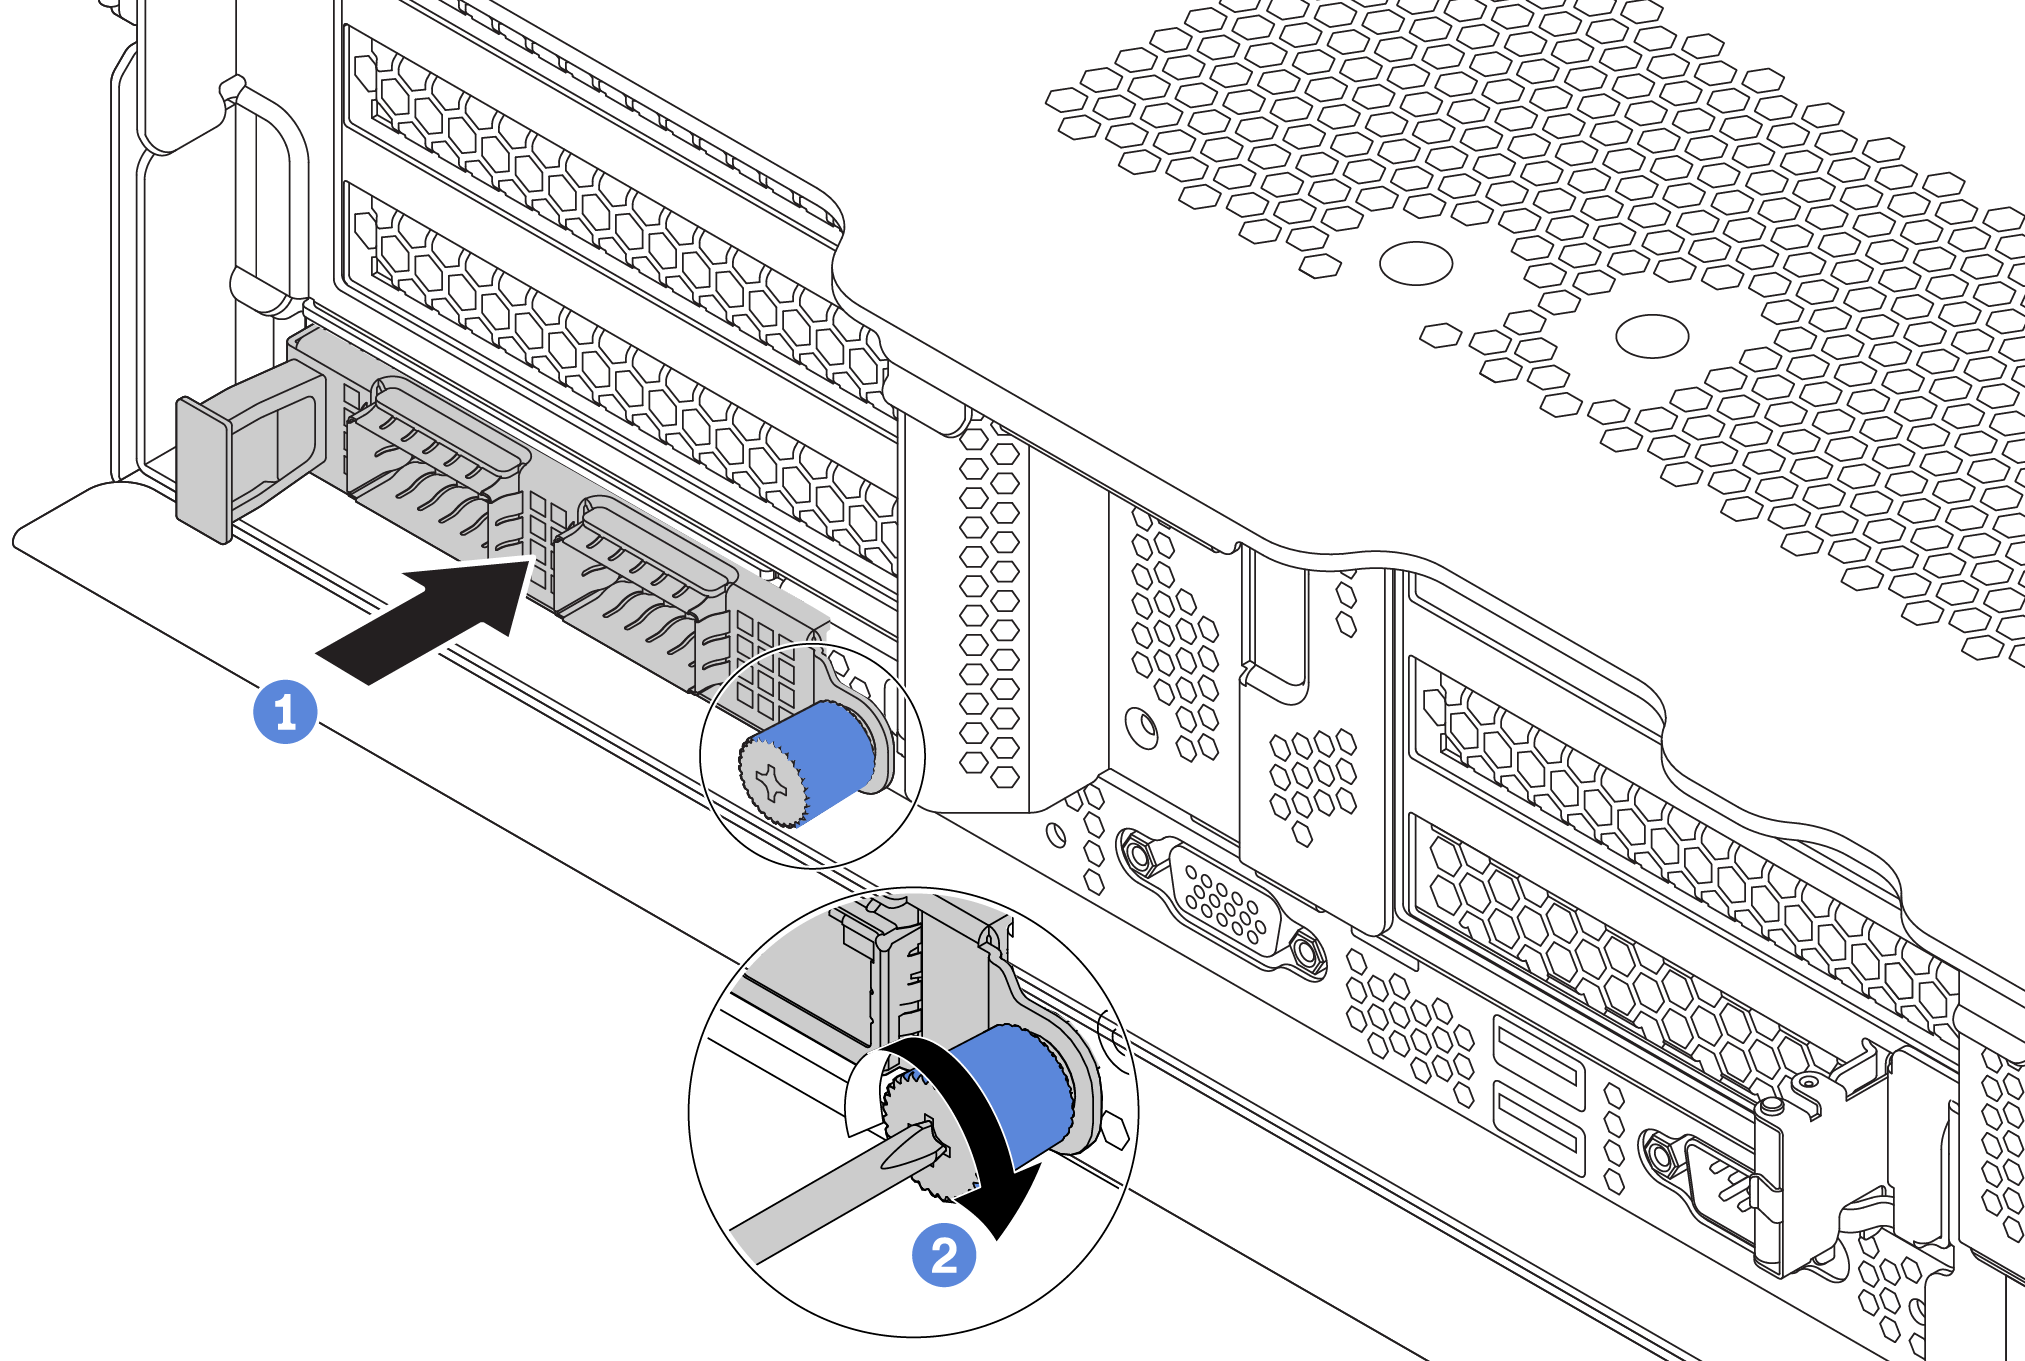
- Tighten the thumbscrew to secure the card.Figure 2. OCP module (two connectors)
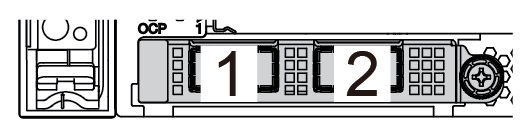 Figure 3. OCP module (four connectors)
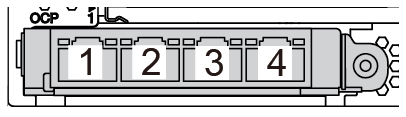 Note
NoteThe OCP 3.0 Ethernet adapter provides two or four extra Ethernet connectors for network connections.
Any of the connectors (connector 1 by default) on the OCP module can function as a shared management connector.
Demo video
Give documentation feedback