Install the rear air baffle
Follow instructions in this section to install the rear air baffle.
About this task
Attention
Read Installation Guidelines and Safety inspection checklist to ensure that you work safely.
Procedure
- Align the rear air baffle tabs with the rear air baffle slots on both sides of the chassis; then, lower the rear air baffle into the server.Note
- Close the retaining clip on each end of the memory module connector before installing the rear air baffle for proper cooling.
- The rear air baffle might look different from the illustration.
Figure 1. Rear air baffle installation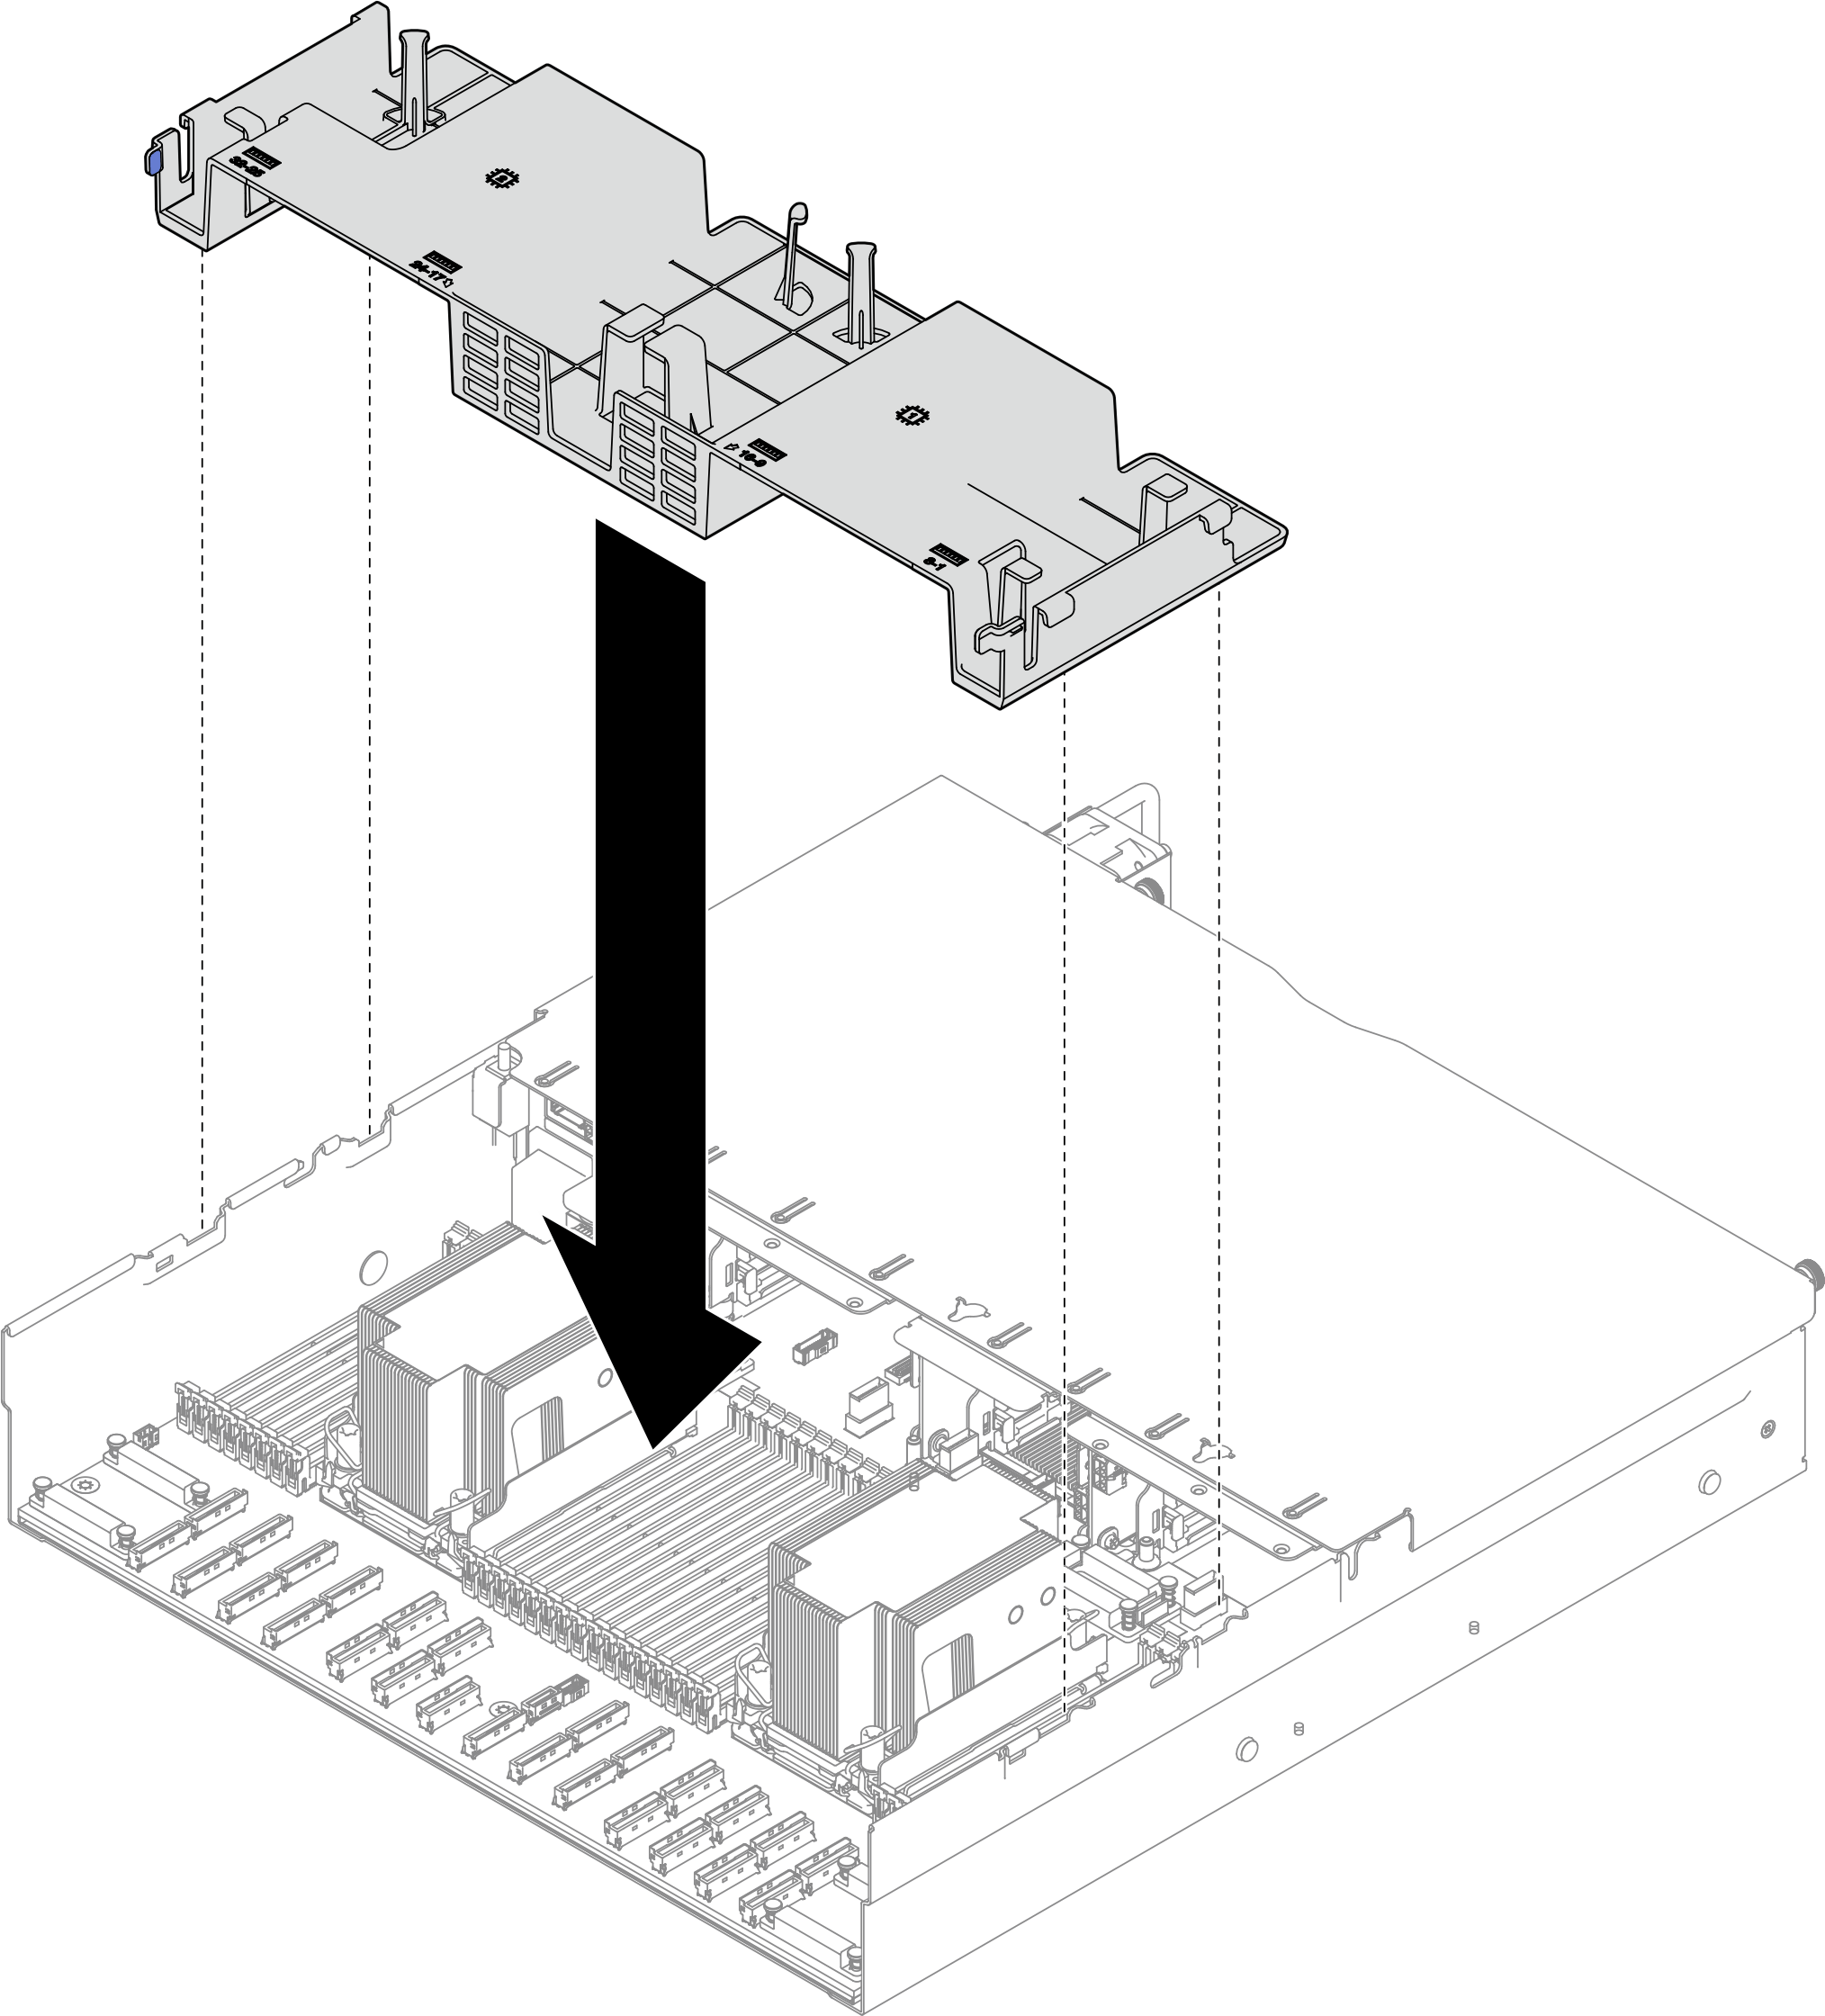
After you finish
- Reinstall the FHFL risers if necessary. See Install a PCIe riser.
- Reconnect the PCIe riser cables to the system board assembly and route the cables through the rear air baffle. See PCIe riser cable routing for more details.
- If needed, reconnect the M.2 cable to the M.2 boot adapter.
 Connect the cable to the M.2 boot adapter.
 Hook the wire bail on the cable onto the connector.Figure 2. M.2 boot adapter cable connection
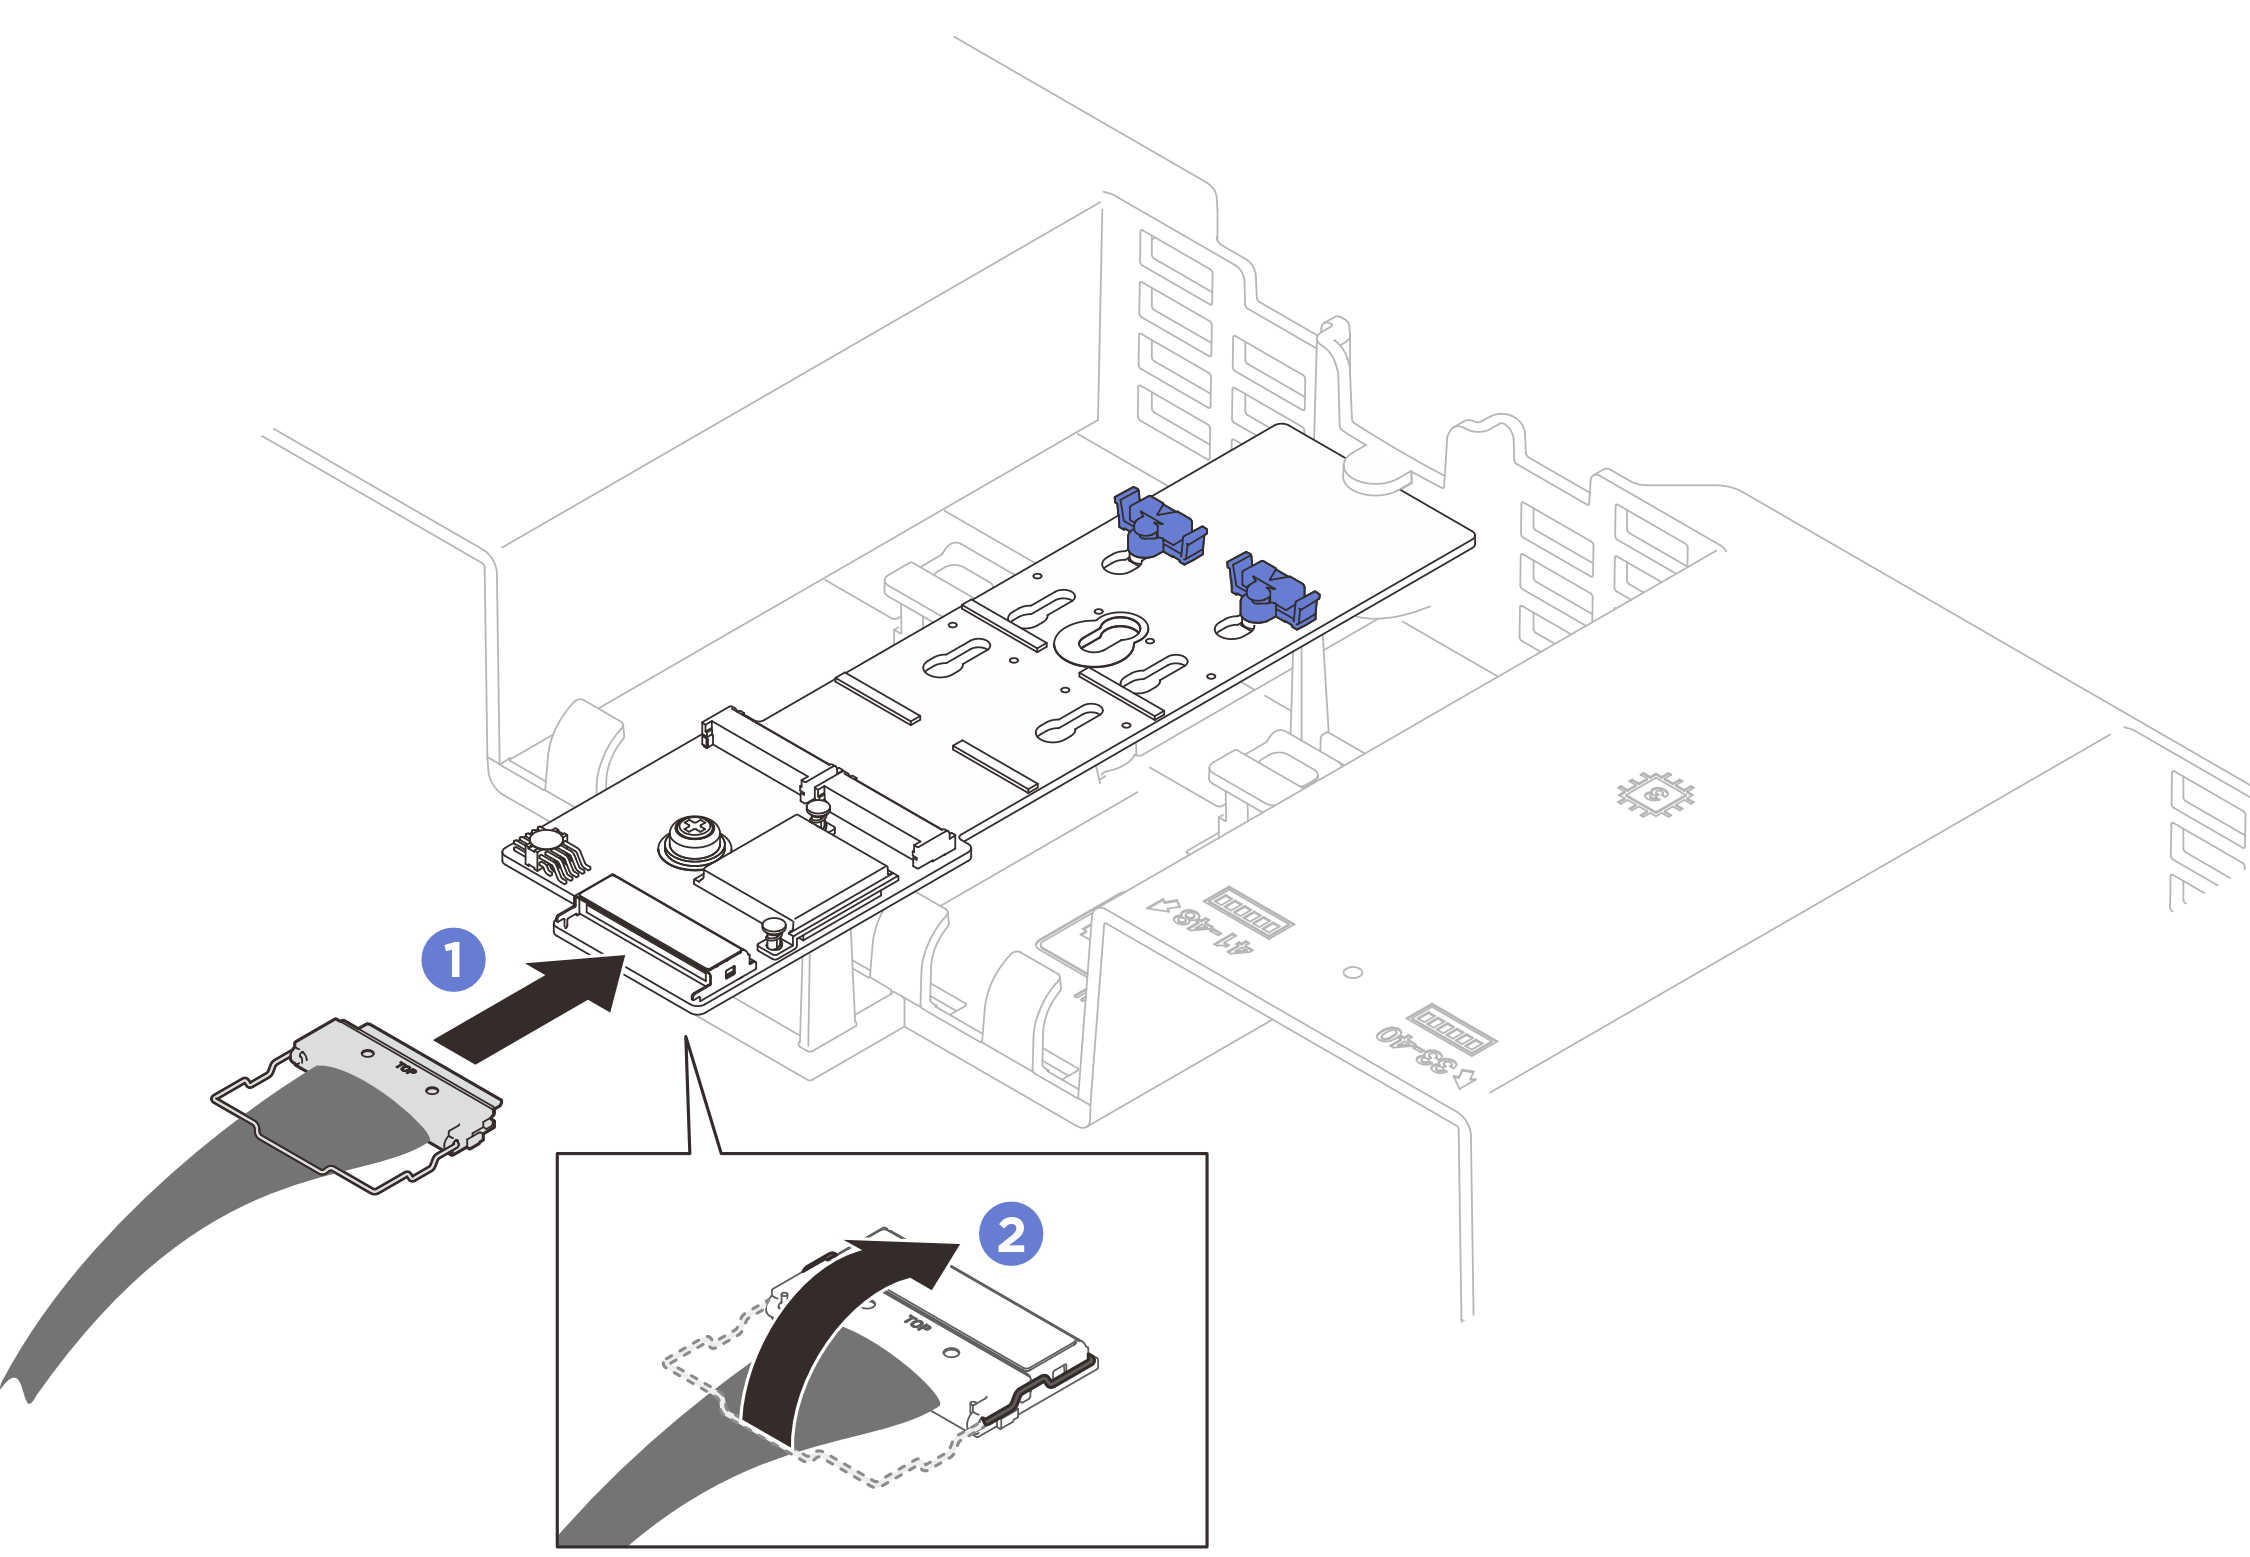
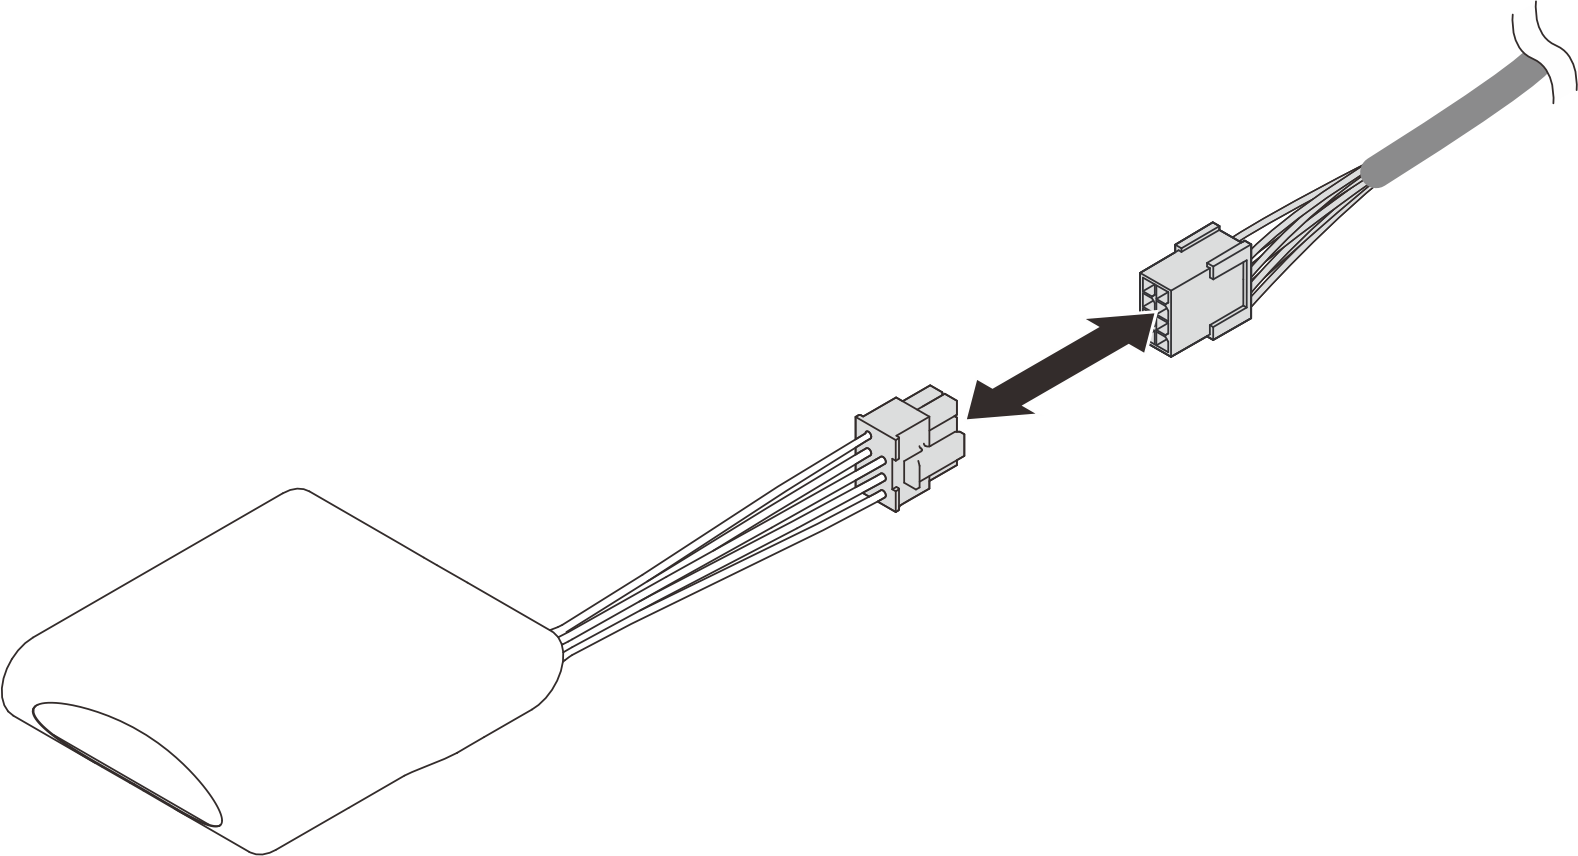
- If needed, reconnect the flash power module cable to the extension cable.Figure 3. Flash power module cable connection
- Reinstall the front top cover. See Install the front top cover.
- Complete the parts replacement. See Complete the parts replacement.
Demo video
Give documentation feedback