Remove a simple-swap drive (bay 1-2)
Follow this procedure to remove a simple-swap drive from bay 1 or bay 2.
S002
CAUTION
The power-control button on the device and the power switch on the power supply do not turn off the electrical current supplied to the device. The device also might have more than one power cord. To remove all electrical current from the device, ensure that all power cords are disconnected from the power source.
About this task
Attention
Read Safety inspection checklist and Installation guidelines to ensure that you work safely.
Turn off the server and peripheral devices, and disconnect the power cords and all external cables, see Power off the server.
If the server is in a rack, remove it from the rack. See Remove the server from the rails.
Remove any locking device that secures the server, such as a Kensington lock or a padlock.
Place the server on its side with the cover up.
Watch the procedure
- A video of this procedure is available at YouTube.
Procedure
- Remove the simple-swap drive assembly.
Remove the simple-swap drive assembly from drive bay 1
Grasp the retainer handle, and lift the drive assembly out of the drive bay.Figure 1. Removing drive assembly from drive bay 1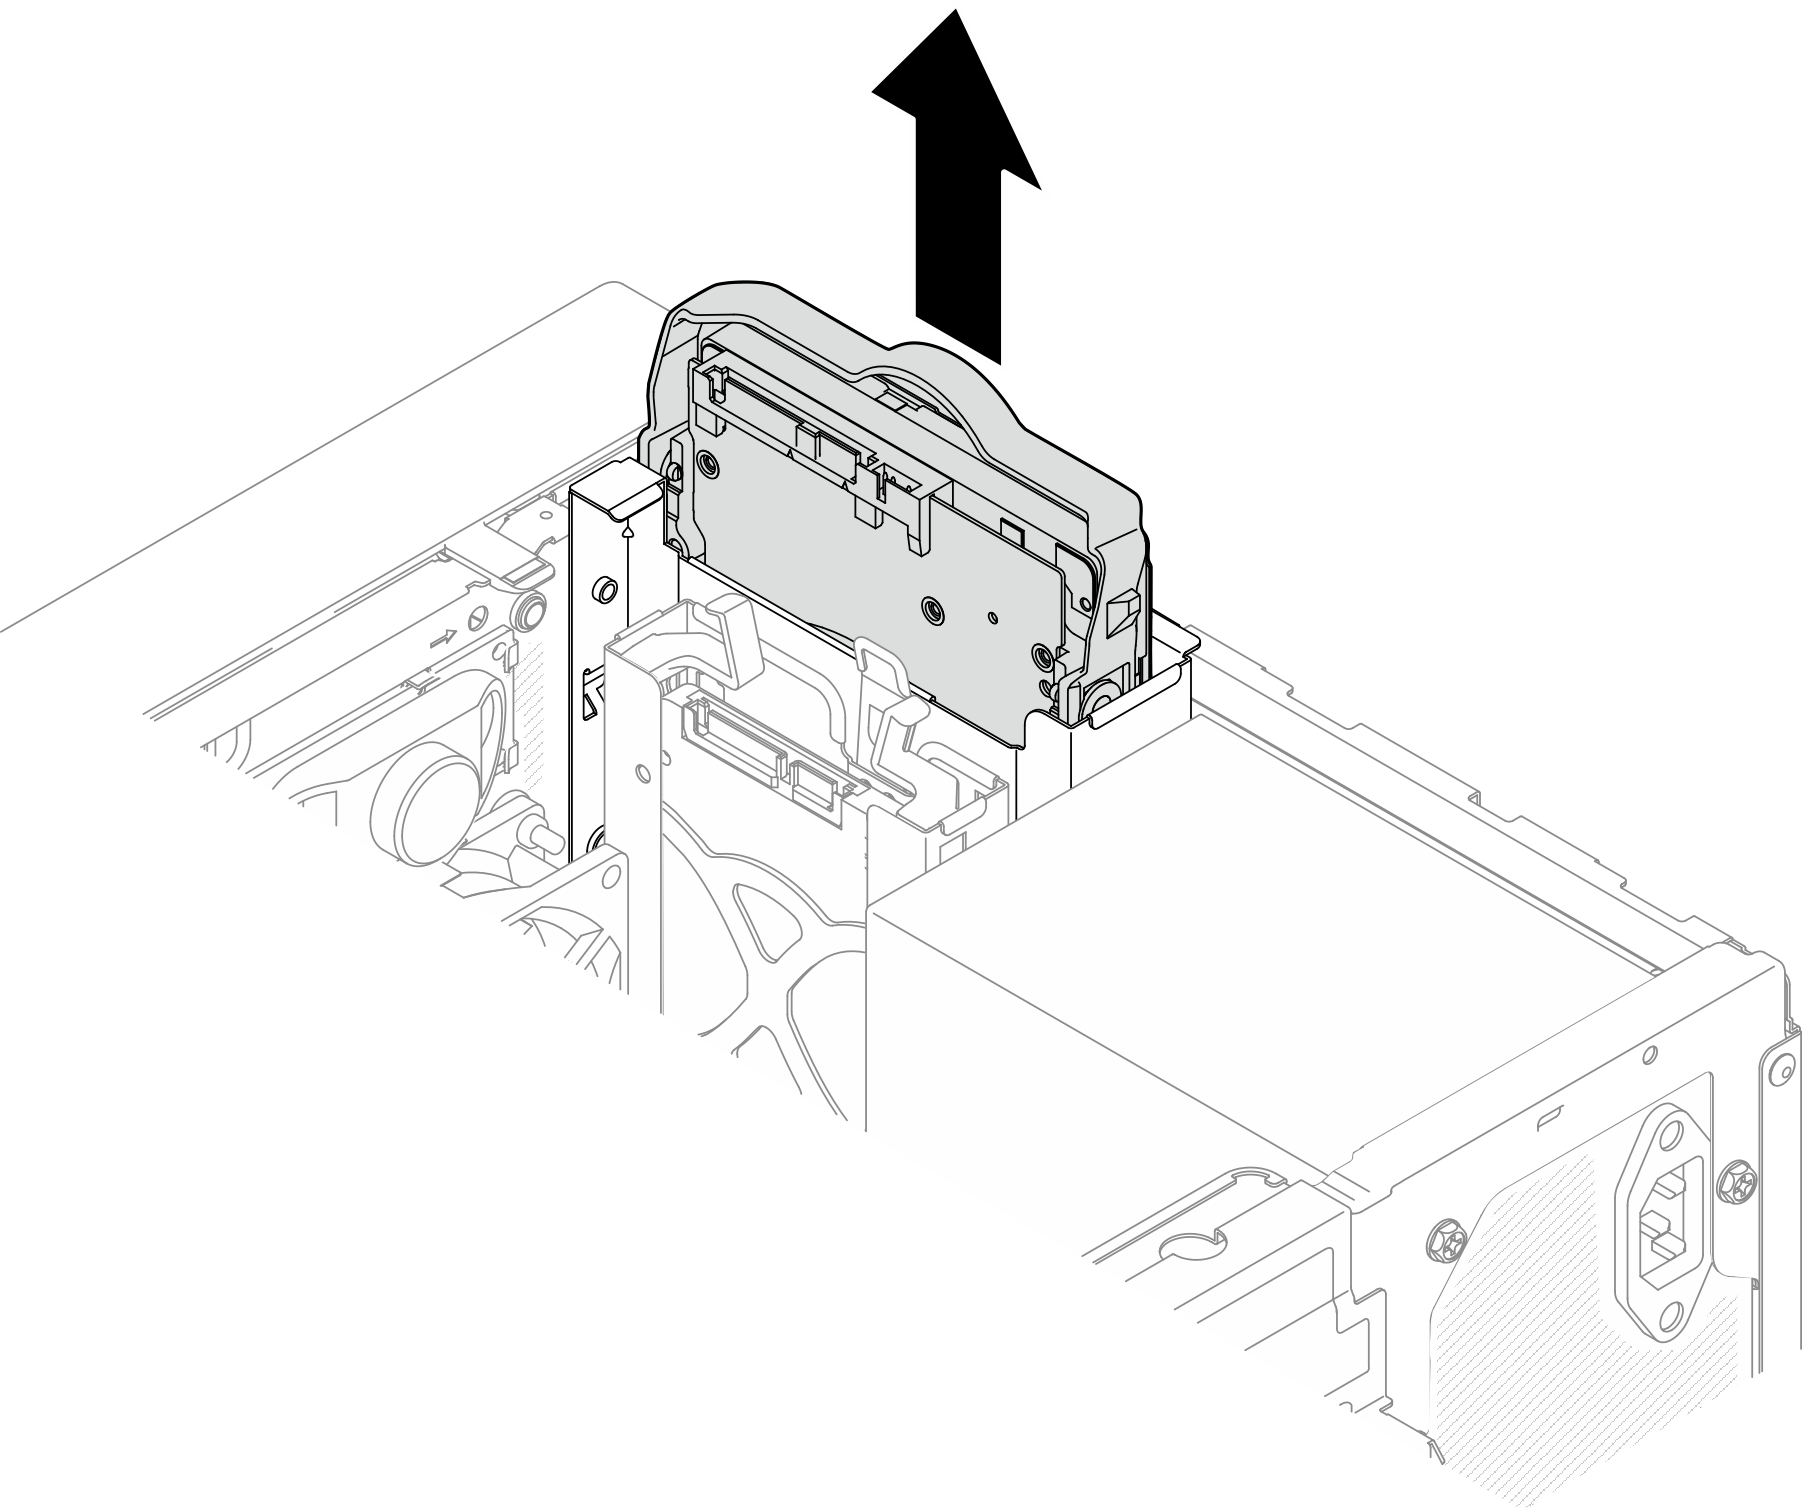
Remove the simple-swap drive assembly from drive bay 2
 Pinch the retainer handles.
 Lift the drive assembly out from the drive bay.Figure 2. Removing drive assembly from drive bay 2
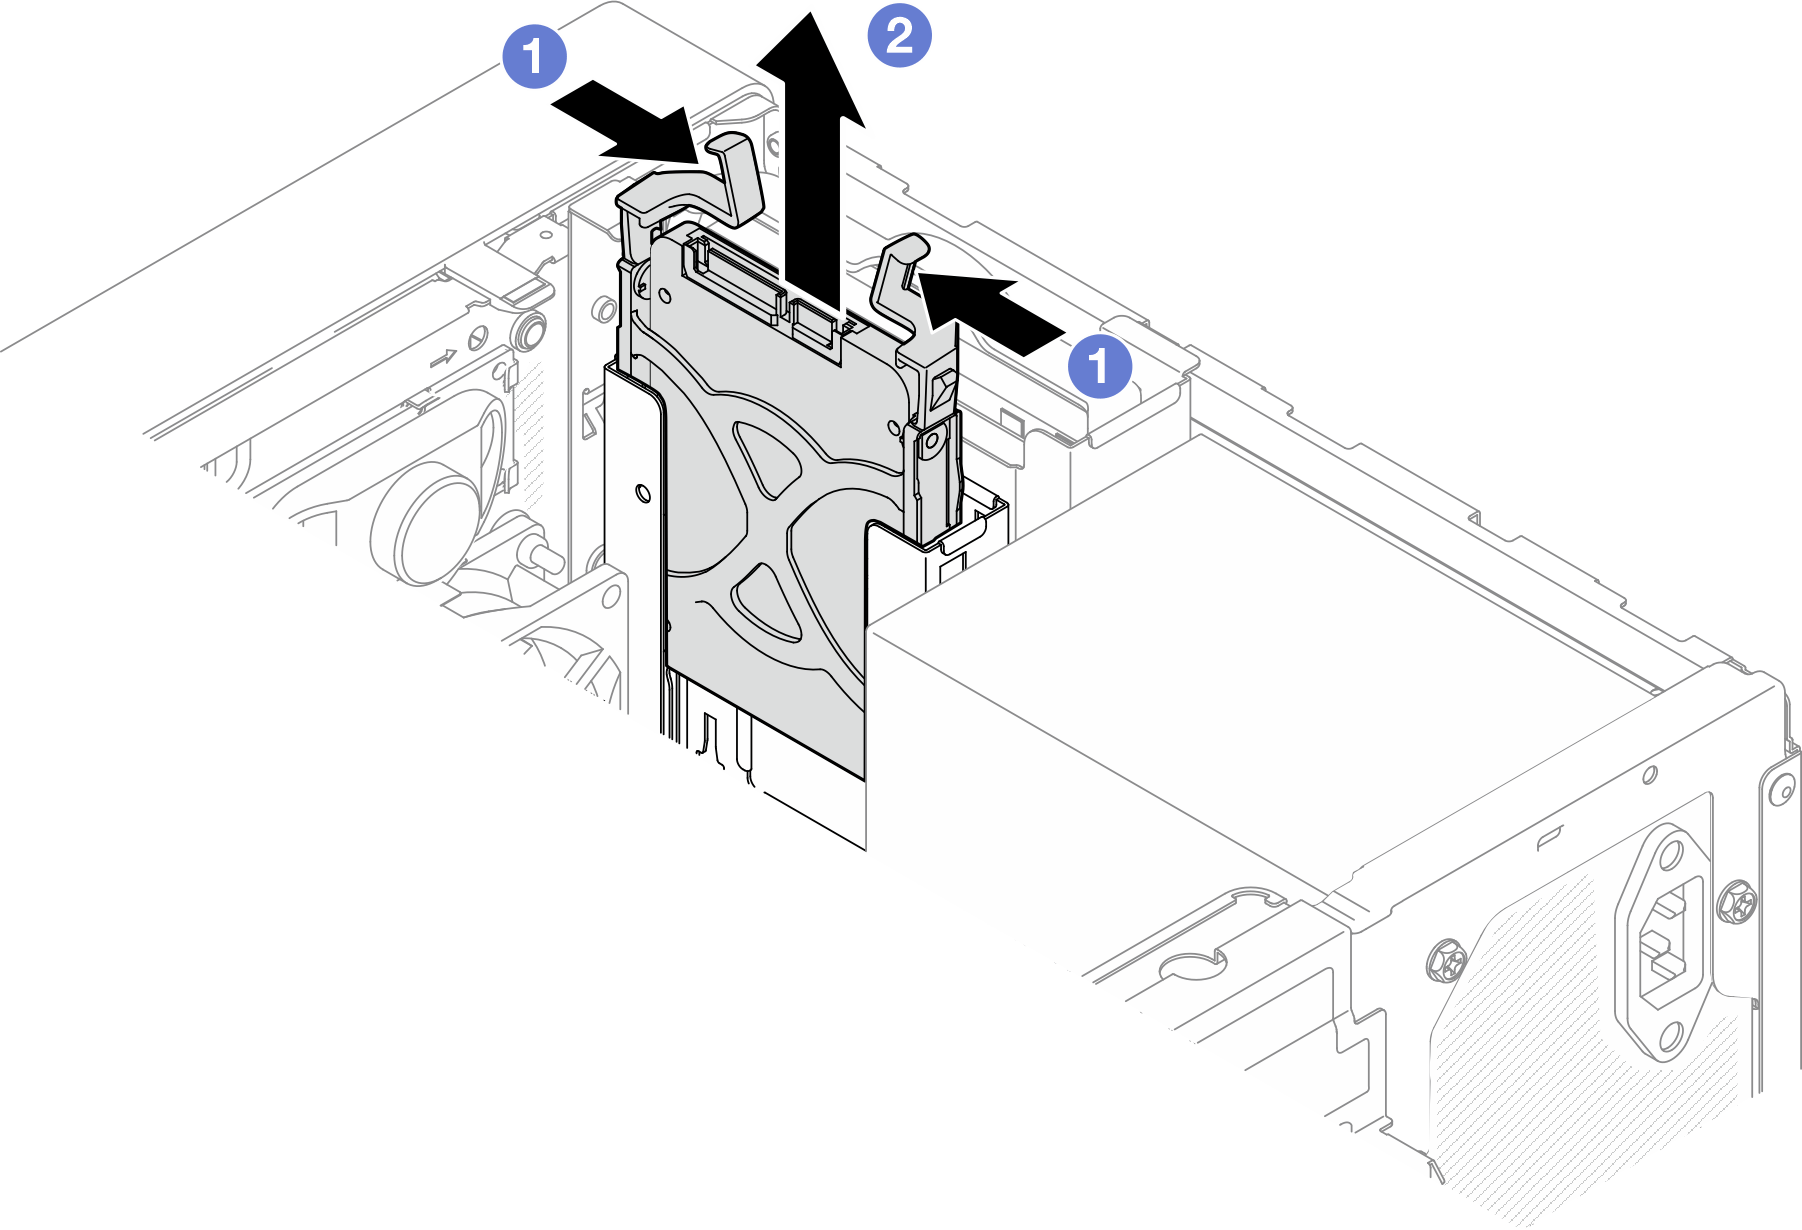
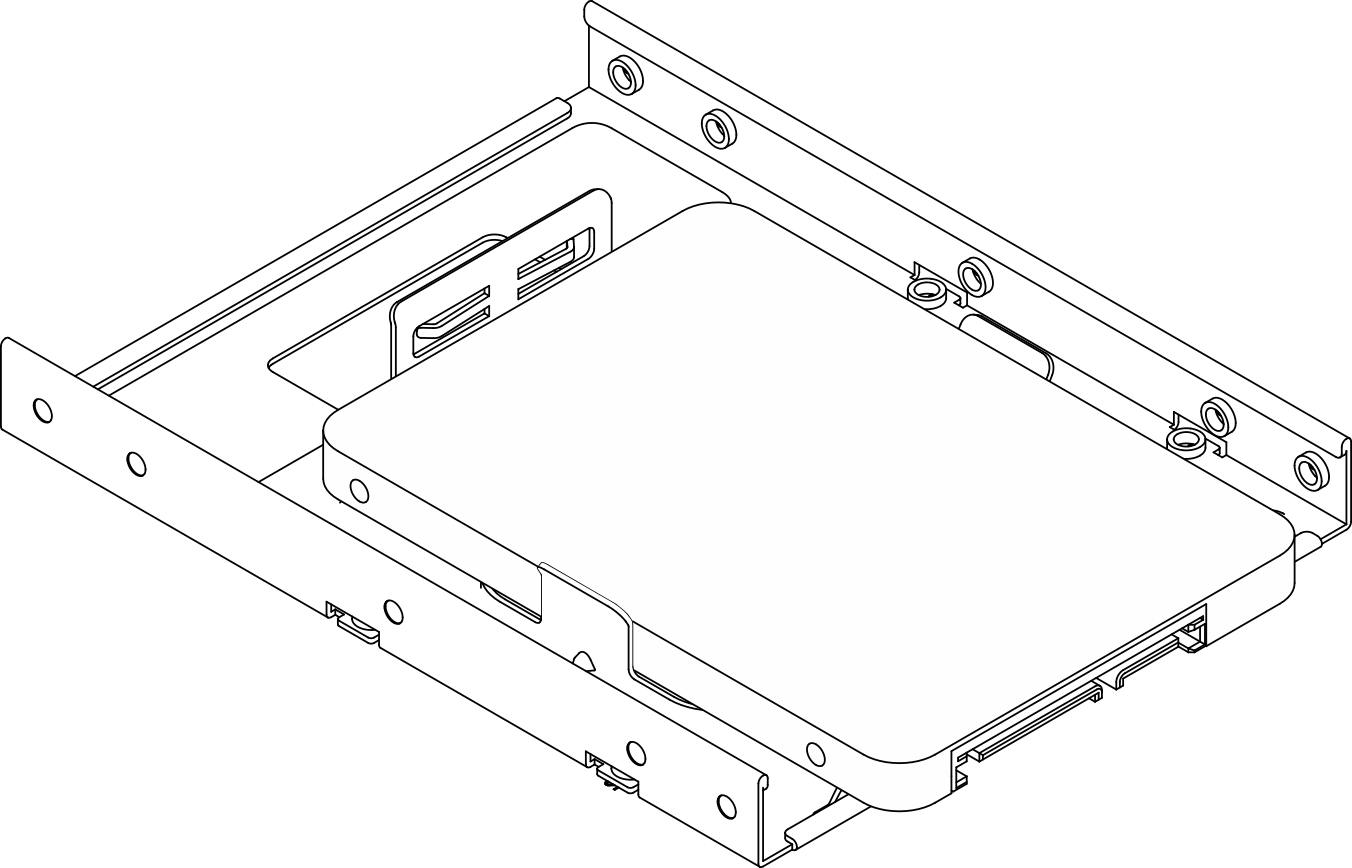
- If necessary, remove the drive from the retainer. Tear both sides of the retainer apart, and remove the drive.Remove a 3.5-inch drive from the retainerFigure 3. Removing a 3.5-inch drive from the retainer
 Note
NoteDepending on the configuration, the 3.5-inch drive may be the model in the illustration below.
 Remove a 2.5-inch drive from the retainerFigure 4. Removing a 2.5-inch drive from the retainer
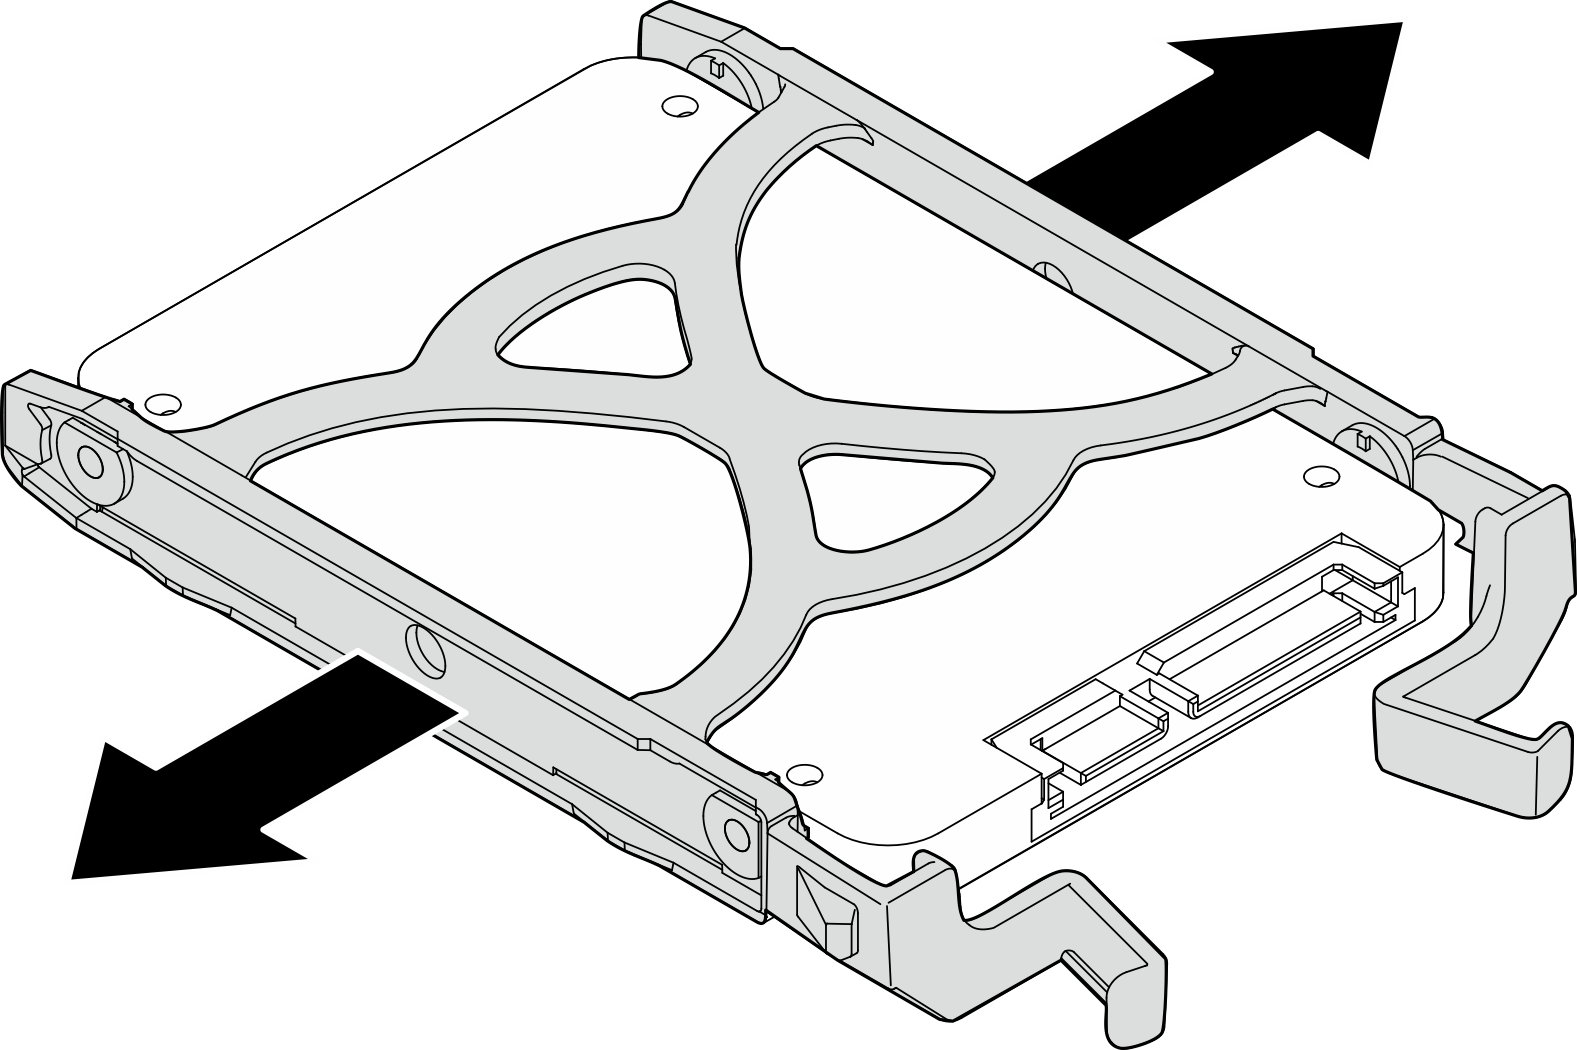
Give documentation feedback