
Edit VNET properties

Follow these steps to modify VNET Properties

Note
Editing VNET properties may have adverse impacts on any running application instances using the virtual network.
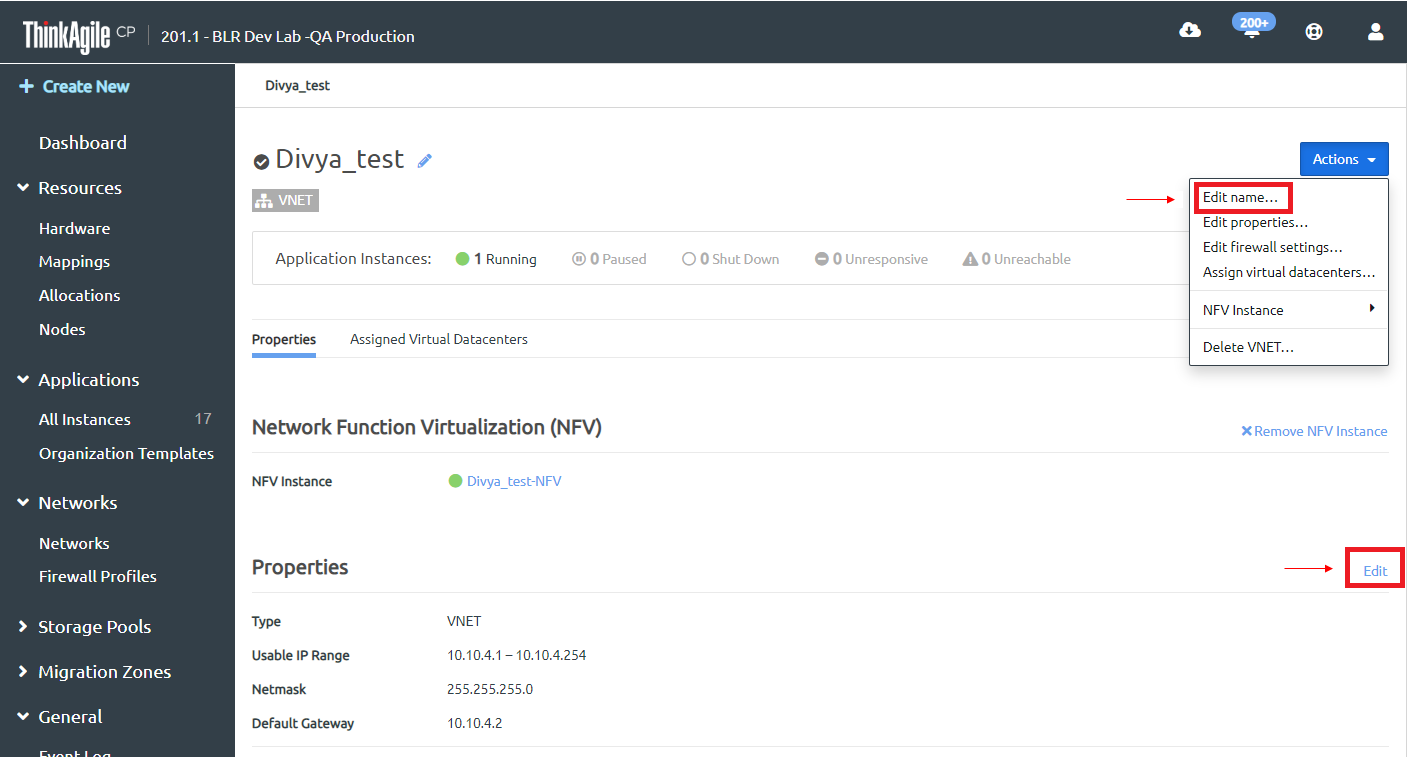
  1. Do one of the following:
    • On the Actions menu, click Edit properties.

    • On the VNET page, next to Properties click Edit properties.


      The Edit Network Properties dialog opens.
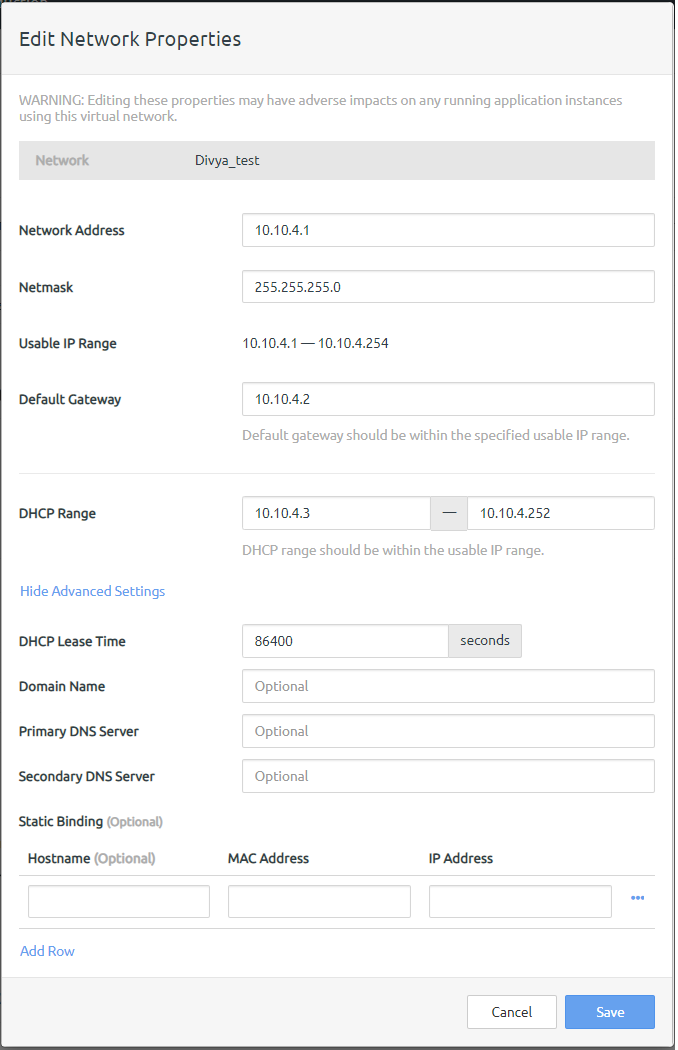


  2. Modify the following properties as needed.
    • Network Address - Network IP address.

    • Netmask - The range of usable IP addresses on this network.

    • Default Gateway - The default gateway for this network. This should be within the specified usable IP range.

    • DHCP Range - The part of this VNET’s IP address range that is served by DHCP. The DHCP range does not include your default gateway. This should be within the usable IP range.

    Click Show Advanced Settings to view the following properties.

    • DHCP Lease Time - The amount of time in seconds for how long your DHCP lease is retained on your client.

    • Domain Name - Domain name for DHCP.

    • Primary DNS Server - Primary DNS server for DHCP.

    • Secondary DNS Server - Secondary (redundant) DNS server for DHCP.

    • Static Binding - Refers to the use of fixed IP addresses via DHCP. If static binding is not used, this setting will be None.

    • Hostname, MAC Address, IP Address - If using Static Binding, once instances using your VNET have been created, you can enter their MAC addresses and IP addresses in the Static Binding section. These IP addresses must be in your DHCP range. The specified instances will request the specified IP addresses from DHCP. You can click Add Row or click the ellipsis action menu and click Remove Row to add or remove rows as needed. To avoid issues with any outstanding DHCP leases, make sure you also set the IP address specified in this section as the static IP address within the instance's guest OS.

      If you modify DHCP settings, see this topic, Edit the DHCP lease for a VNET for additional steps.

  3. Click Save.
Note

These changes will not take effect on the clients until they renew their DHCP leases.