Enable external backups for an instance
When you enable external backups for an application instance, ThinkAgile CP copies automatic local backups to the external repository that you specify.
When you enable external backups for an instance, local backups instances are copied to the external repository based on the intervals that you specify. If automatic local backups are enabled, they are used as the source for external backups. If automatic local backups are not enabled, manual local backups are used as the source. For more information about enabling automatic local backups, see the following topic:
Enable automatic local backups
If the ThinkAgile CP Cloud Controller software is at Release 5.1.6 or greater and the hardware (storage) is at Release 5.1.5 or lower, external backups cannot be enabled.
The external backup repository must exist, and it must be registered with the ThinkAgile CP Cloud Controller. For more information about registering an external backup, see the following topic:
Complete the following steps to enable external backups for an application instance:
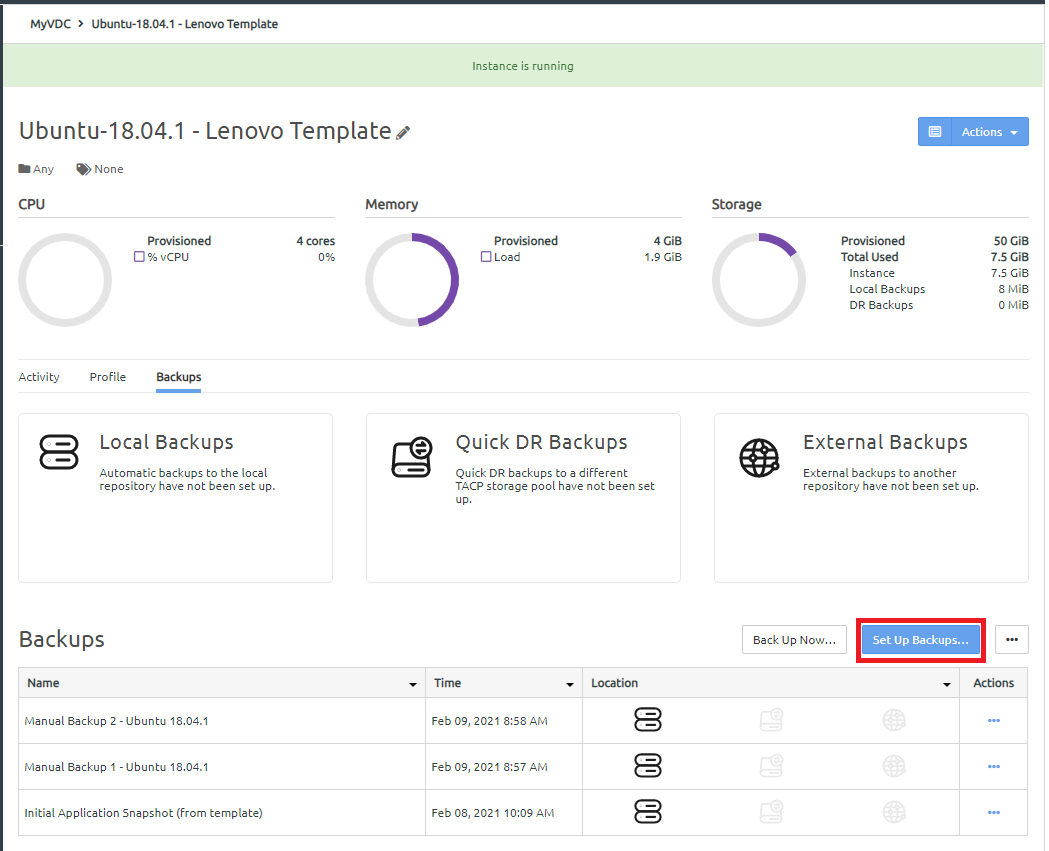
- Click Set Up Backups.Figure 1. Set up backups
- On the Backups overview page, click Next.Figure 2. Backup Setting Overview

- The External Backups page is displayed.Figure 3. External Backups page
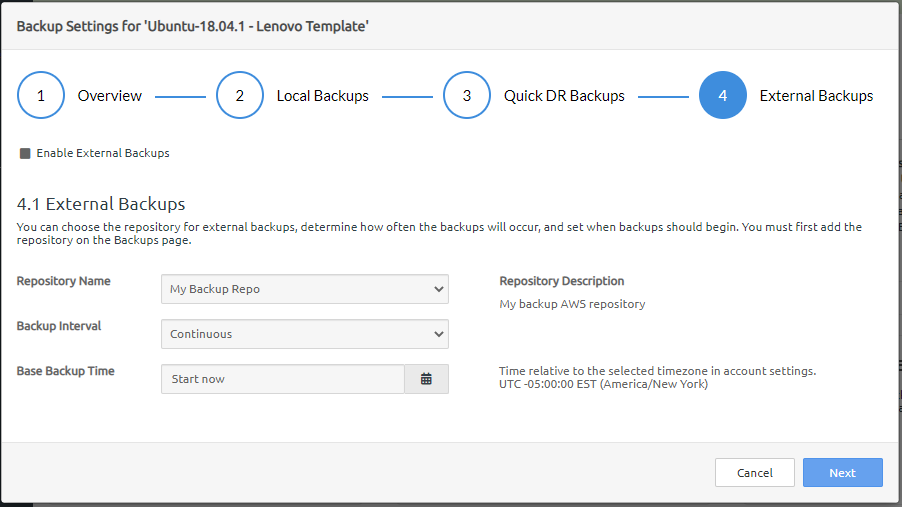
- On the External Backups page, configure the following settings.
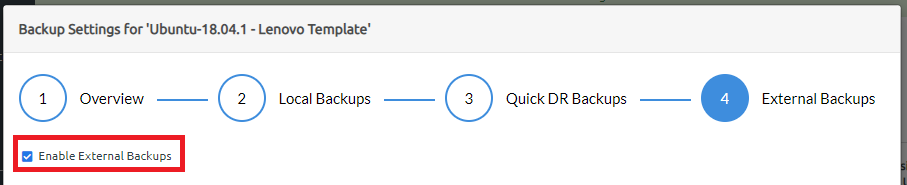
- Click Enable External Backups.
- Choose the name of the external repository where the backups will be stored.

- Specify how often a backup should occur.
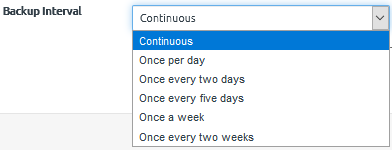
If you specify Continuous, an external backup is created whenever an automatic local backup is created. In this case, Base Backup Time is not available for selection.
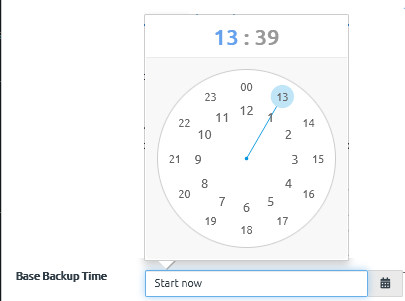
- If you want the external backups to being immediately (start now), you need do nothing for the Base Backup Time. Otherwise, click Start now to choose a specific time relative to the time zone specified in account settings.
- Click Enable External Backups.
- Click Next to display the External Backups Retention settings page.Figure 4. External Backups page
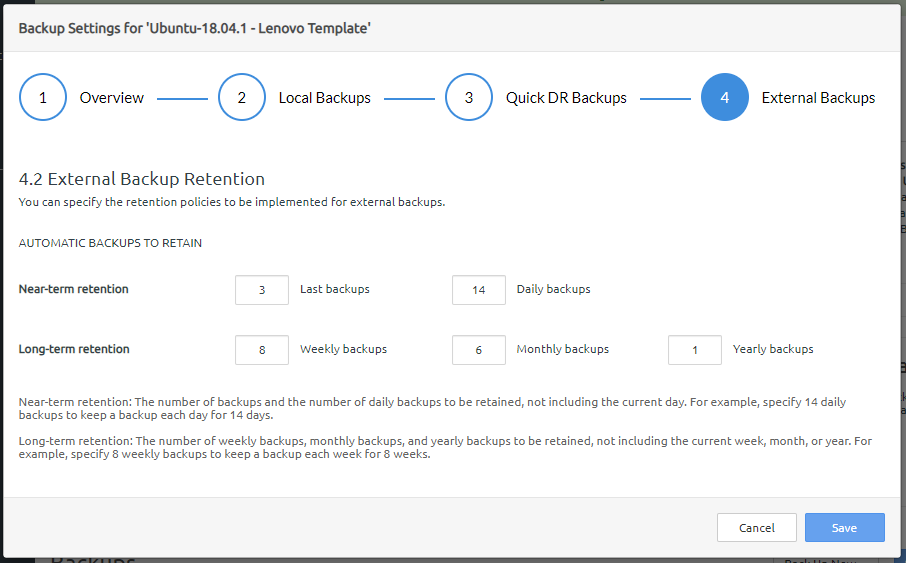
Specify the short-term and long-term retention policies.
NoteBackups that are copied to an external repository manually are not affected by the retention policies that you specify here. They have to be deleted manually.
For more information about manually copying a backup to an external repository, see the following topic:
- Specify the number of backups to be retained (last backups).
- Specify the number of daily backups to retain (daily backups). For example, if you want to keep daily backups for 7 days, specify 7.
- Specify the number of weekly backups to retain, not including the current week (weekly backups).
- Specify the number of monthly backups to retain, not including the current month (monthly backups).
- Specify the number of yearly backups to retain, not including the current year (yearly backups).
- Click Save to save your changes.
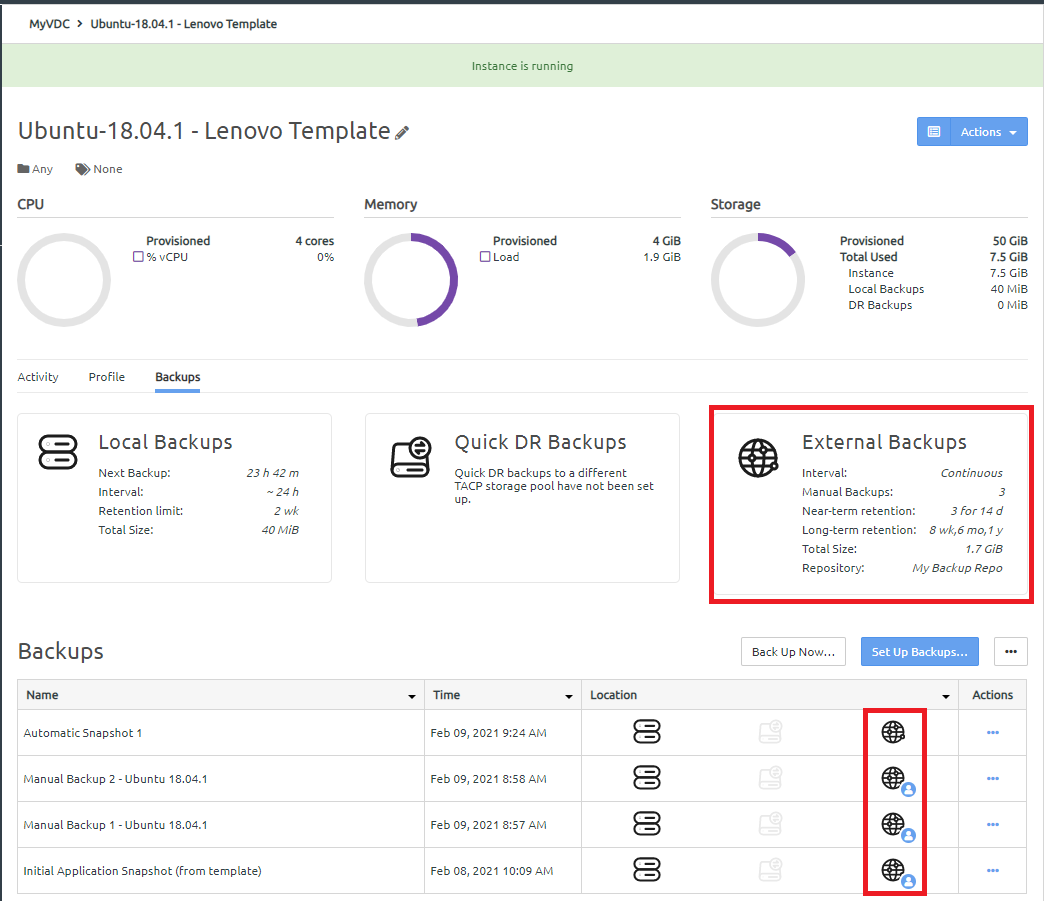
Local backups are transferred to the external repository based on the number of last backups that you specified. When the transfer is complete, the settings that you specified are displayed under External Backups and the external backup icon is displayed.