Enable automatic local backups
You can enable automatic local backups and configure a regular interval for when local backups will be taken for your application instances. A maximum of 1,024 local backups for an instance is supported, based on the backup interval and the backup retention settings.
Automatic local backups are stored in the storage pool assigned to the VDC. These backups are also used as the source when you enable quick DR or external backups. If you do not enable automatic local backups, manual local backups will be used as the source for quick DR backups or external backups.
Complete the following steps to enable automatic local backups:
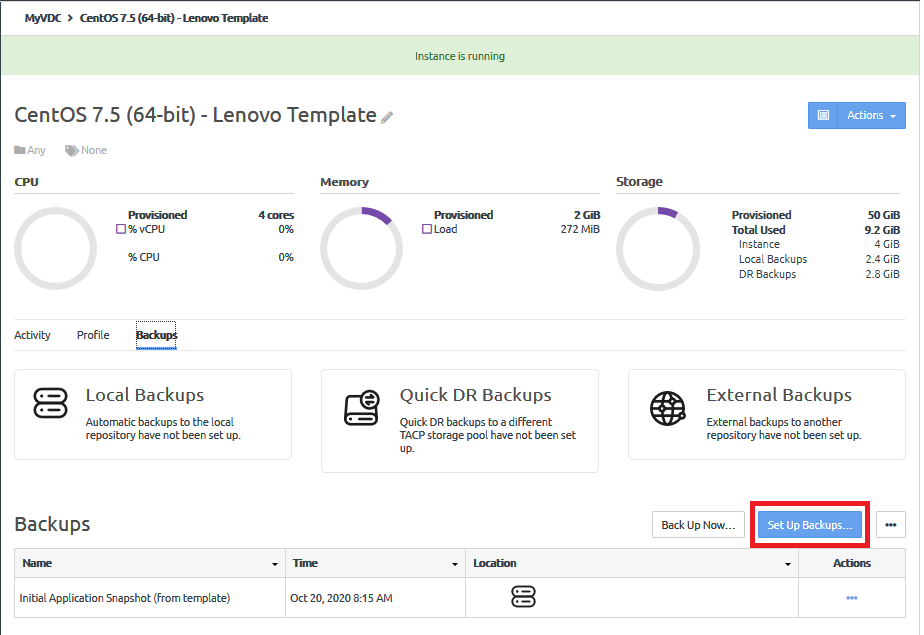
- Click Set Up Backups.Figure 1. Set up backups button
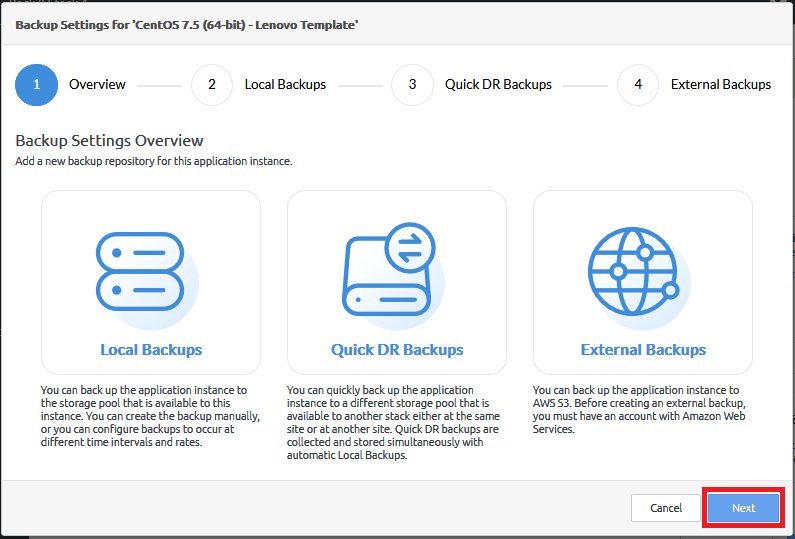
- On the Backup Settings Overview page, click Next.Figure 2. Backup Setting Overview
- On the Local Backups page, configure the following options:NoteIn
ThinkAgile CP Release 5.1.5, backup interval settings and retention settings have changed. If you created automatic backups for an instance with an earlier release of ThinkAgile CP (before Release 5.1.5), the backup interval settings and retention settings you specified will continue to work until you choose to update those settings. However, if you set up backups for a new instance, you must use the updated backup interval settings and retention settings. Figure 3. Local Backups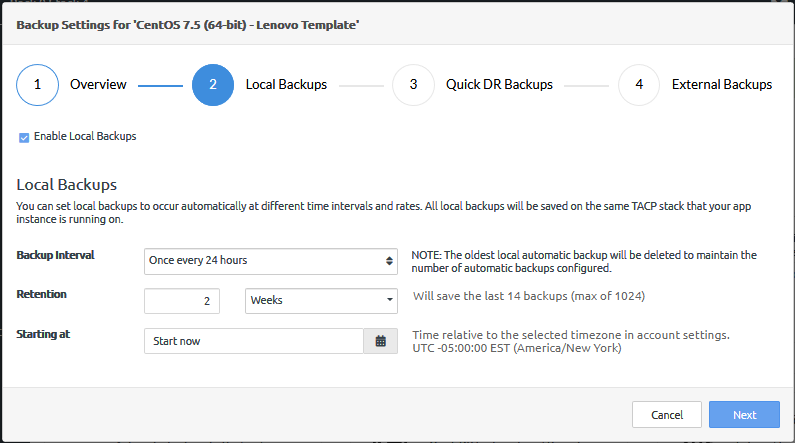
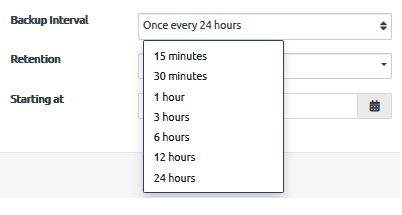
- Choose how often backups should occur.
You can choose from 15 minutes up to 24 hours.
- Choose how long backups should be kept.
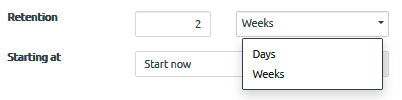
- Specify when the local backups should begin.
The default is to start as soon as you complete the backup wizard. Click Start now to choose a specific time to being creating backups.
 Note
NoteThe time is relative to the timezone specified in account settings.
- Choose how often backups should occur.
- Click Save to save your configuration.
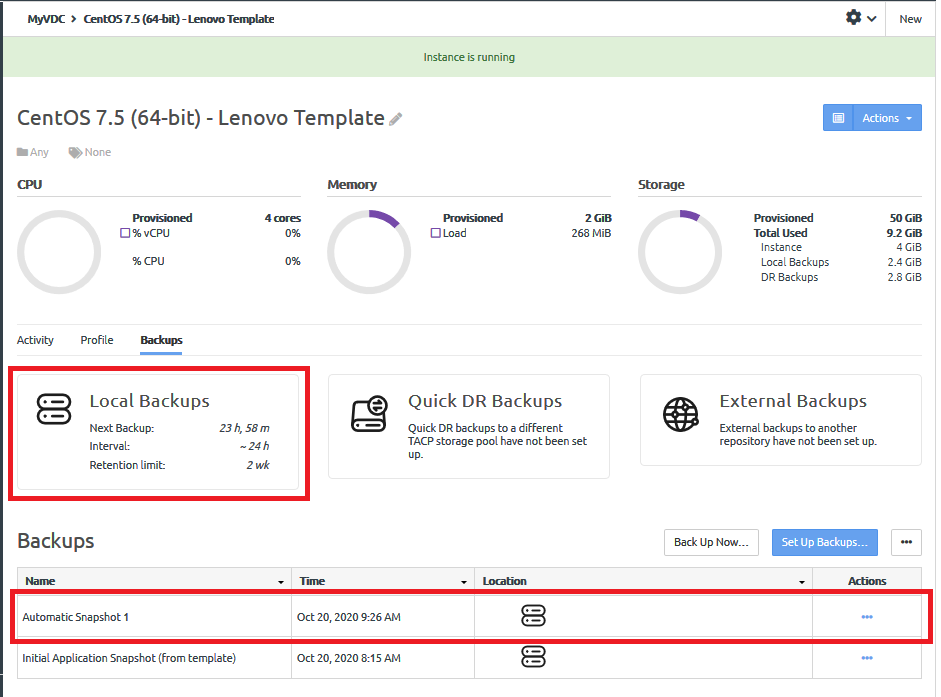
The Local Backups configuration is displayed. Because Start Now was specified as the time to begin taking local backups, the first automatic backup is displayed.
Figure 4. Local Backups configuration completed