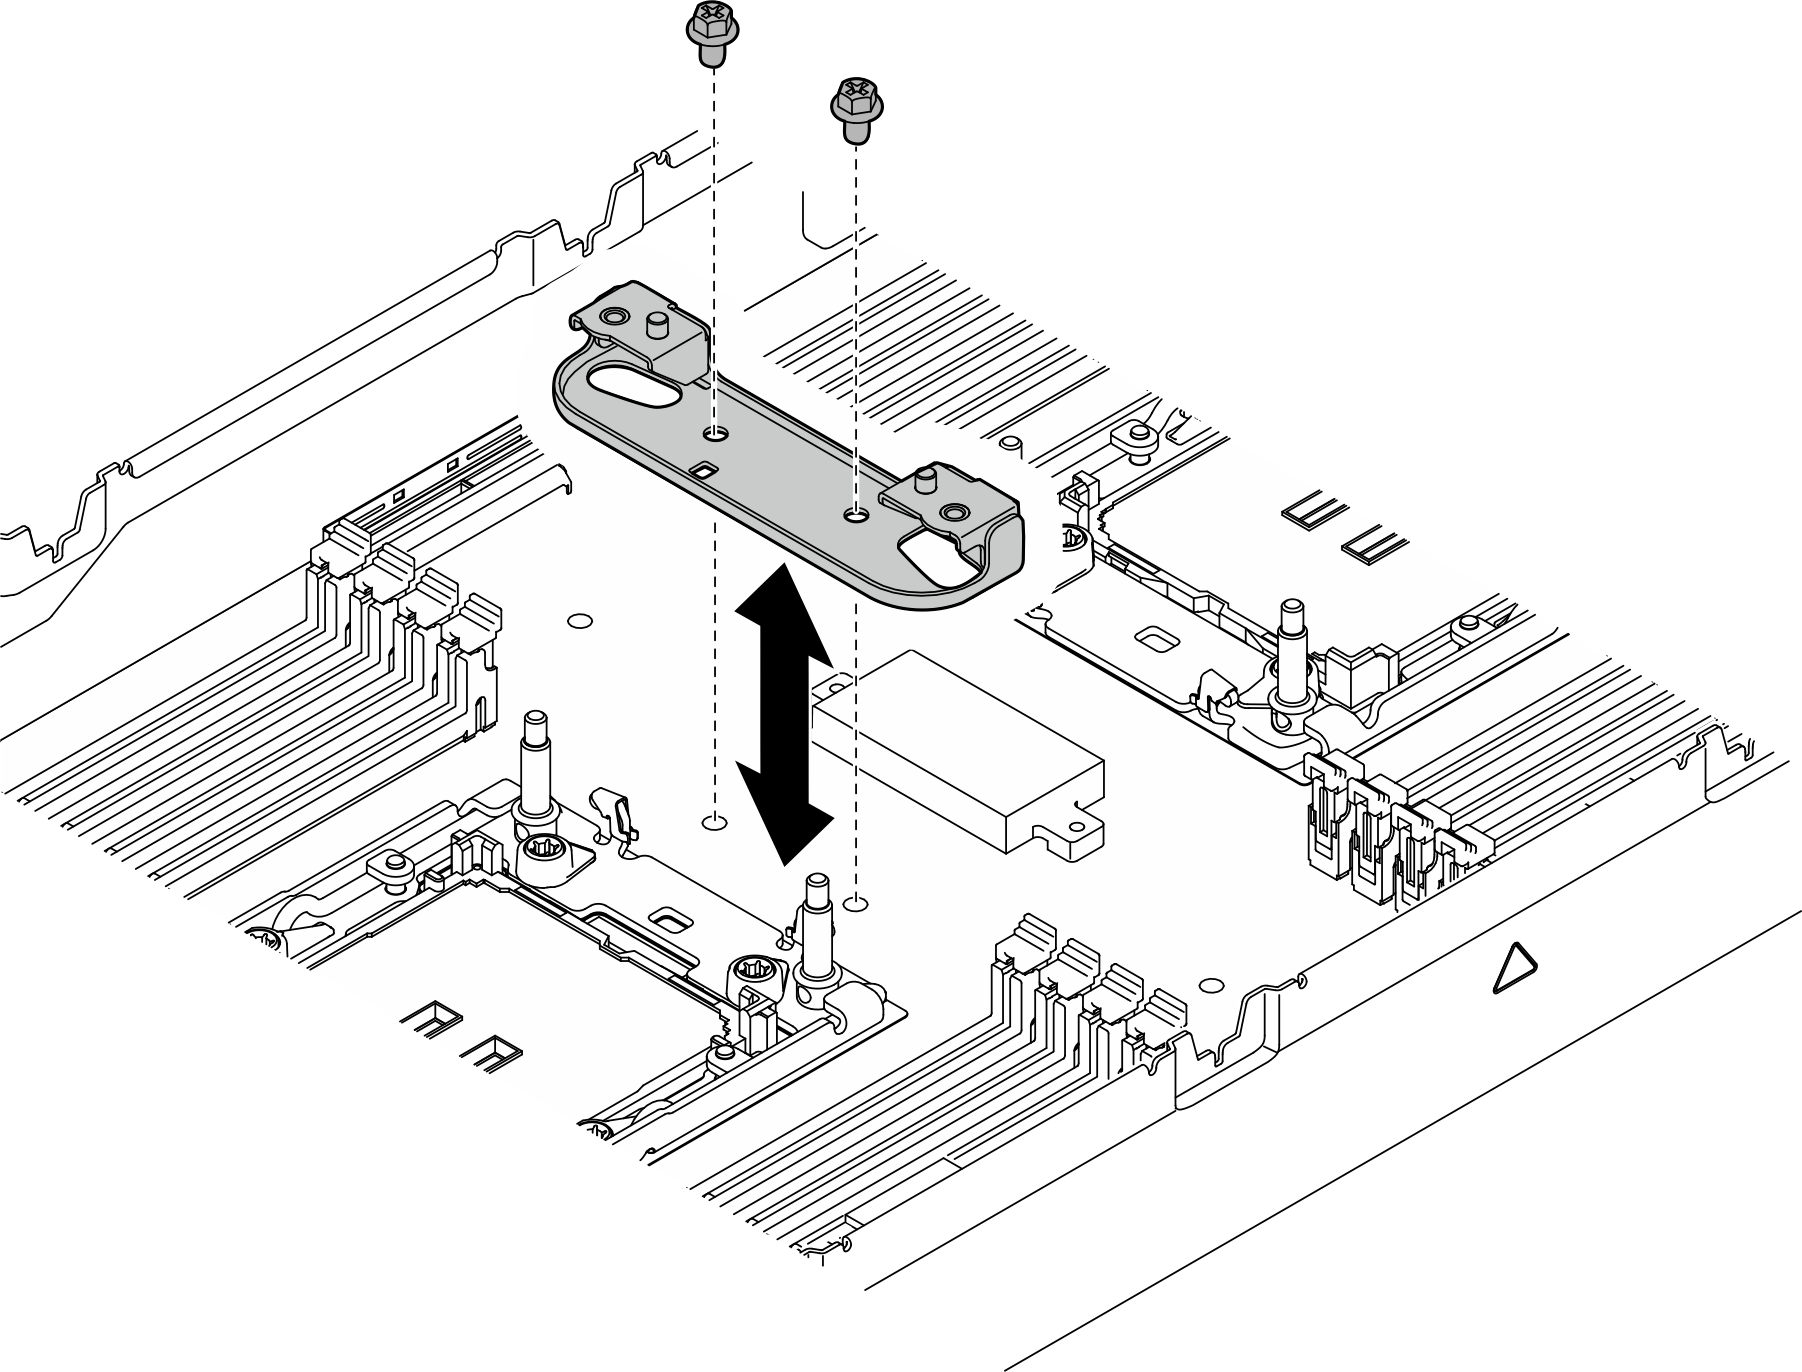
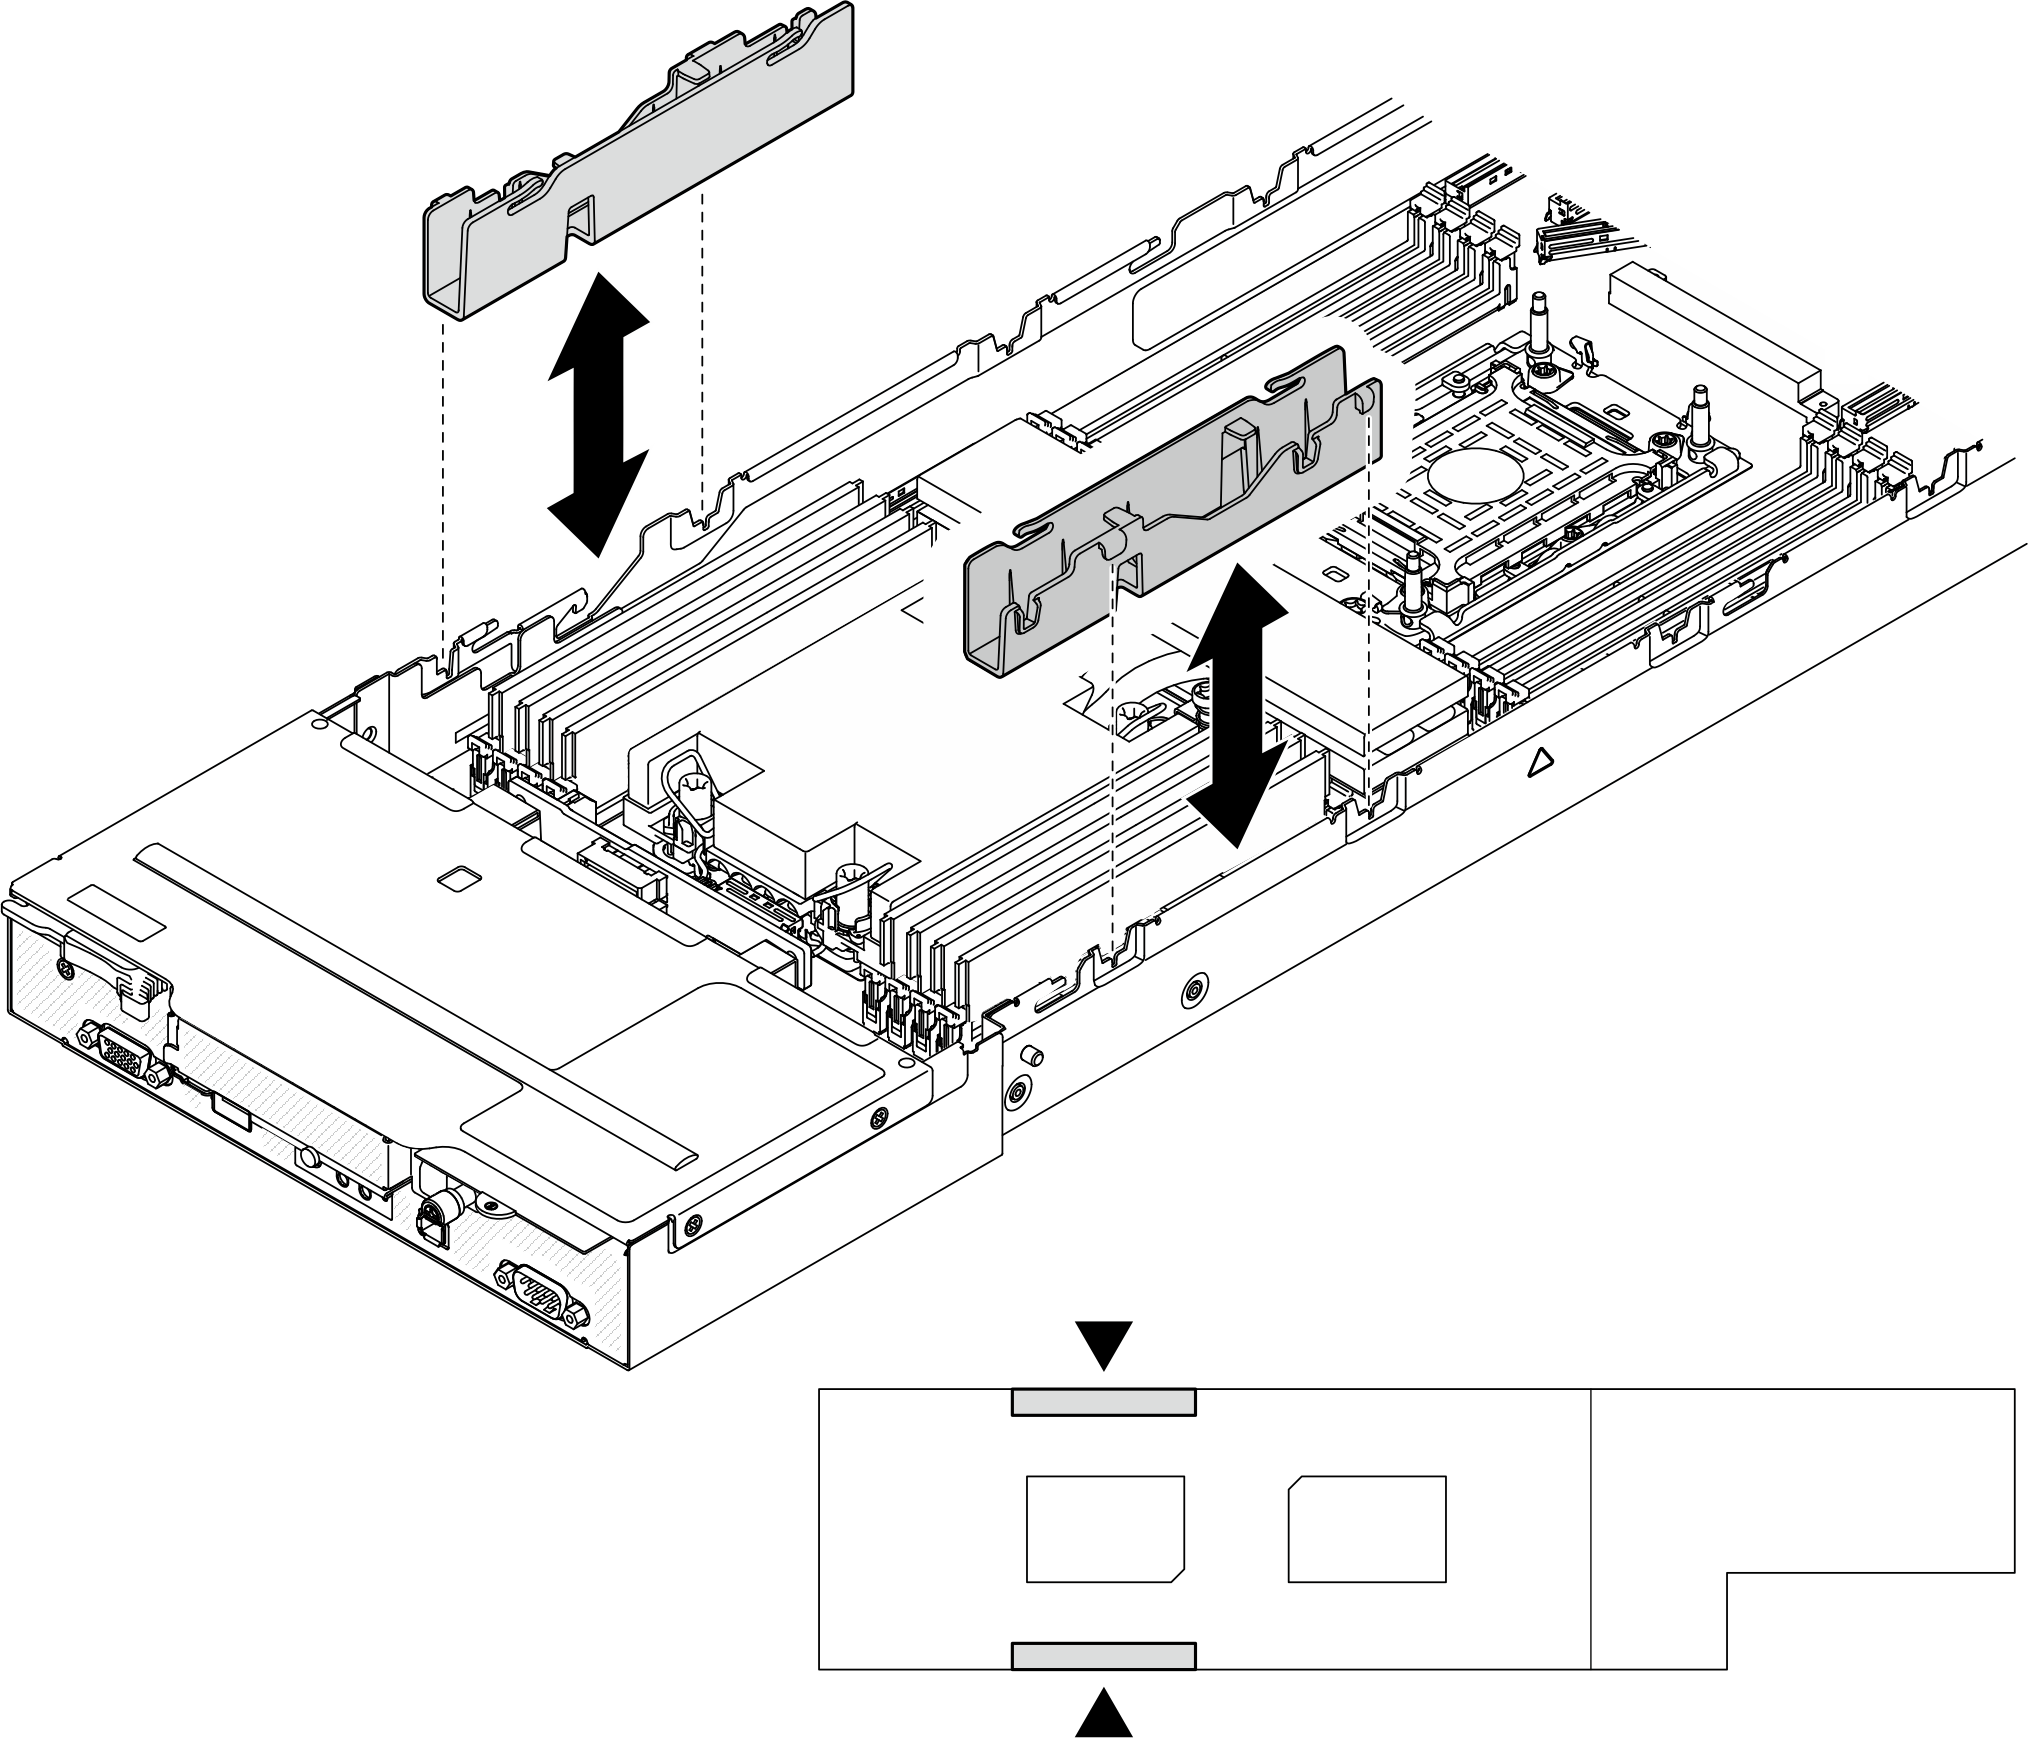
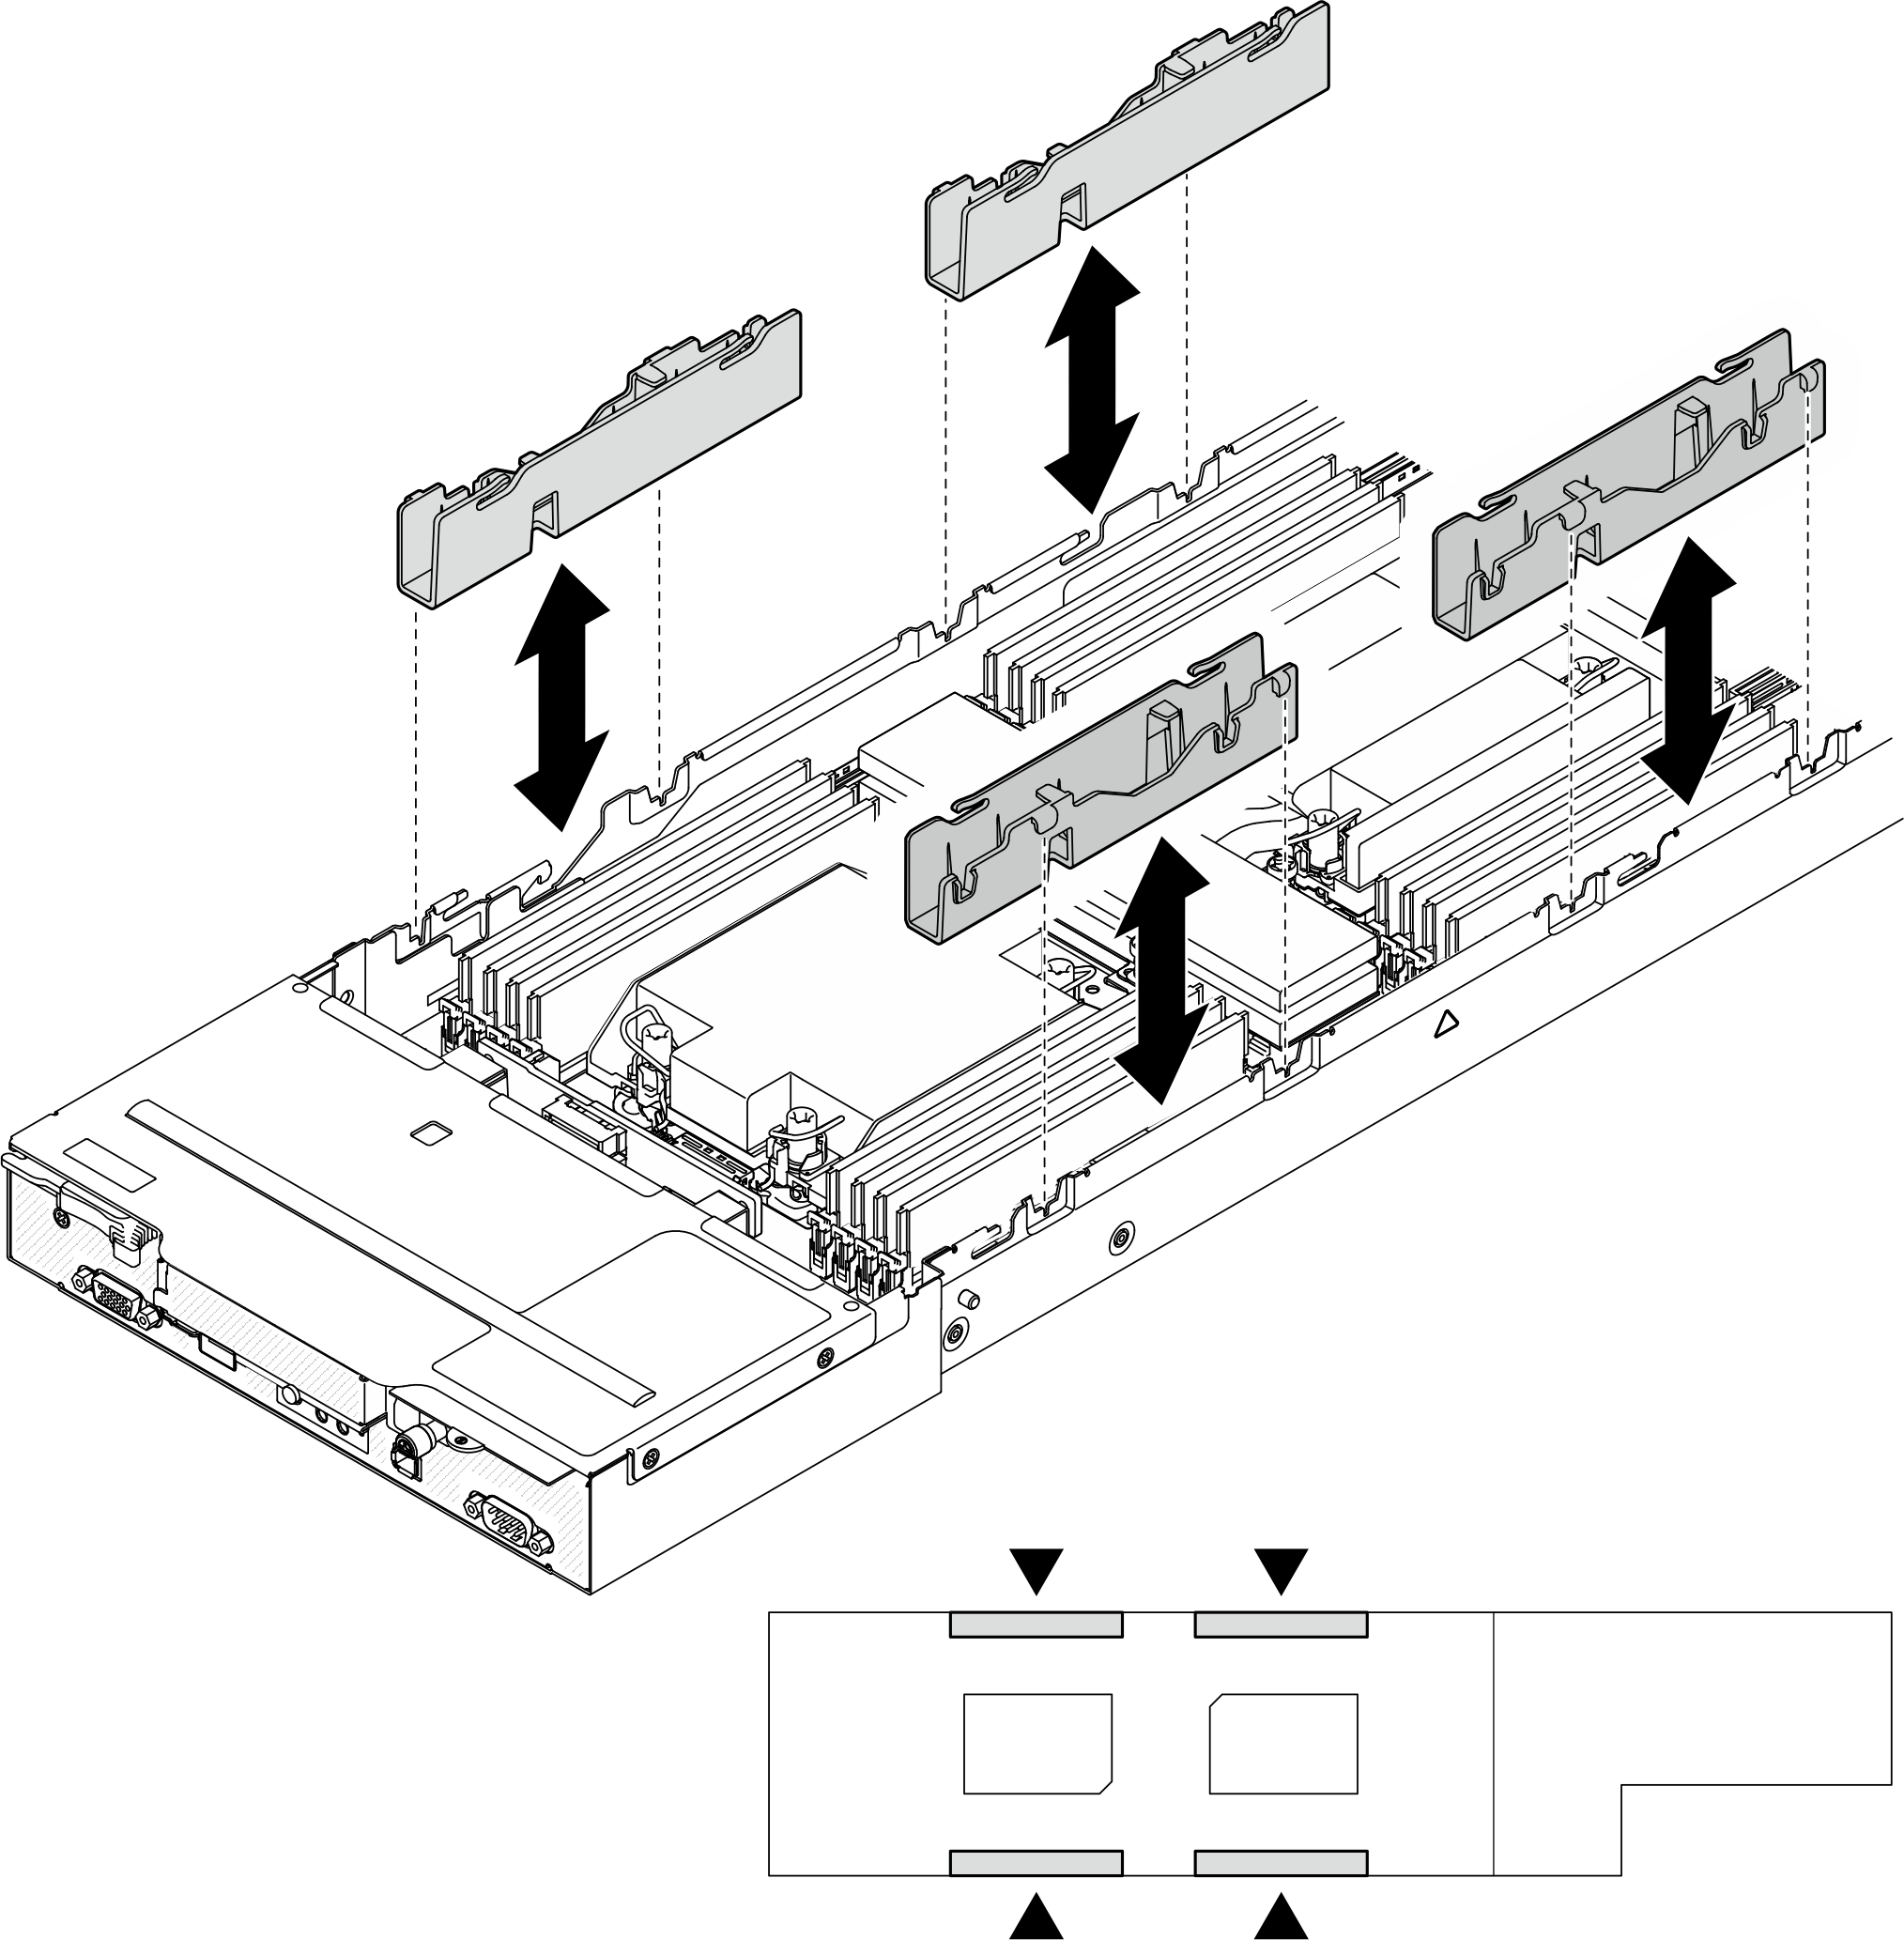
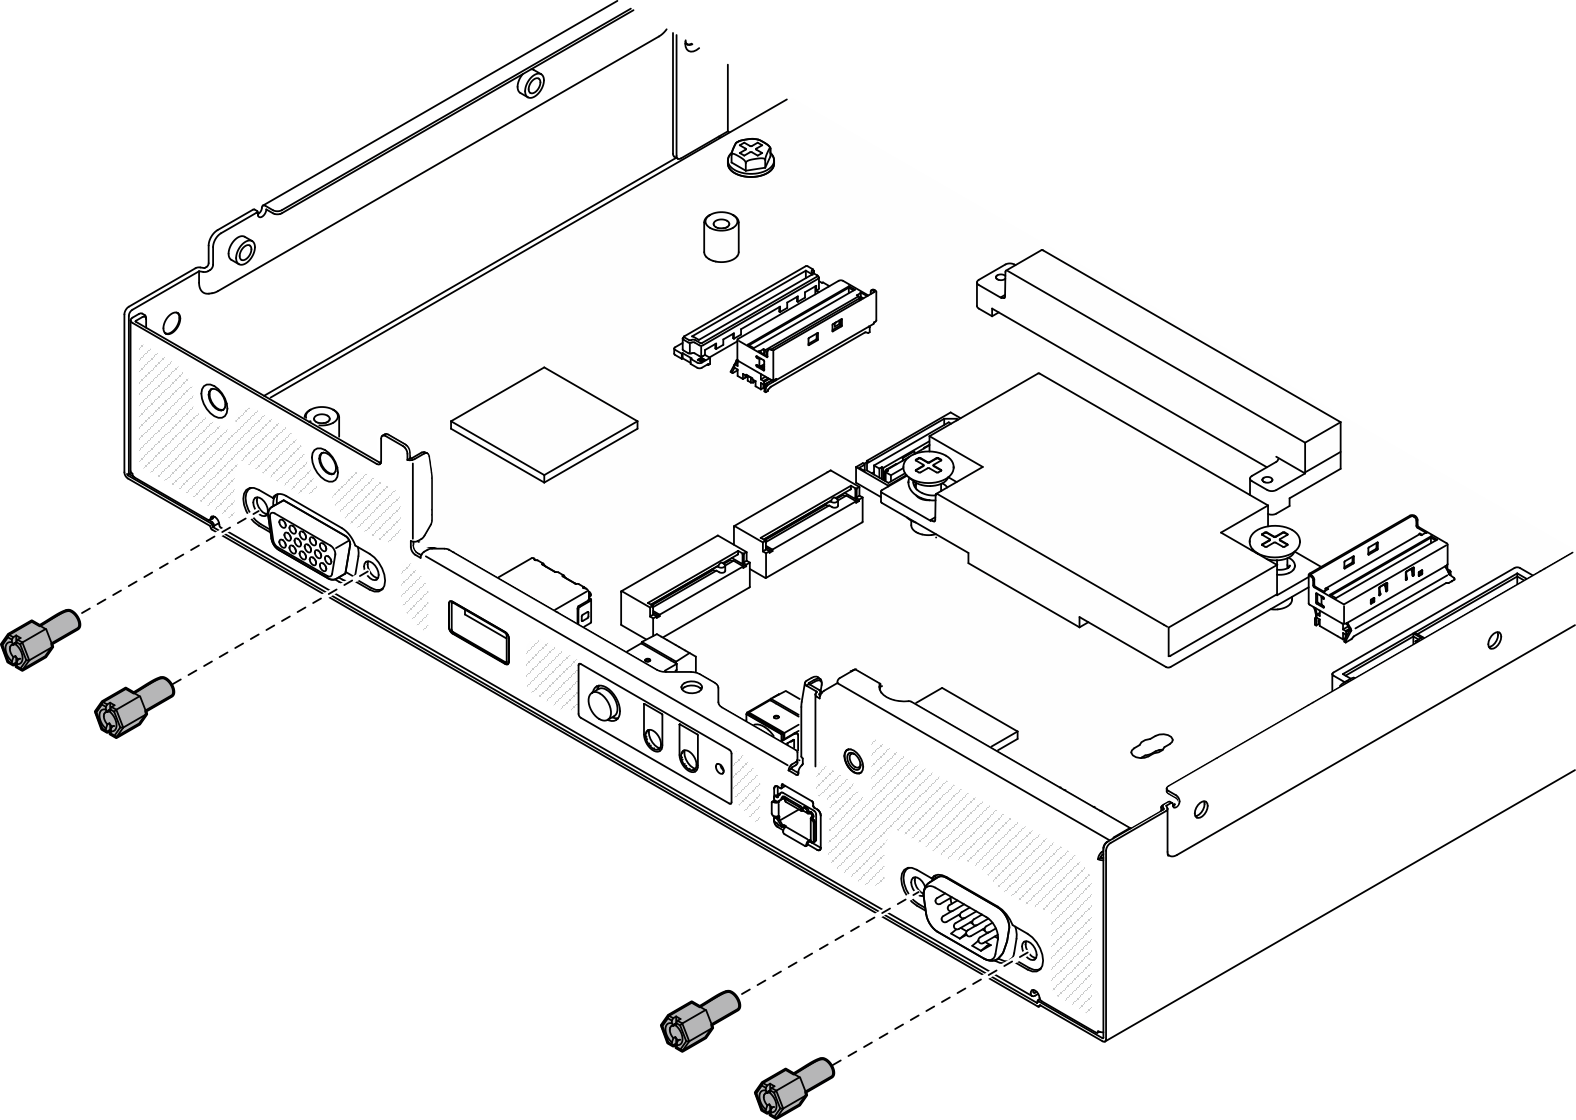
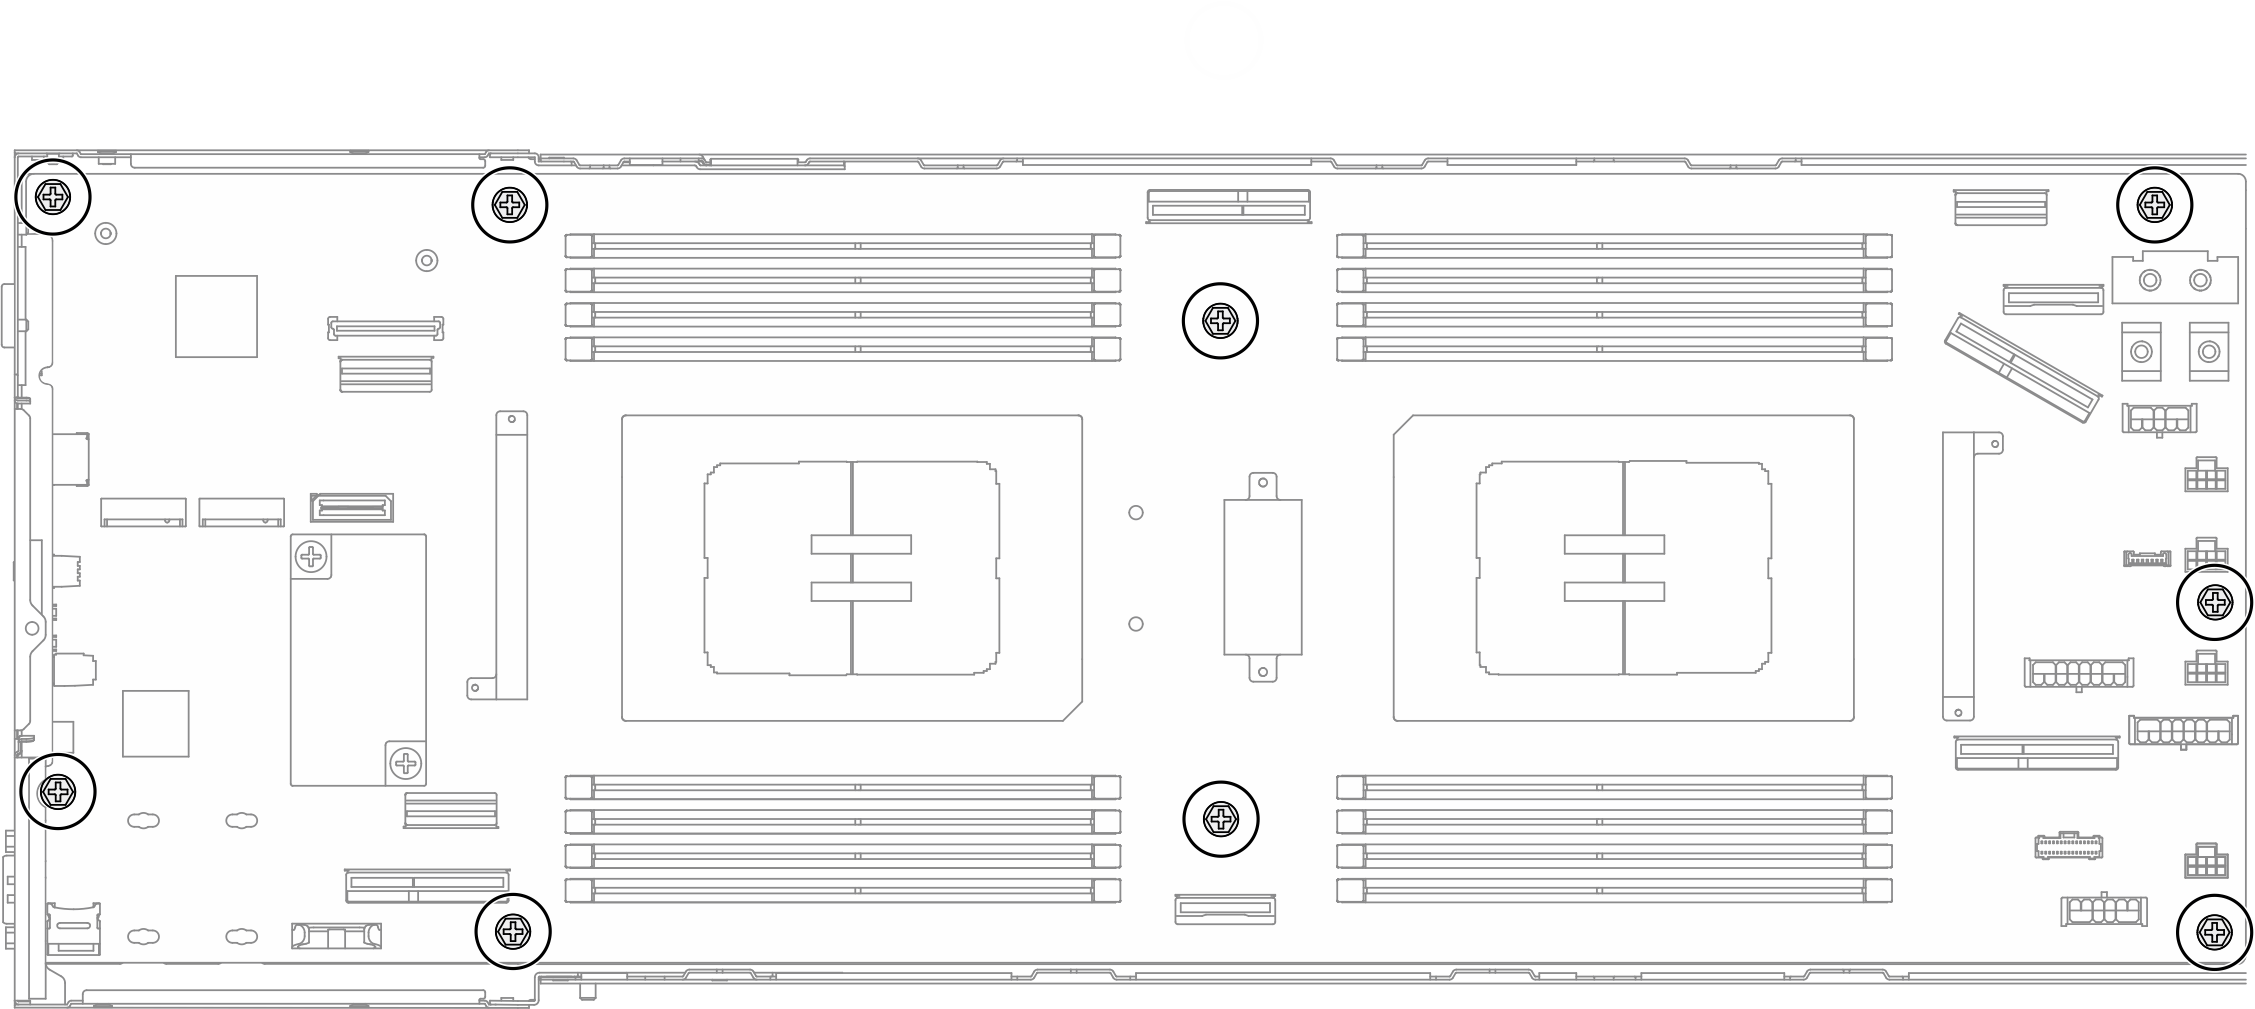
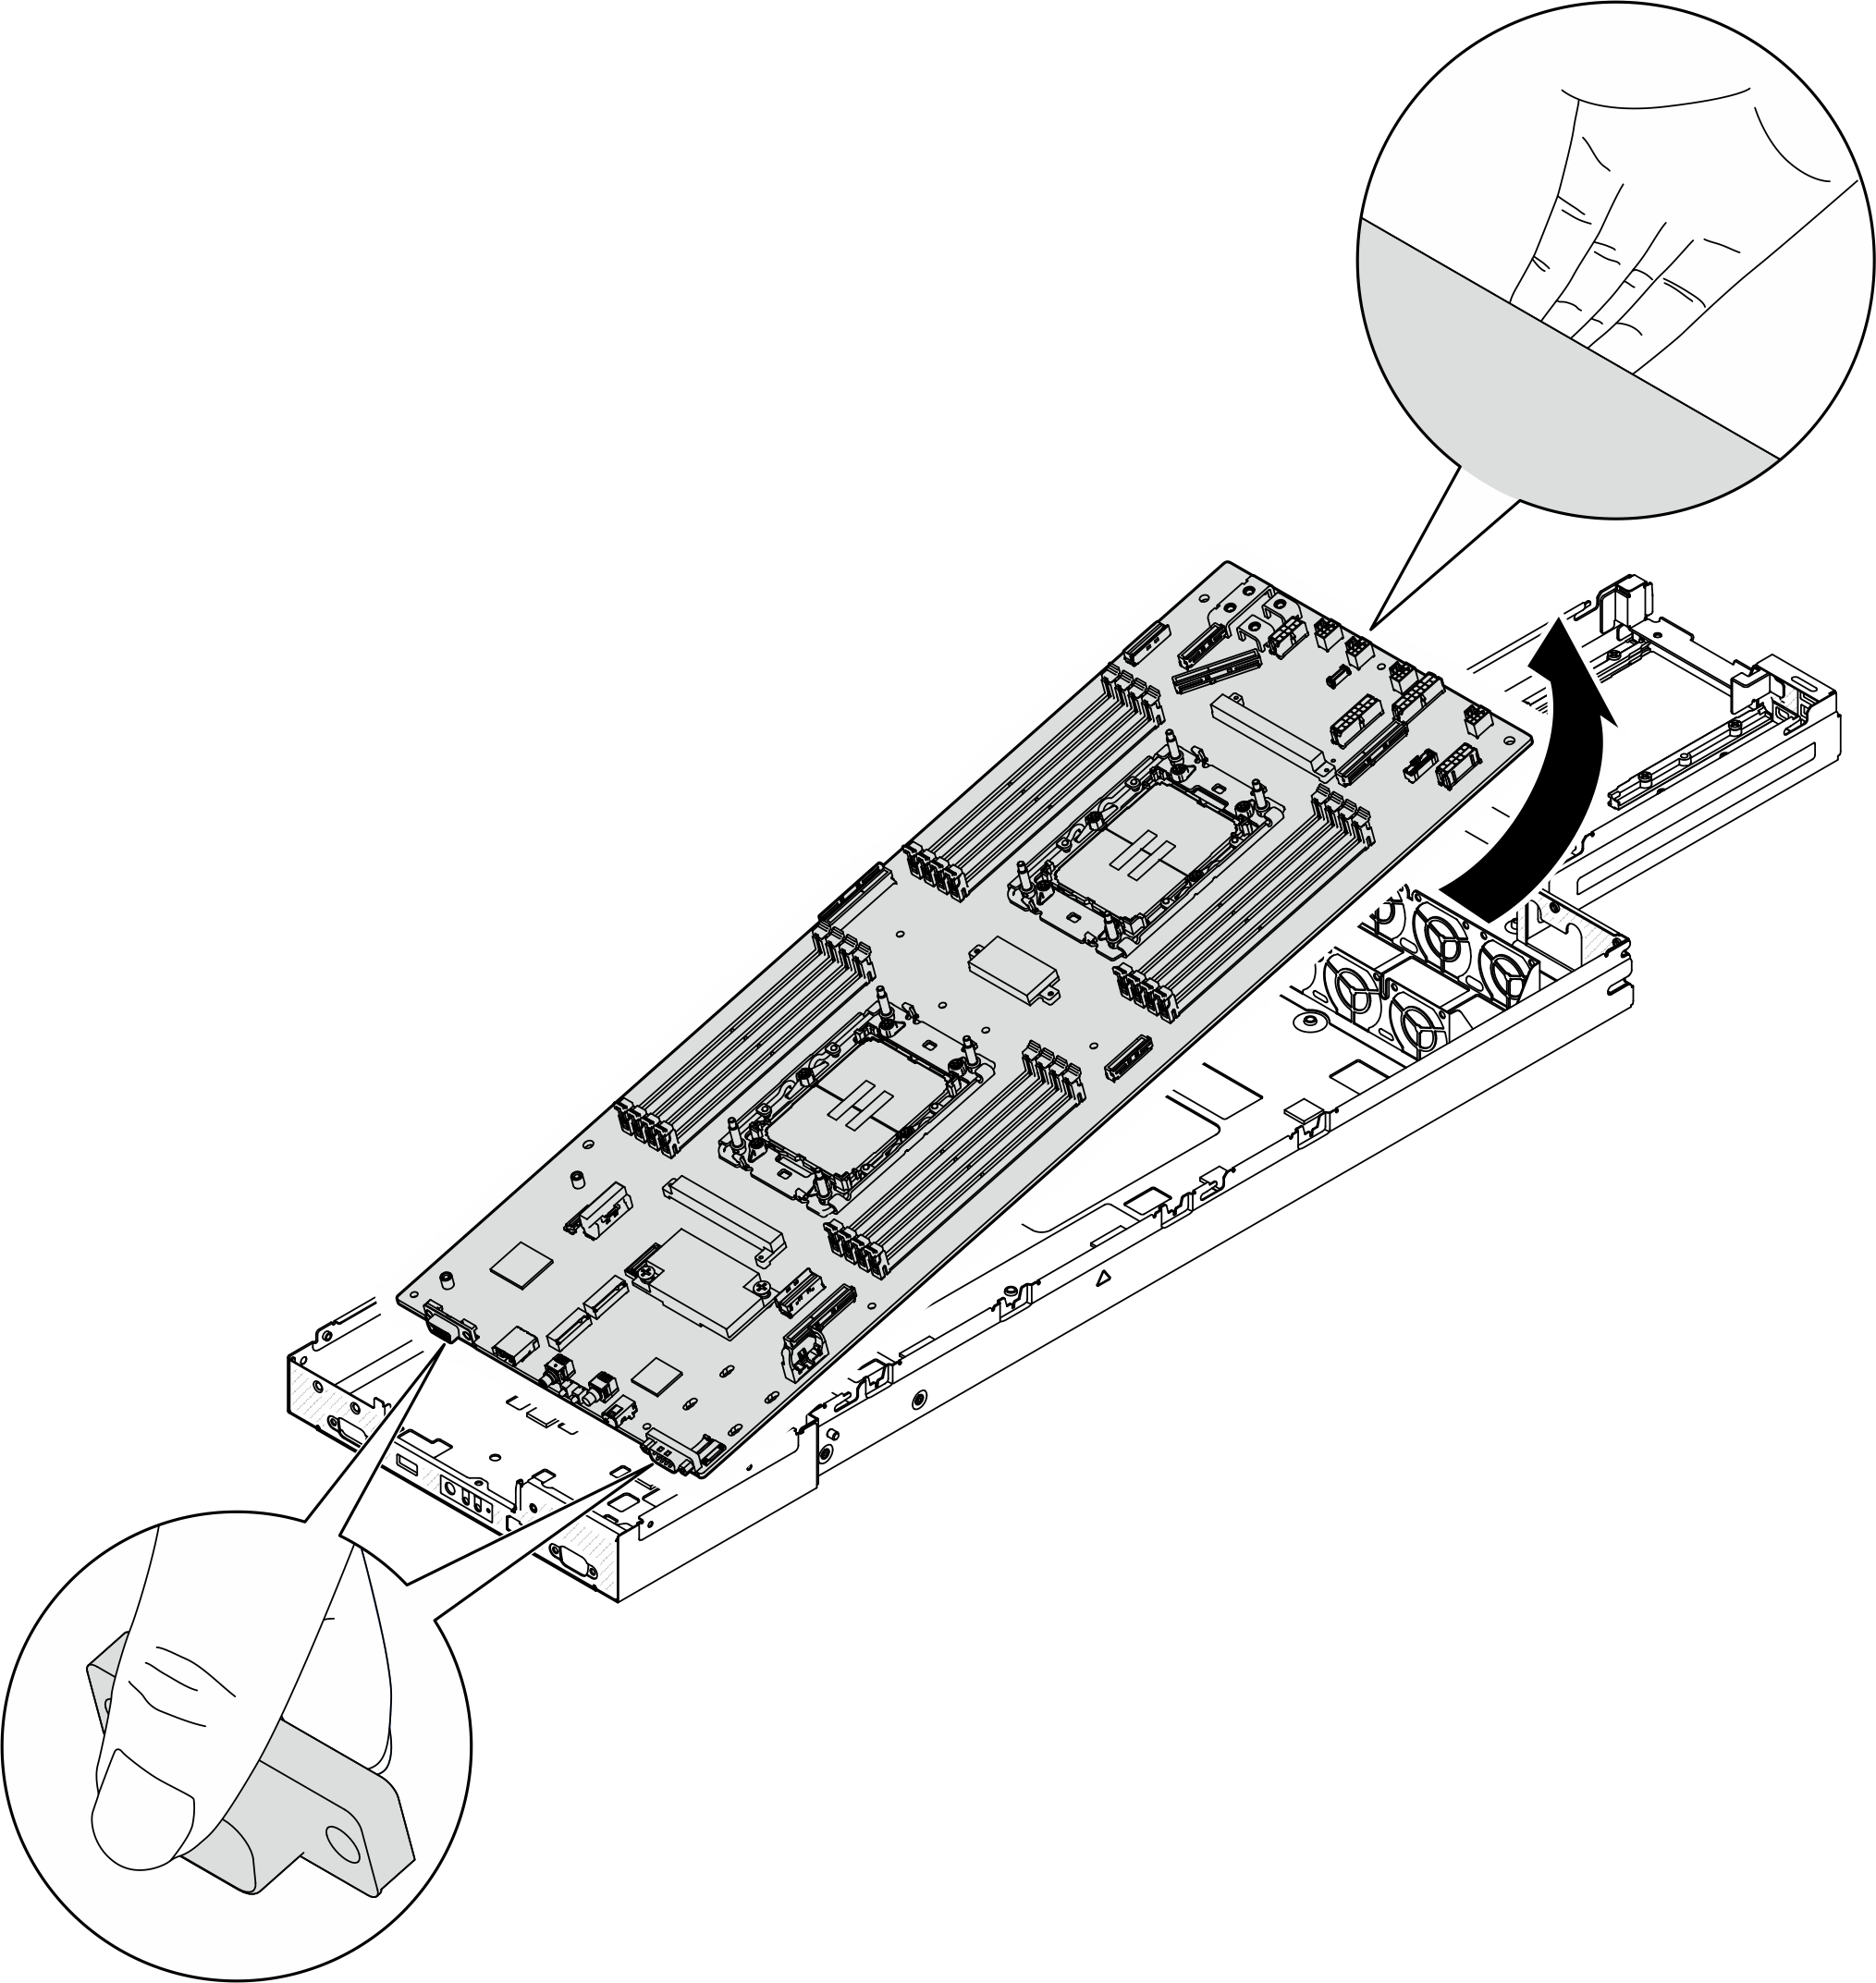
Remove the system board (Trained technician only)
Follow instructions in this section to remove the system board.
Important
This task must be operated by trained technicians that are certified by Lenovo Service. Do not attempt to remove or install the part without proper training and qualification.
- When replacing the system board, always update the server with the latest firmware or restore the pre-existing firmware. Make sure that you have the latest firmware or a copy of the pre-existing firmware before you proceed.
- When removing the memory modules, label the slot number on each memory module, remove all the memory modules from the system board, and set them aside on a static-protective surface for reinstallation.
- When disconnecting cables, make a list of each cable and record the connectors the cable is connected to, and use the record as a cabling checklist after installing the new system board assembly.
About this task
To avoid potential danger, make sure to read and follow the safety information.
Attention
Read Installation Guidelines and Safety inspection checklist to make sure that you work safely.
Procedure
After you finish
- Install a replacement unit (see Install a system board (Trained technician only)).
- If you are instructed to return the component or optional device, follow all packaging instructions, and use any packaging materials for shipping that are supplied to you.ImportantBefore returning the system board, make sure to install the processor socket covers from the new system board. Follow the steps below to replace a processor socket cover:
- Take a socket cover from the processor socket assembly on the new system board and orient it correctly above the processor socket assembly on the removed system board.
- Gently press down the socket cover legs to the processor socket assembly, pressing on the edges to avoid damage to the socket pins. You might hear a click on the socket cover when it is securely attached.
- Make sure that the socket cover is securely attached to the processor socket assembly.
Demo video
Give documentation feedback


