Changing allocations for a virtual datacenter
Infrastructure admin users can modify the compute and storage allocations for a virtual datacenter.
Complete the following steps to change the allocations for a virtual datacenter:
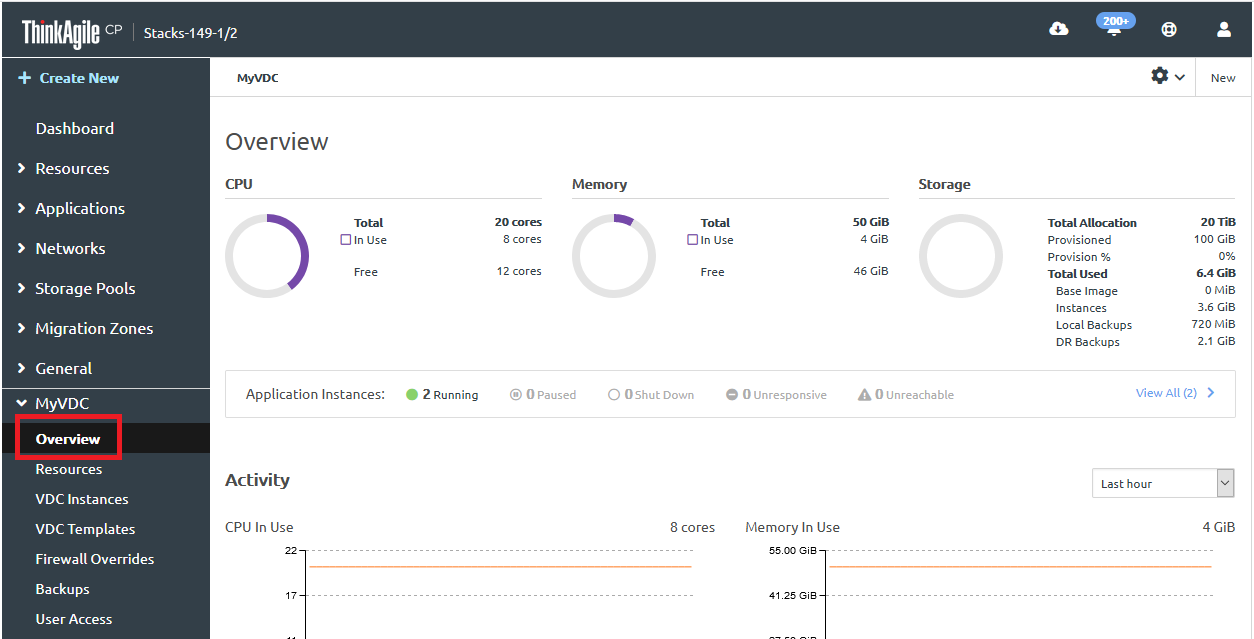
- In the left navigation menu, expand the virtual datacenter you want to rename, and then click Overview to view the VDC Overview page.Figure 1. VDC Overview page
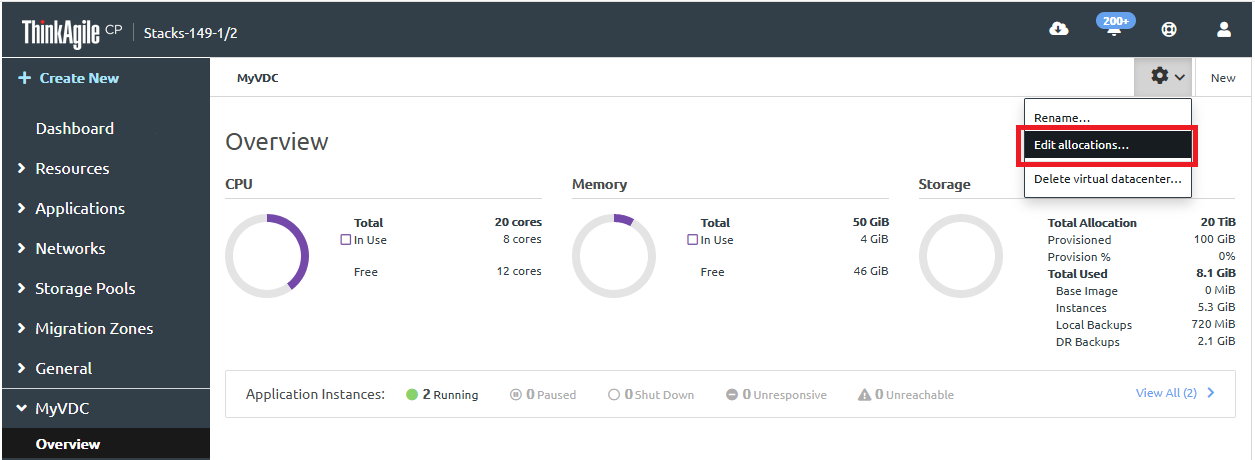
- On the Actions drop-down menu in the upper right corner of the page, select Edit Allocations.Figure 2. Edit VDC allocations option
- Scroll down the list of VDCs to find the VDC for which you want to modify the allocations.
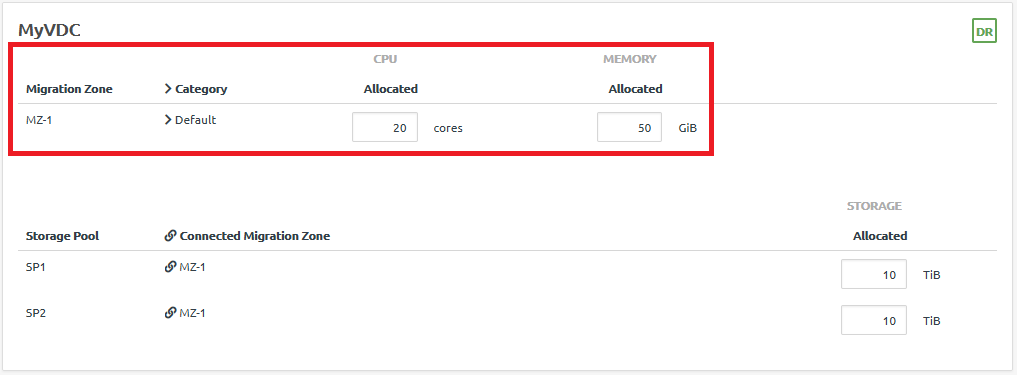
- Under the Datacenter Allocation section, modify compute resources (CPU cores and Memory) from one or more compute categories within the migration zone(s). Enter the number of cores and the amount of memory in GiB.Figure 3. CPU cores and memory allocation
 Attention
Compute allocations must include both CPU cores and memory from the same compute category.
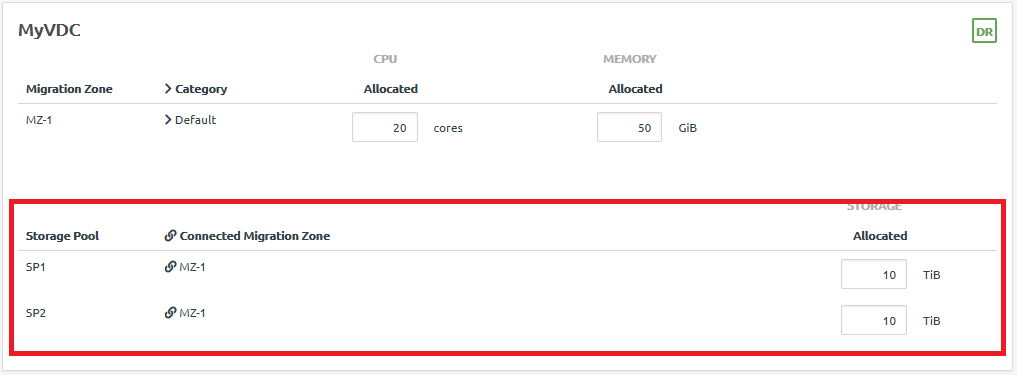
- Modify storage resources from the listed storage pool(s) by entering an amount in TiB.NoteTo enable quick DR backups, you must allocate resources to at least two storage pools. For more information about disaster recovery, see the following topic:Figure 4. Storage allocation
- Under the Datacenter Allocation section, modify compute resources (CPU cores and Memory) from one or more compute categories within the migration zone(s). Enter the number of cores and the amount of memory in GiB.
The VDC allocations are updated.
Give feedback