Configure Network Access task
Procedure for configuring network access as part of LXCA initial setup.
- In the Initial Setup window, click Configure Network Access.
The Edit Network Access window displays.
Figure 1. Edit Network Access window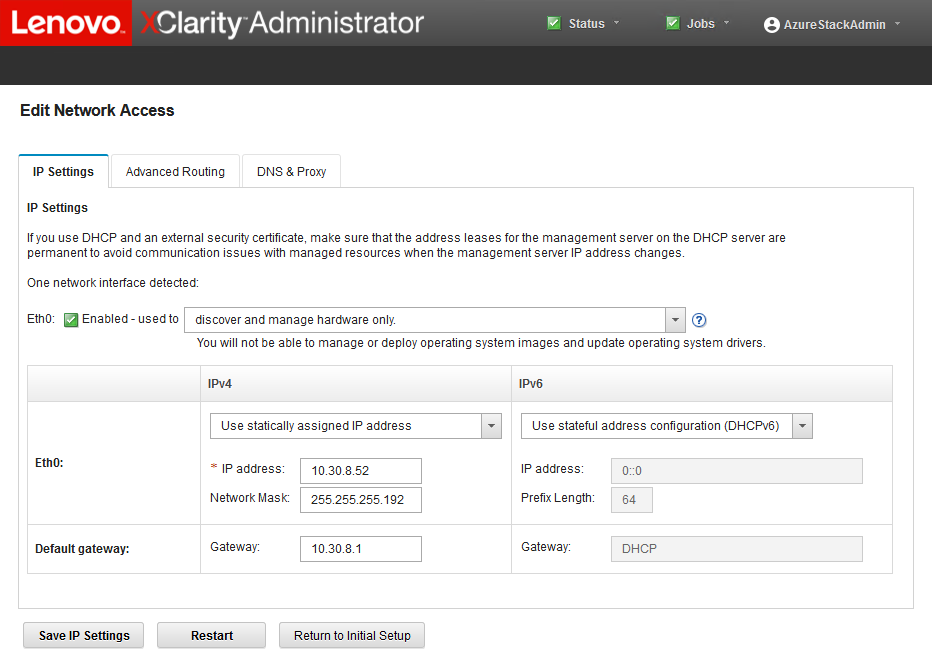
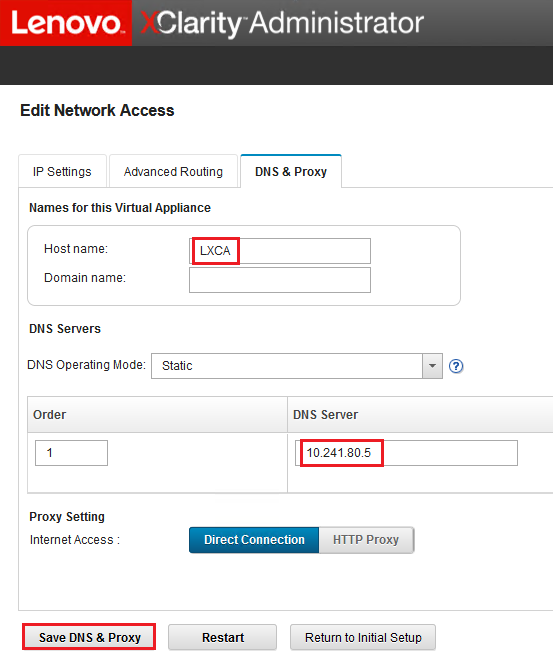
- On the same page, enter “LXCA” in the Host name field, as shown in the following illustration.Figure 2. DNS & Proxy settings tab
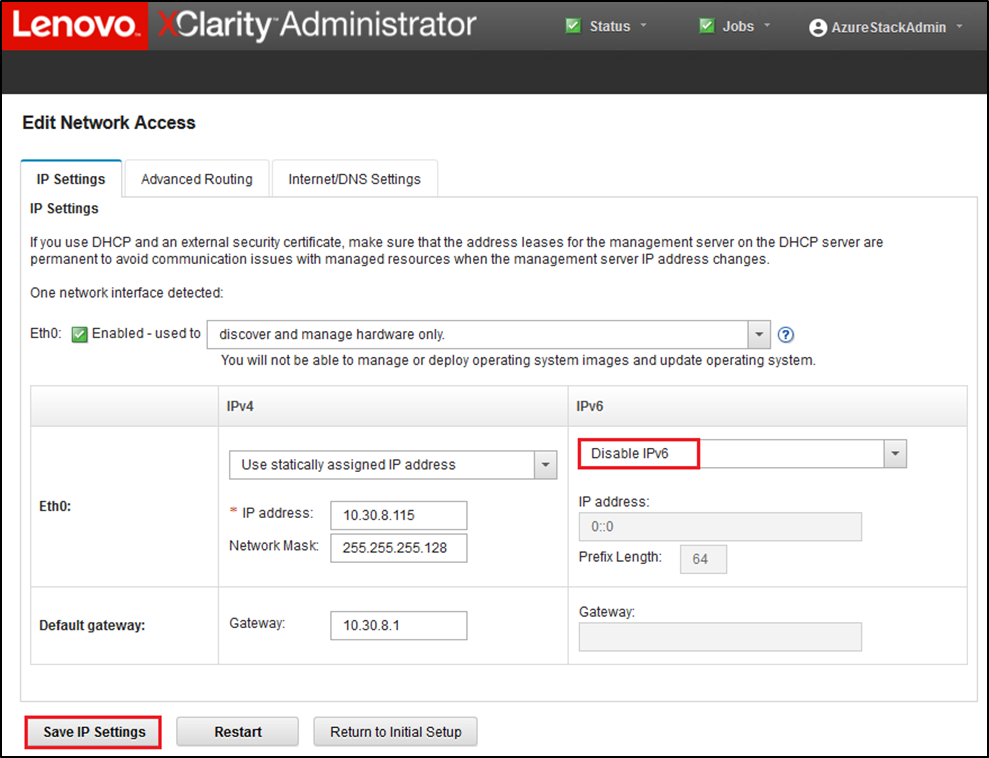
- Under the IPv6 column heading, select Disable IPv6 in the dropdown list. Click Close to dismiss the pop-up window, and then click Save IP Settings.Figure 3. Disabling IPv6 settings
- A window appears prompting you to restart the management server to apply these changes. Click Restart and then click Close in the confirmation window that displays.Figure 4. Saving IP Settings tab changes

- If necessary, refresh the browser to return to the LXCA login page, then log in using the primary supervisor account created earlier.The Initial Setup page displays, this time with the first three tasks checked.Figure 5. Initial Setup page with completed tasks checked
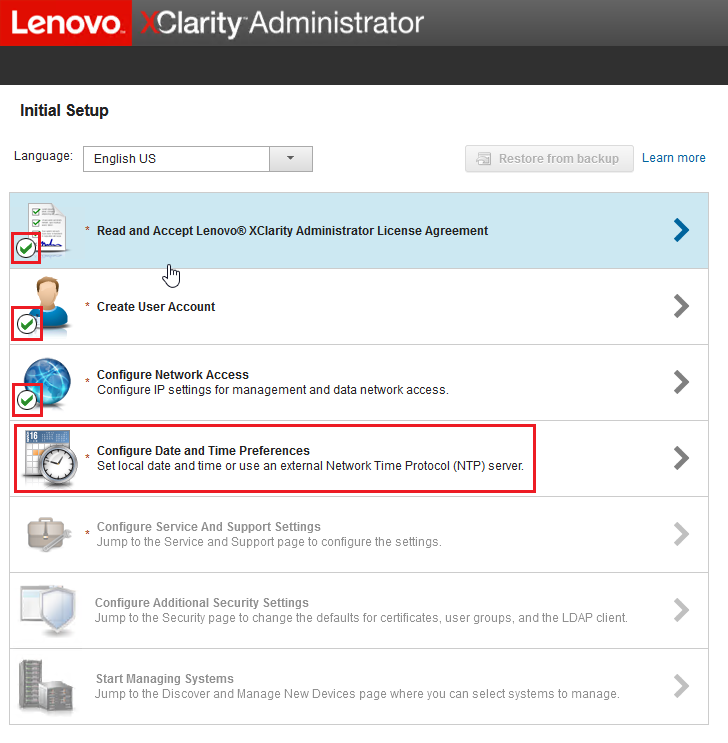
Proceed to the Configure Date and Time Preferences task.
Give documentation feedback