Remove the system board
Use this information to remove the system board.
About this task
A system board provides different connectors or slots to connect different components or peripherals of the system for communication. If the system board fails, it must be replaced. Before removing the system board, record all system configuration information, such as Lenovo XClarity Controller (XCC) IP addresses, vital product data, and the machine type, model number, serial number, Universally Unique Identifier, and asset tag of the server.
Read Installation Guidelines to ensure that you work safely.
Power off the server and disconnect all power cords for this task.
Prevent exposure to static electricity, which might lead to system halt and loss of data, by keeping static-sensitive components in their static-protective packages until installation, and handling these devices with an electrostatic-discharge wrist strap or other grounding system.
Procedure
- Remove the system board.NoteThe system board might look slightly different from your system board, but the removal procedure is the same.Figure 1. System board removal
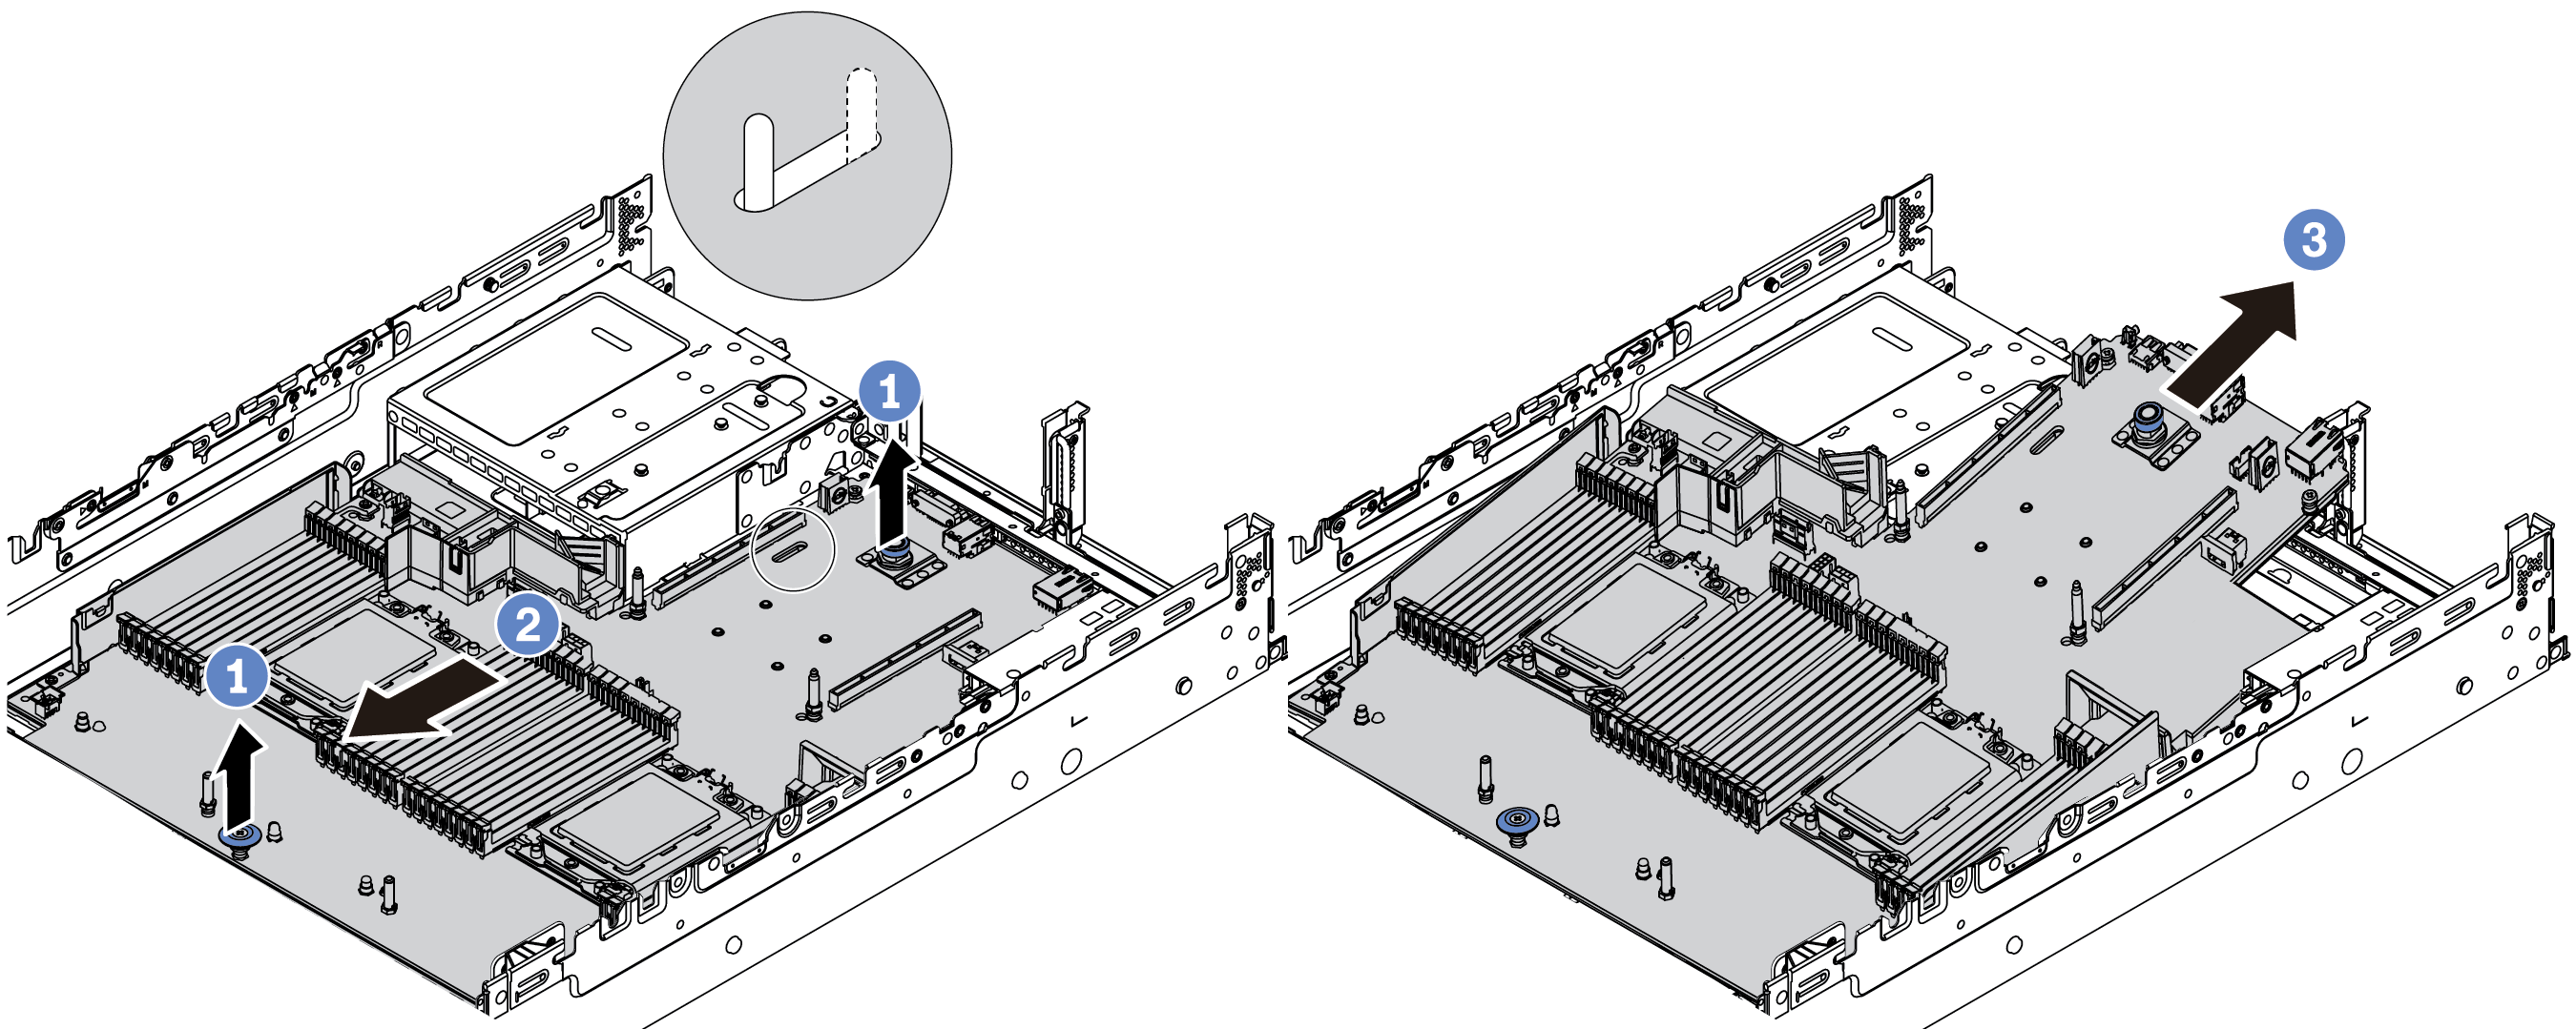
- Lift the two release pins at the same time.
- Slide the system board towards the front of the chassis until it stops.
- Tilt and lift the system board out of the chassis.
After you finish
If you are instructed to return the defective component, follow all packaging instructions and use any packaging materials that are provided.
ImportantBefore you return the system board, make sure that the CPU socket is covered. Install the processor socket dust covers from the new system board on the removed system board.
If you are planning to recycle the system board, follow the instructions in Disassembling the system board for recycle for compliance with local regulations.
Demo video