Install an M.2 drive
Use this information to install an M.2 drive option.
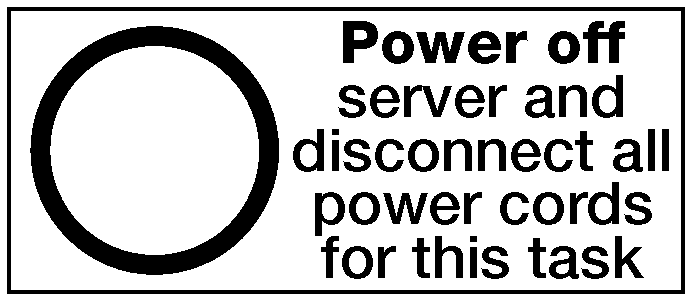
S002


CAUTION
The power-control button on the device and the power switch on the power supply do not turn off the electrical current supplied to the device. The device also might have more than one power cord. To remove all electrical current from the device, ensure that all power cords are disconnected from the power source.


CAUTION
Make sure that all server power cords are disconnected from their power sources before performing this procedure.
Before you install an M.2 drive, if the M.2 backplane is installed in the server, remove it. See Remove the M.2 backplane.
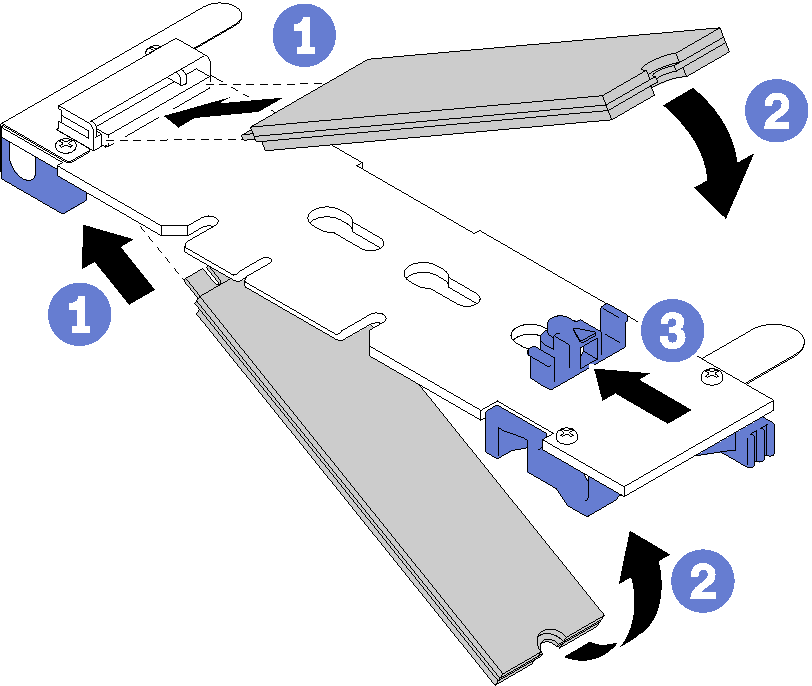
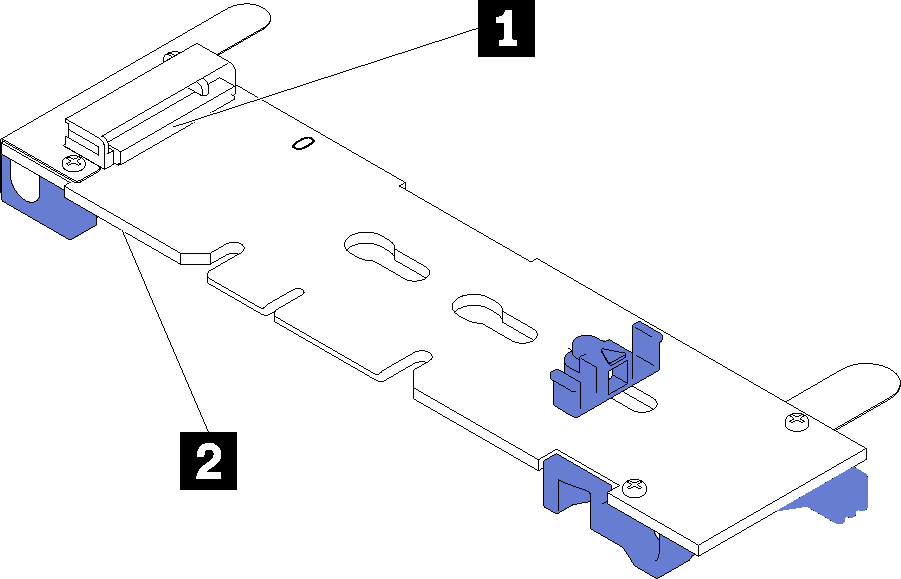
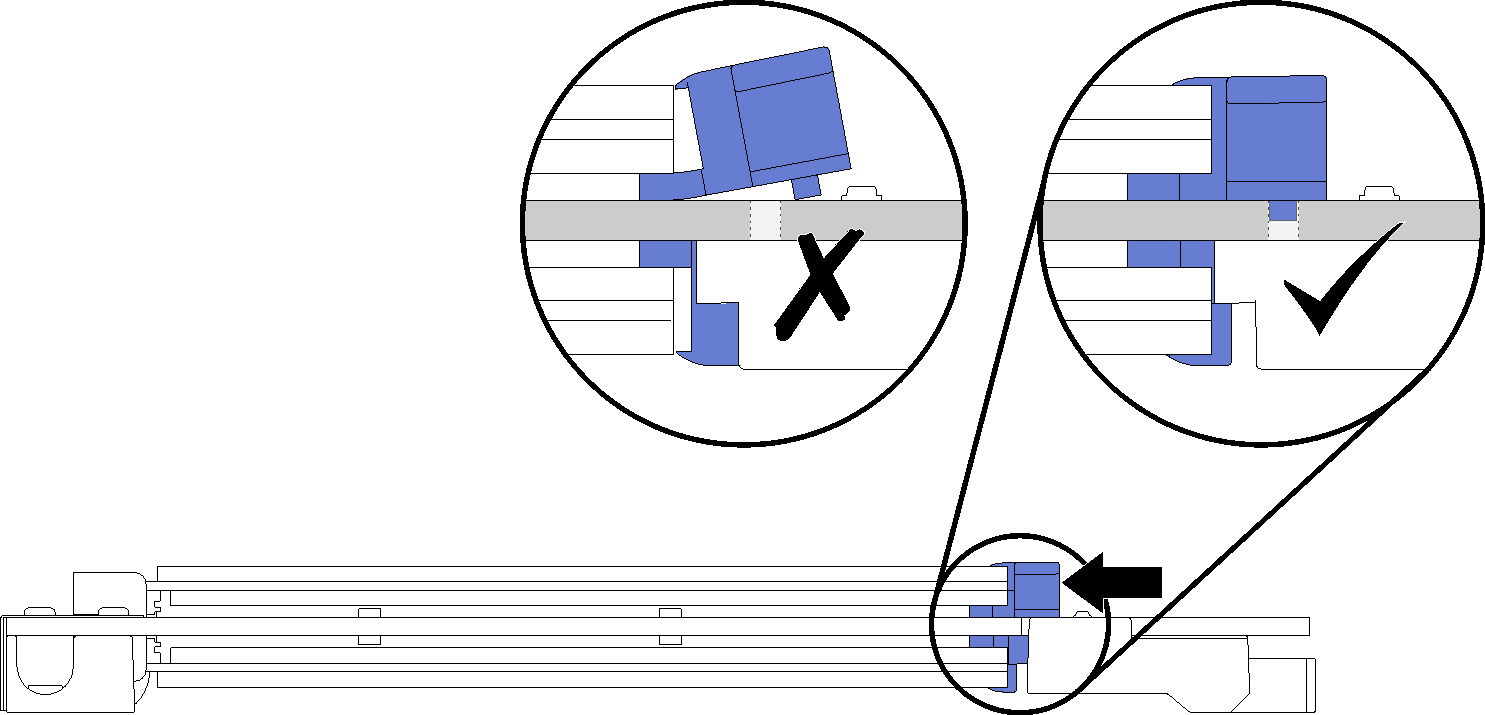
Complete the following steps to install an M.2 drive in the M.2 backplane.

After installing an M.2 drive option:
Install the M.2 backplane. See Install the M.2 backplane.
If you have no additional options to install in the I/O tray, install it. See Install the I/O tray.
Note
You will need to configure the M.2 drive to complete the installation. See the information that comes with the M.2 drive option for information.
Demo video
Give documentation feedback


